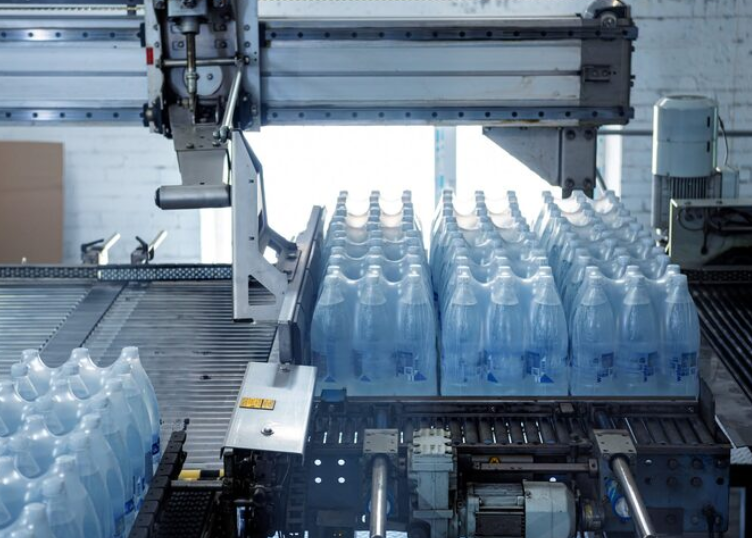
Plastic injection molding makes millions of plastic parts every year in the United States. These parts go into medical devices, car parts, and products you use daily. This method creates exact, matching parts that businesses need.
Plastic injection molding is a way to make lots of plastic parts by pushing hot, melted plastic into molds to create exact, matching pieces. Learning the basics helps you make better choices and get better results from your manufacturing partner. When you’re making a new product or creating more of an existing one, knowing how the process works helps you avoid mistakes and save money.
We’ve helped businesses across Northern Utah and Southern Idaho since 2011. We help teams move from product design to making real products. This guide shows you how injection molding works, what projects work best for it, materials and design tips, and what to look for when picking a manufacturing partner. You’ll learn enough to talk with manufacturers and decide if injection molding is right for your project.
How the Plastic Injection Molding Process Works Step-by-Step
The injection molding process repeats the same four steps for every part. Knowing each step helps you see why your design choices affect cost, quality, and how fast you can make parts.
Clamping – The two halves of the mold close and lock together tightly. The clamp must be strong enough to keep the mold shut when plastic gets pushed in under pressure. Bigger or harder-to-make parts need stronger clamps.
Injection – Hot, melted plastic gets pushed into the closed mold. The injection molding machine uses a turning screw to melt plastic pellets and push the liquid through a nozzle into the mold. This happens fast, often in just a few seconds.
Cooling – The plastic gets hard as it cools inside the mold. Cooling takes the longest time, usually 15 to 90 seconds. How long depends on how big the part is and how thick the walls are. The mold has tubes inside that move water around to control cooling.
Ejection – When the part is cool, the mold opens and pins push the finished part out. Then the process starts over right away for the next part.
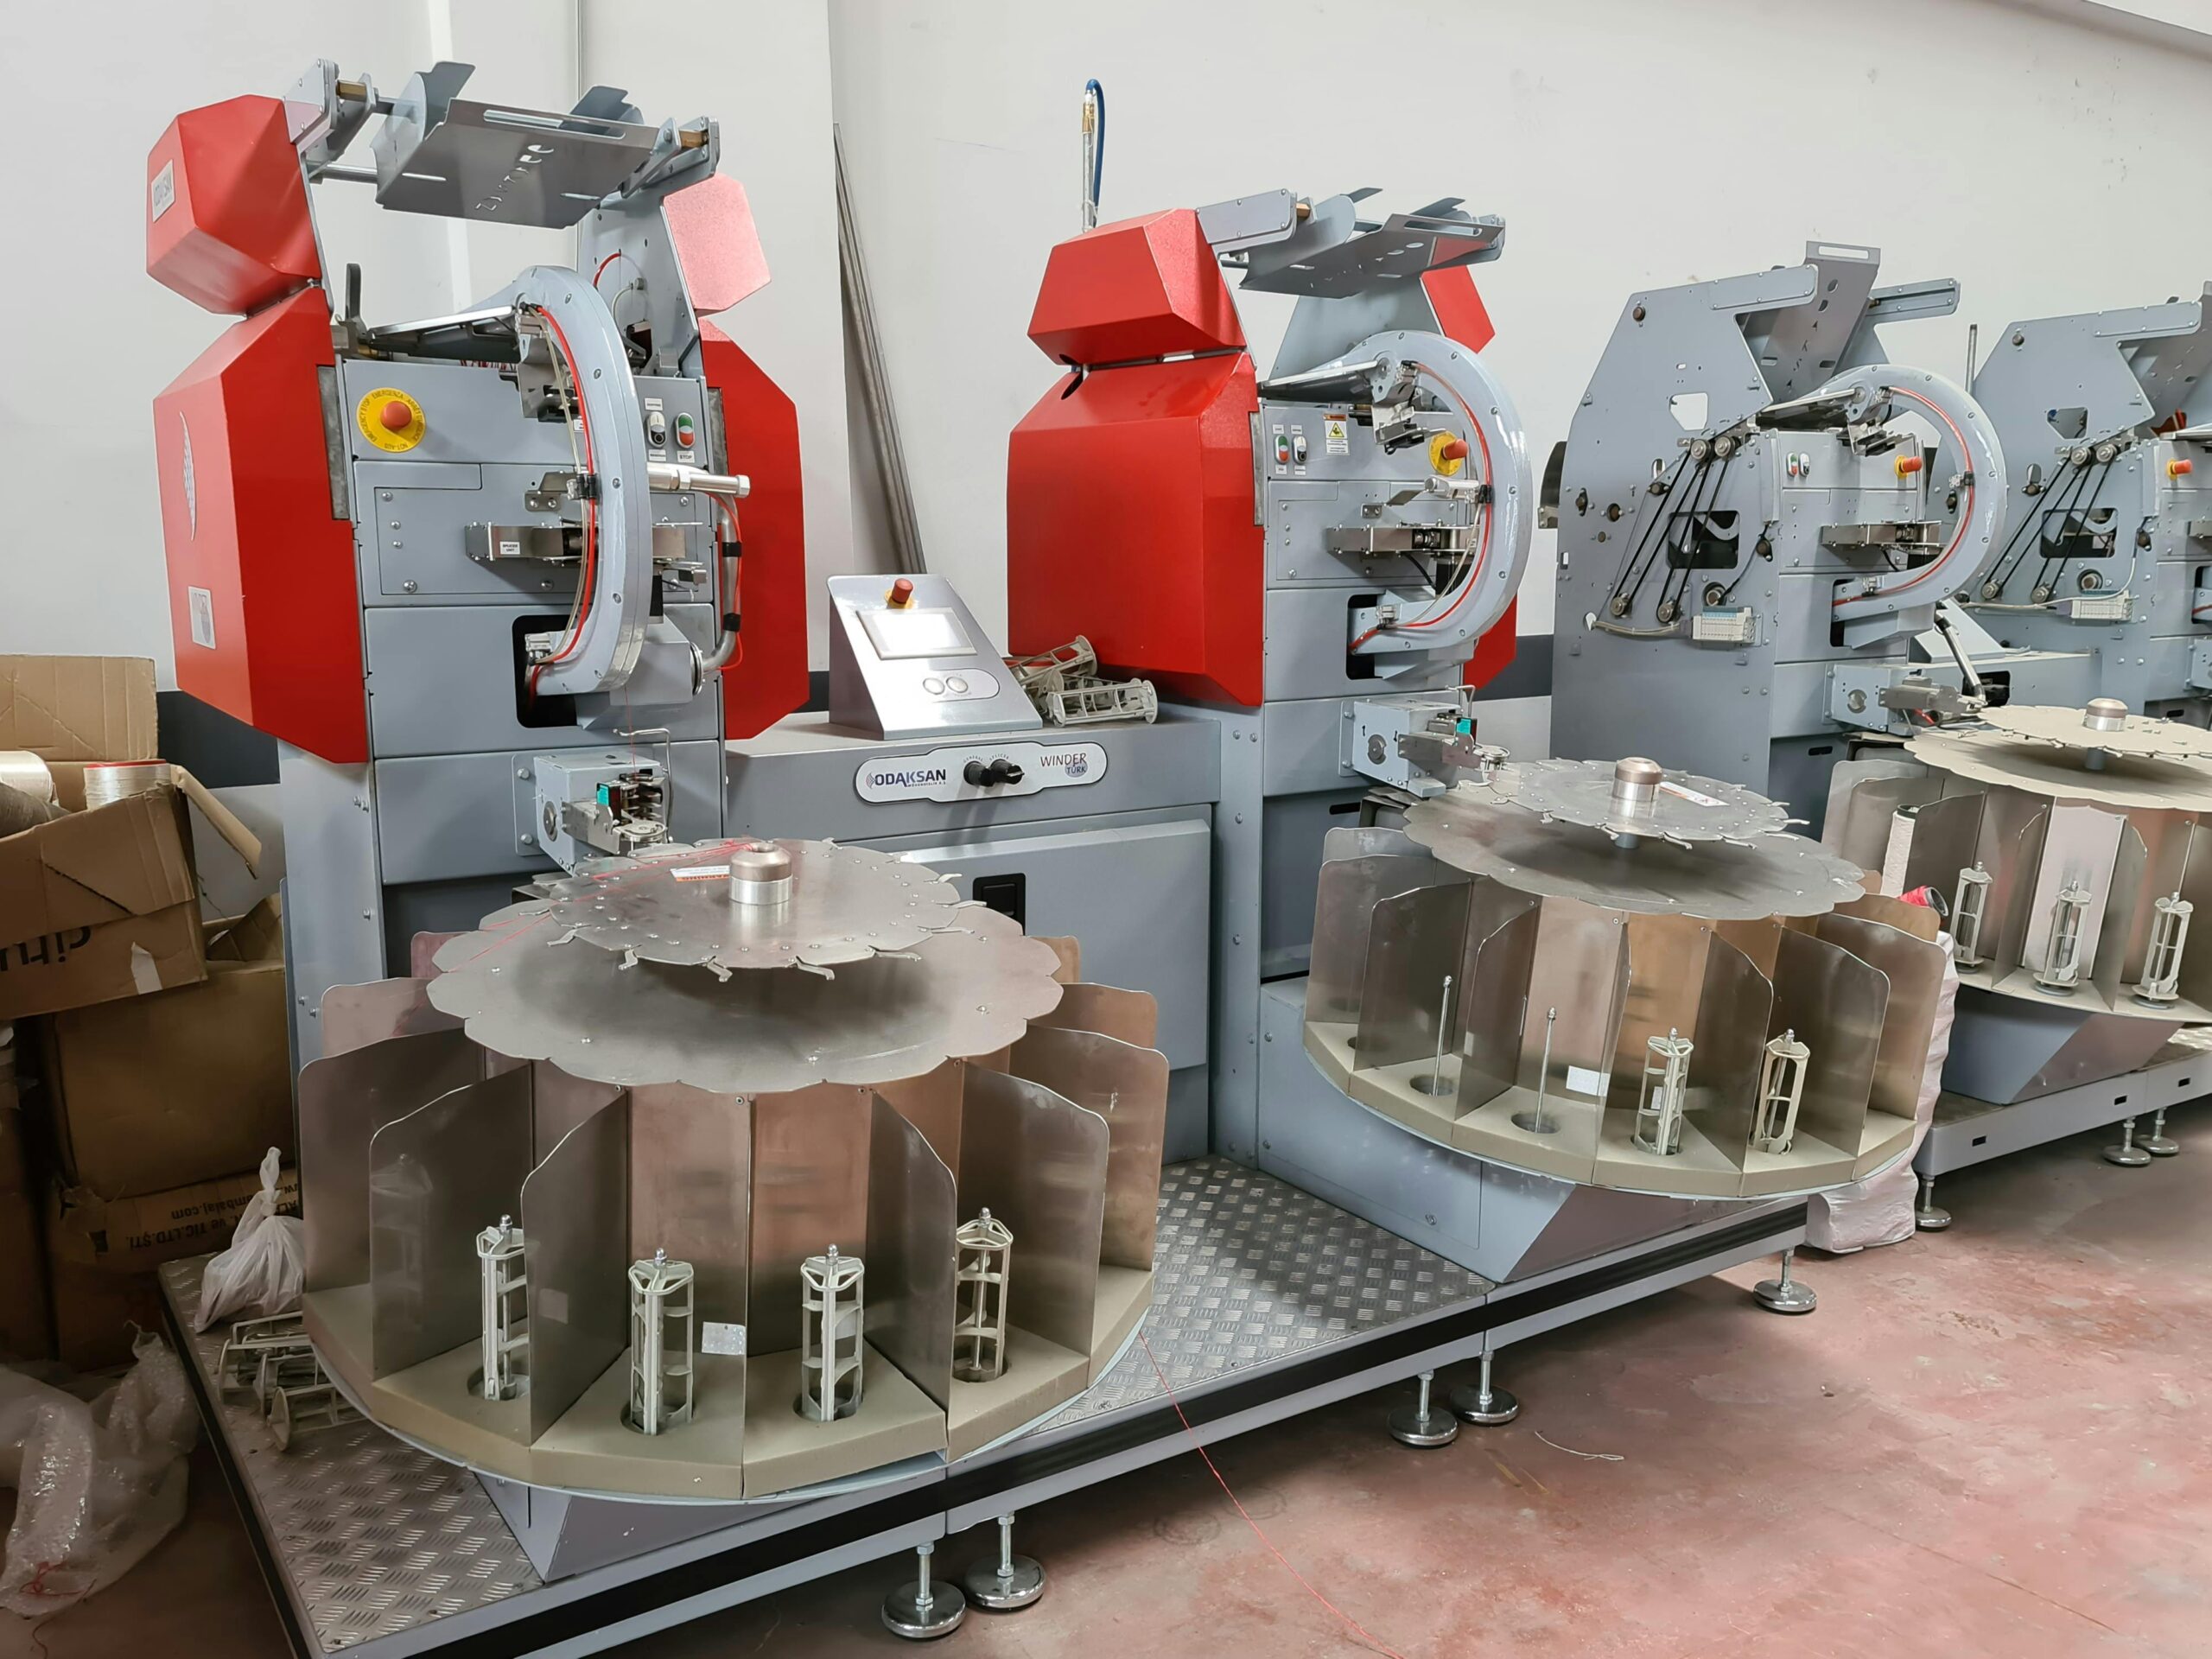
The injection molding machine has a barrel that melts the plastic, a screw that moves it forward, and a clamp that holds the mold closed. Machine size gets measured by how many tons of force the clamp can make. Bigger parts need bigger machines.
How the mold is designed matters a lot for time and cost. Good cooling channels make the cooling step faster. Where the plastic enters the mold affects how evenly it fills up. Where the ejector pins are placed helps parts come out clean without damage. We’ve learned that spending time to make the mold design better at the start stops problems later.
Types of Plastic Injection Molding Processes
Injection molding can be changed to fit different product needs. Knowing which type fits your project helps you talk clearly with manufacturers and understand costs.
Standard injection molding – This is the most common way. One material gets pushed into the mold to make solid plastic parts. It works for most projects and costs the least per part when you make a lot.
Overmolding – Two different materials get joined together one after the other. The first material gets molded, then the part stays in the machine while a second material gets molded over it. This makes products like tools with soft handles or electronics with hard bodies and soft seals. The materials stick together during molding without glue.
Insert molding – Metal pieces like threaded inserts, pins, or contacts get placed into the mold before injection. Plastic flows around these metal pieces and locks them in place as it cools. This removes the need to put parts together later and makes stronger connections than pressing or gluing inserts.
Two-shot or multi-shot molding – Multiple colors or materials get pushed in during one cycle using a special machine. The mold turns between stations or the part moves to a second spot. This makes parts with multiple colors or mixes hard and soft plastics without putting them together later. It needs more complex molds but saves time for making lots of parts.
Each type works best at different amounts. Standard injection molding works for almost any amount once you build the mold. Overmolding and insert molding cost a bit more for the mold but you don’t have to put parts together. Two-shot molding needs expensive molds and usually makes sense when you need more than 50,000 parts per year. We help clients pick which way works best for how many parts they need and what the parts need to do.
Common Materials Used in Injection Molding
Different plastic materials have different strengths. Picking the right material depends on how your part will be used and what it needs to handle.
ABS (Acrylonitrile Butadiene Styrene) – Strong, won’t break easily, and easy to work with. ABS works well for cases, boxes, and structural parts. It finishes cleanly but doesn’t handle really high heat as well.
Polypropylene (PP) – Bends easily, resists chemicals, and costs less. PP is common in hinges, containers, and car parts. It can bend many times without breaking and most chemicals won’t hurt it.
Polycarbonate (PC) – Very strong and you can see through it clearly. PC handles higher heat than ABS and is often used for safety equipment, lenses, and medical devices. It costs more but is tougher.
Nylon (Polyamide/PA) – Resists wear and has good strength. Nylon works for gears, bushings, and parts that rub against things or move a lot. It absorbs water, which can change its size a little.
Polyethylene (PE) – Comes in high-density (HDPE) and low-density (LDPE) types. PE resists chemicals really well and bends easily. It’s used for containers, bottles, and everyday products that need to last.
What material you pick depends on where the part will be used, what rules you have to follow, and how it needs to look. Medical projects may need FDA-approved materials. Car parts need materials that handle hot and cold temperatures. Outdoor products need to resist sun damage.
When clients ask about picking materials, we start by asking where the part will be used, what forces it will face, and what rules apply. We work with major material suppliers and can get special plastics for projects that need specific approvals or performance. Our ISO 9001:2015 certification means we track materials throughout making your parts.
Not sure which material fits your project? See our complete material options and certifications.
Injection Molding Design Basics: What Makes a Part Moldable
How you design your part decides if injection molding will make good results. A few simple rules stop common problems and keep mold costs down.
Wall thickness consistency – Keep walls the same thickness, usually 2 to 4mm for most plastics. Thick sections cool slower than thin sections, causing sink marks or bending. If you need thicker areas for strength, change the thickness slowly instead of making sudden changes.
Draft angles – Parts need a slight angle (1 to 3 degrees) on straight walls so they come out of the mold easily. Without this angle, parts stick or need too much force to come out, which can damage them. Deeper holes need more angle. Textured surfaces also need more angle to release right.
Undercuts and side actions – An undercut is any feature that stops the part from coming straight out of the mold. These need special mechanisms or hand-placed inserts, which add a lot to mold cost. Many undercuts can be removed by turning the part a different way or splitting a feature into two pieces that get put together.
Corner radii – Sharp inside corners create weak spots where parts can crack. They also stop plastic from flowing well during injection. Rounding inside corners to at least 0.5mm makes parts stronger and helps material fill the mold completely. Outside corners can be sharper if needed for looks.
Most injection molding partners offer free Design for Manufacturability (DFM) reviews before they quote the mold cost. We review CAD files to find possible molding problems and suggest changes that improve quality or lower cost. Our team has experienced designers who can often find simple shape changes that remove expensive mold features. We’ve helped clients redesign parts to remove side actions, balance cooling, and improve strength—sometimes saving 30% or more on mold cost.
Injection Molding vs. Other Manufacturing Methods
Picking the right way to make parts depends on how many you need, how complex the part is, what material you need, and your timeline. Injection molding works great in some situations but isn’t always the best choice.
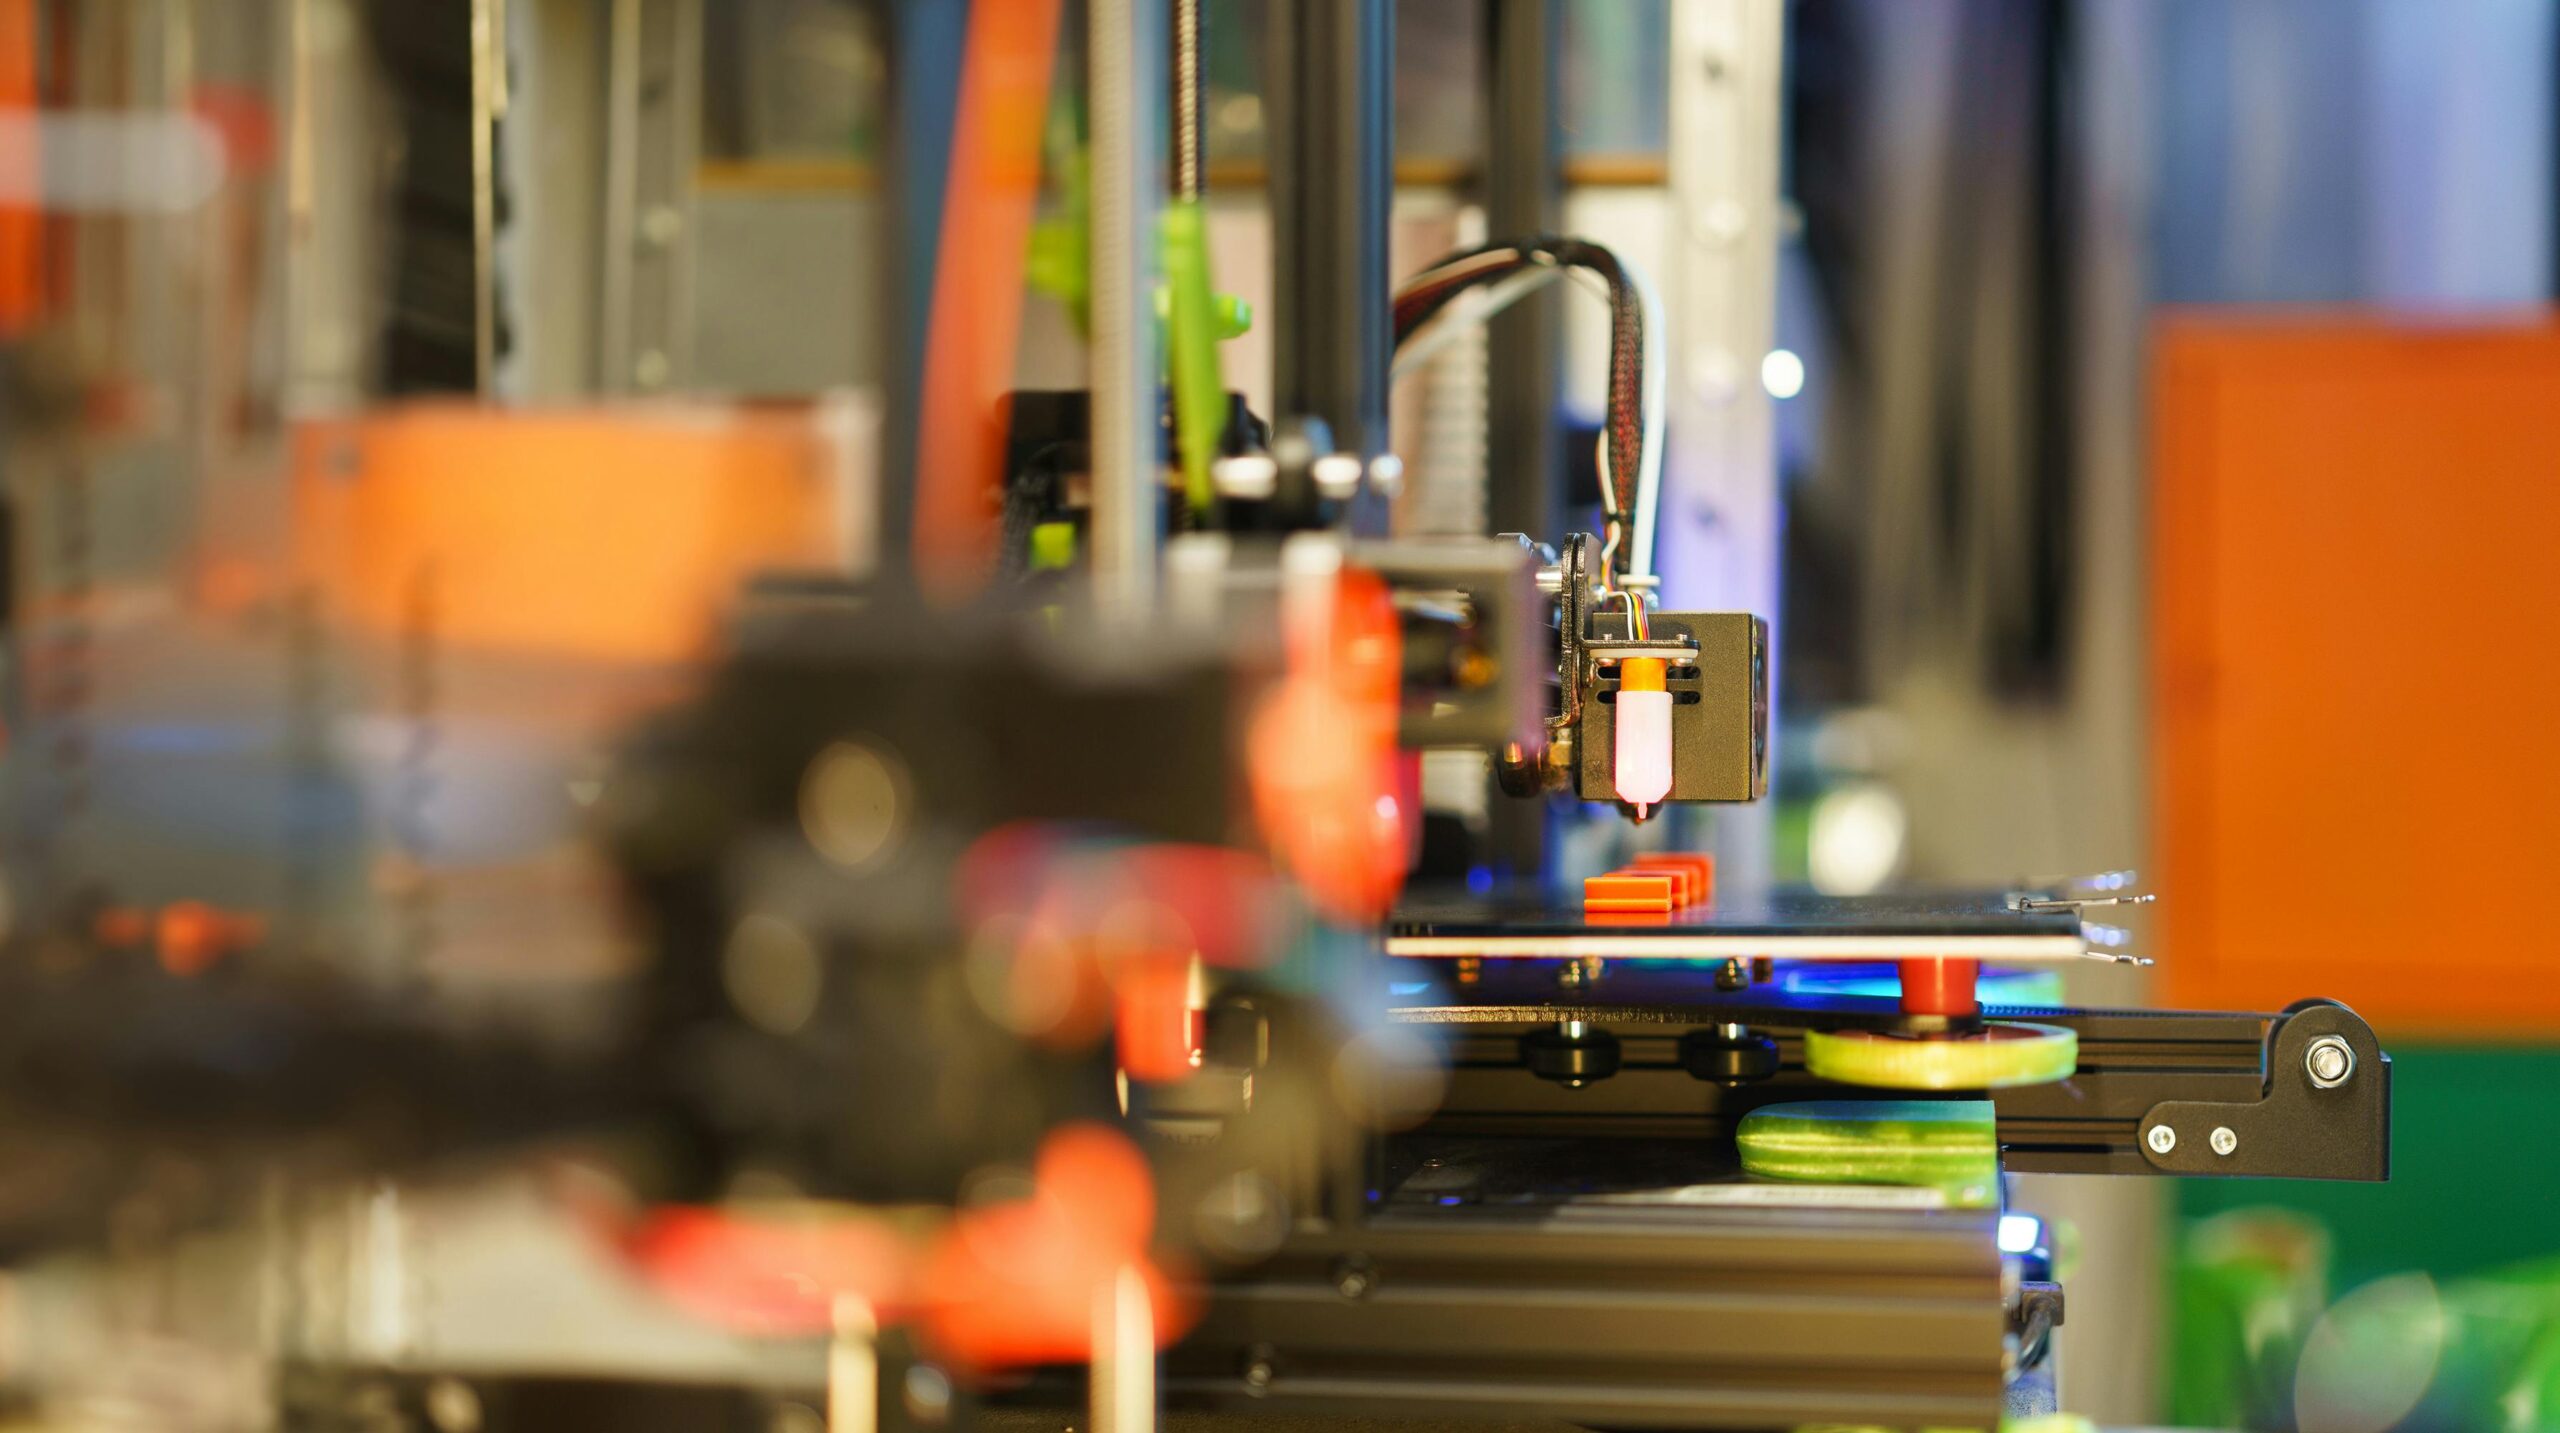
Injection molding vs. 3D printing – Injection molding wins when you need more than 1,000 parts. The cost per part drops a lot as you make more because the mold cost gets spread across more parts. 3D printing works better for test parts, one-of-a-kind items, or making less than 100 parts. It doesn’t need a mold but each part costs the same no matter how many you make. If you need 50 parts, 3D print them. If you need 50,000 parts, injection molding costs much less per piece.
Injection molding vs. CNC machining – Injection molding costs less per part when you make a lot and can handle complex inside features that machining can’t reach. CNC machining works better for metal parts, very small amounts, or when you need extremely exact sizes. Machining cuts away material from solid blocks, so it wastes more material and takes longer per part. For plastic parts above 5,000 units, injection molding almost always costs less.
Injection molding vs. thermoforming – Injection molding makes complex 3D parts with exact sizes. Thermoforming heats flat plastic sheets and shapes them over molds. It works for simple, large, thin-walled items like package trays or equipment boxes. Thermoforming molds cost less but can’t create the detail or strength that injection molding gives.
The break-even point where you’ve paid back the mold cost usually happens between 5,000 and 10,000 parts. How complex your part is changes this number. Simple parts with easy molds break even sooner. Complex parts with multi-piece molds or side actions take longer to pay back the cost.
Timeline expectations include 4 to 8 weeks to design and make the mold, then making parts begins. Once the mold is tested and working, cycle times range from 15 to 90 seconds per part. A 30-second cycle time makes 2,880 parts in 24 hours.
What to Look for in an Injection Molding Partner
Picking the right manufacturing partner affects quality, cost, and how smoothly your project goes. These standards help you find manufacturers who give you consistent results.
☑ Certifications and quality systems – ISO 9001 certification shows the company has written quality processes and keeps improving. Medical device manufacturers need ISO 13485. Car part suppliers need IATF 16949. These certifications mean the manufacturer tracks materials, keeps equipment working, and follows consistent steps. We’re ISO 9001:2015 certified and working toward ISO 13485 and AS9100 certifications to better serve customers who need medical devices, airplane parts, and defense products.
☑ In-house capabilities – Manufacturers who handle mold making, molding, and extra operations in one place make communication easier and reduce delays. Look for measuring machines for checking sizes, vision systems for quality control, and abilities like machining, assembly, and finishing. We offer complete manufacturing solutions including putting products in boxes, mechanical assemblies, machined parts, and supply chain management—not just molding.
☑ Material expertise and sourcing – Your partner should understand material properties for your industry and work with suppliers who can get specialty plastics. Ask if they’ve worked with your required materials before and how they handle material certificates or rule documentation.
☑ Communication and DFM support – Strong manufacturers suggest design improvements before starting the mold. They should review your CAD files, find possible molding problems, and explain choices between different approaches. We’ve worked with clients who switched from overseas manufacturers because of communication delays and not being able to visit the facility to check first parts. Being local to Northern Utah and Southern Idaho means our customers can visit during mold testing, check first parts in person, and fix problems quickly.
☑ Location considerations – Local manufacturers reduce wait times, make shipping easier, and make facility visits possible. Overseas molding might cost less per part but adds 8 to 12 weeks of ocean shipping, makes quality problems harder to fix, and makes mold changes expensive. Local manufacturing near you gives faster response and easier oversight.
Our team has experienced manufacturing professionals who solve hard problems every day. We’re always growing our abilities and investing in people, processes, and equipment to meet modern manufacturing needs. Our partnership with Utah State University gives us access to hard-working, skilled students and advanced technology.
Ready to discuss your injection molding project? Get a free injection molding quote.
Conclusion
Injection molding makes lots of complex, matching parts with consistent quality across thousands or millions of units. Understanding the four-step process, material choices, and design rules helps you decide if injection molding fits your project and talk effectively with manufacturing partners.
Whether you’re testing a new product or making more of an existing one, picking a qualified partner with the right certifications, in-house abilities, and material knowledge makes the difference between smooth manufacturing and costly delays. Local manufacturers in Northern Utah offer faster communication, easier facility visits, and simpler shipping than overseas options.
Get a free injection molding quote or view injection molding projects we’ve completed.