Plastic Injection Molding vs. 3D Printing: Which Process Is Right for Your Project?
Justin Brown
March 26th, 2026
You have a plastic part to produce. You pull up two options: injection molding and 3D printing. Both look like they could work. So how do you know which one is actually right for your project — and which one will cost you time and money if you guess wrong?
The difference between a plastic injection molding service and 3D printing is not just about price. It comes down to volume, tolerance, material, and timeline. Pick the wrong process at the wrong stage and you will pay for it — in rework, delays, or wasted tooling dollars.
This guide breaks down exactly when injection molding makes more sense than 3D printing — and when it does not. We will cover how both processes work, where each one wins, and how to match the right method to your part, volume, and budget. By the end, you will know exactly what to ask a manufacturer.
When Should You Use Injection molding instead of 3D Printing?
Use plastic injection molding when you need high-volume production — typically 1,000 or more parts. It is also the right choice when your part requires tight dimensional tolerances, production-grade materials, or a lower per-unit cost at scale.
Use 3D printing when you are prototyping, need complex geometry that tooling cannot achieve, or need parts fast before committing to a mold. The simplest rule: 3D printing is best for testing. Injection molding is best for making.
Choose 3D printing for: prototypes, complex shapes, fast turnaround, no minimum quantity
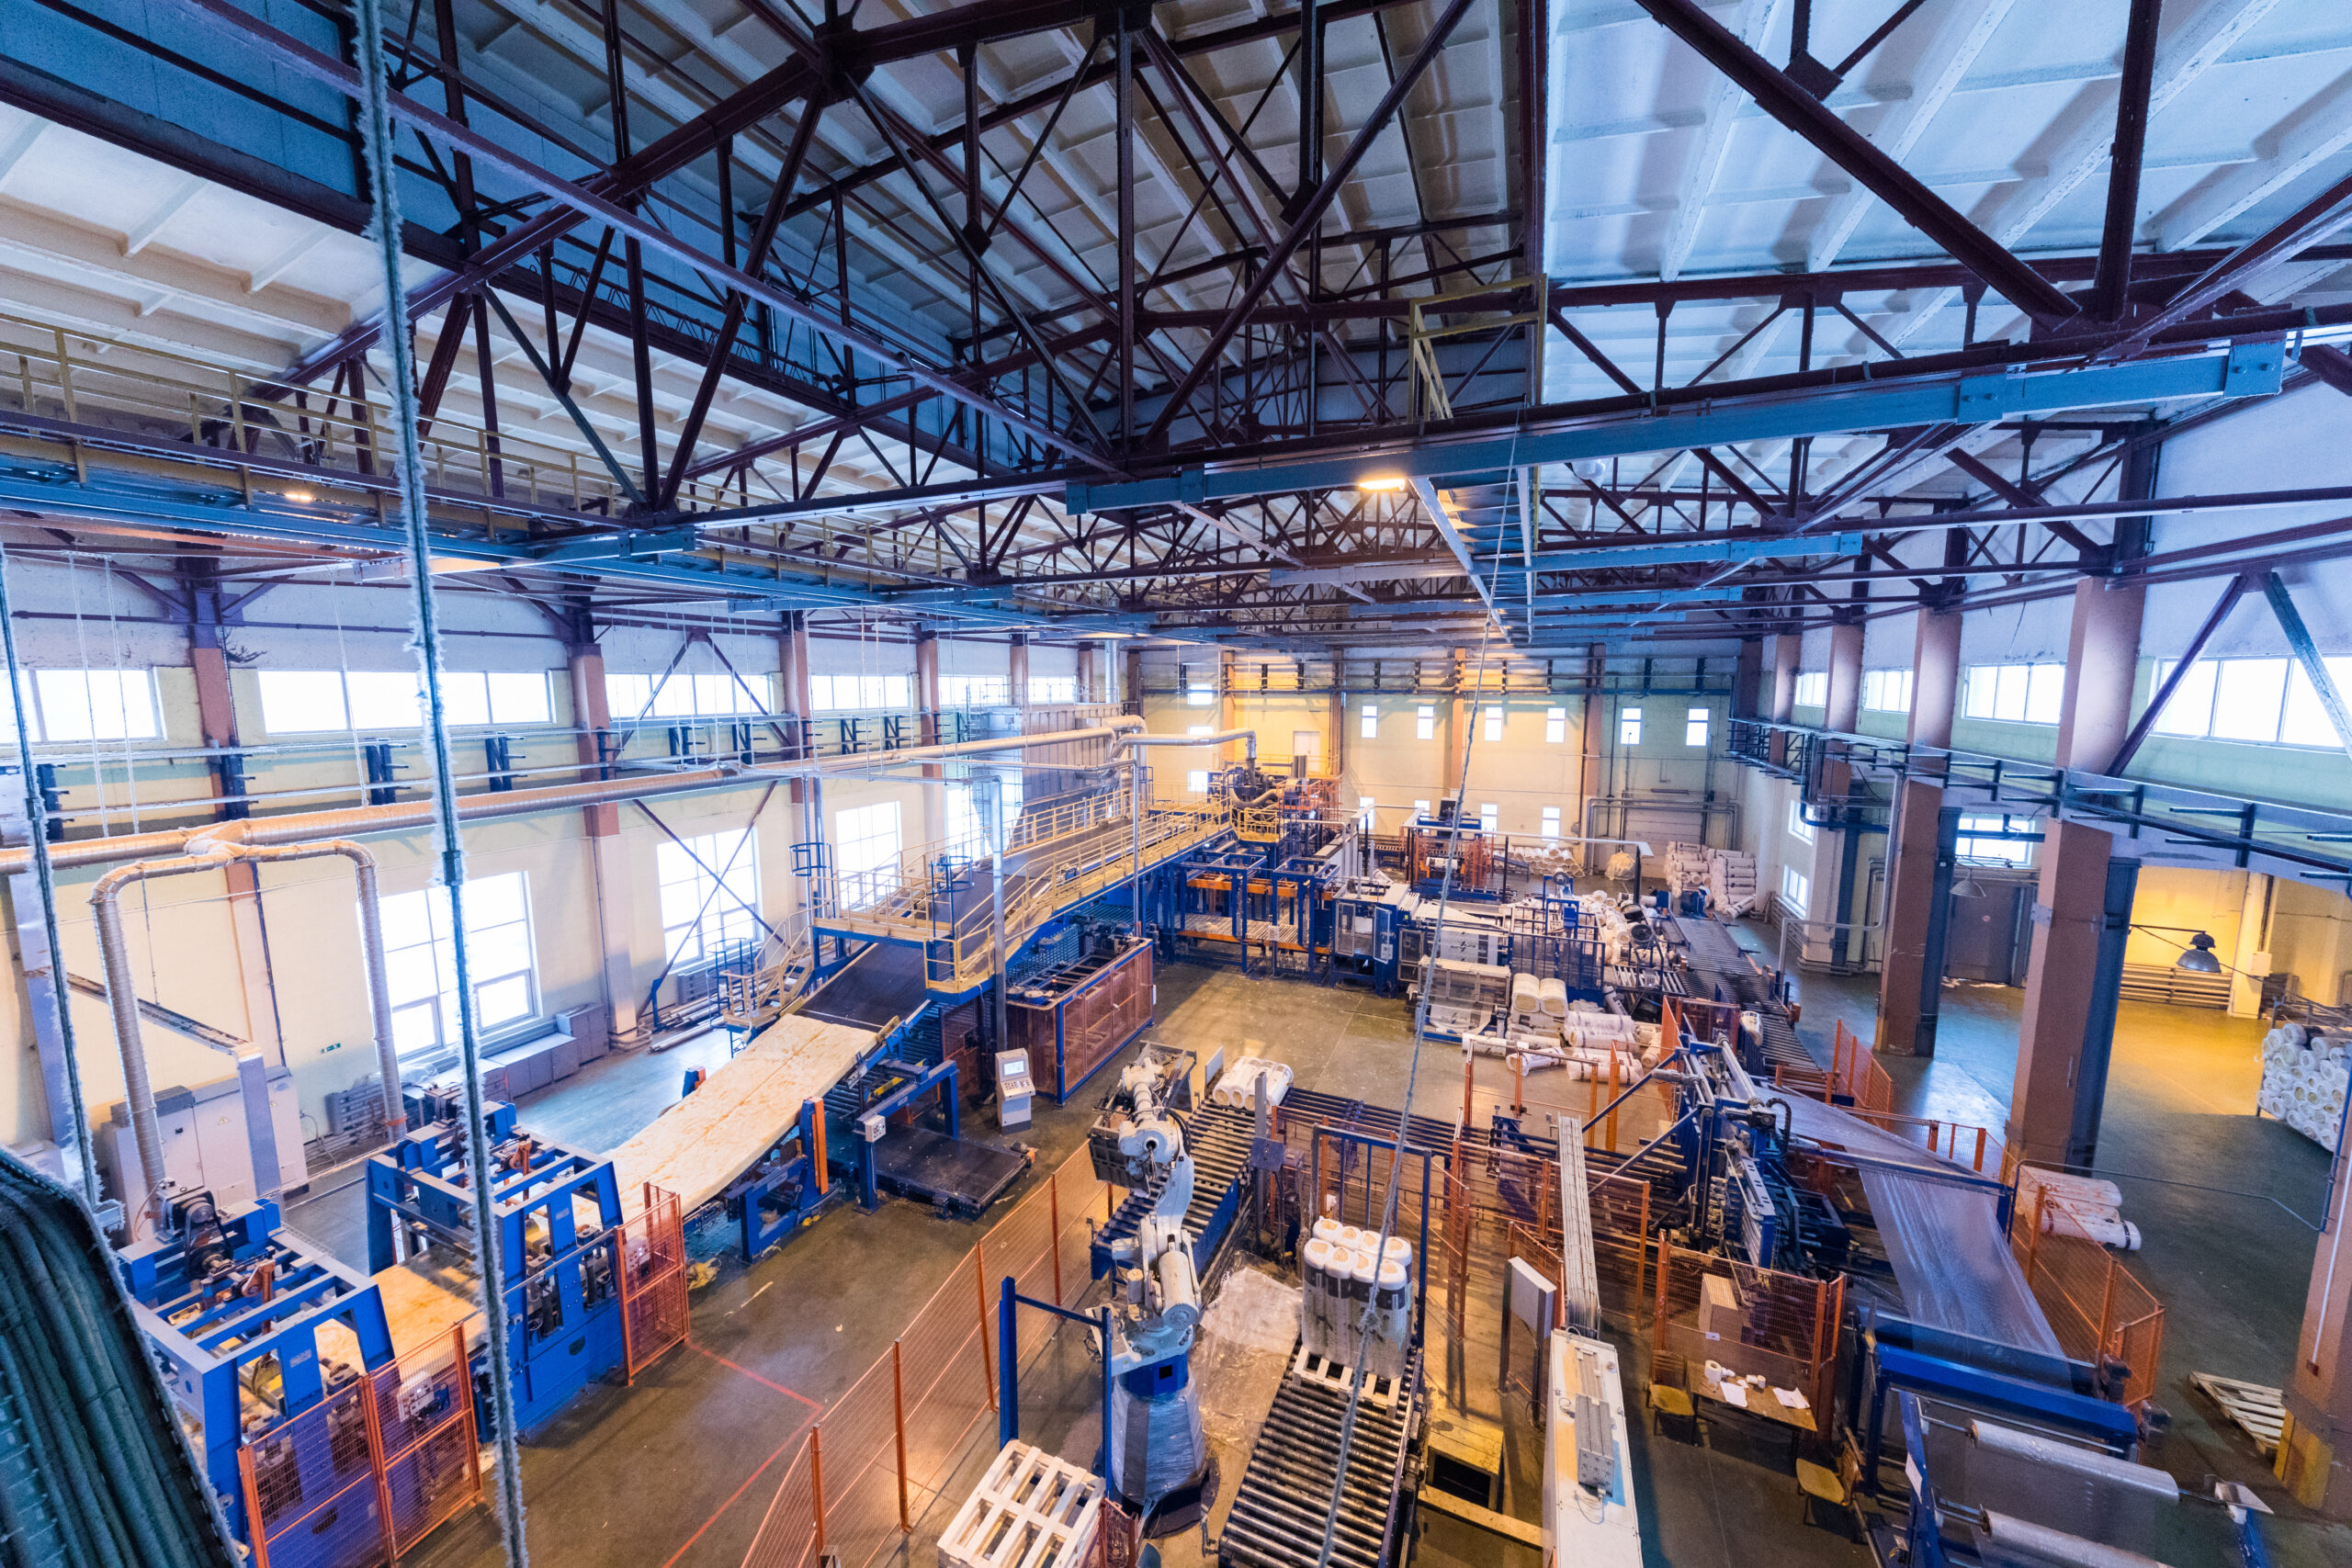
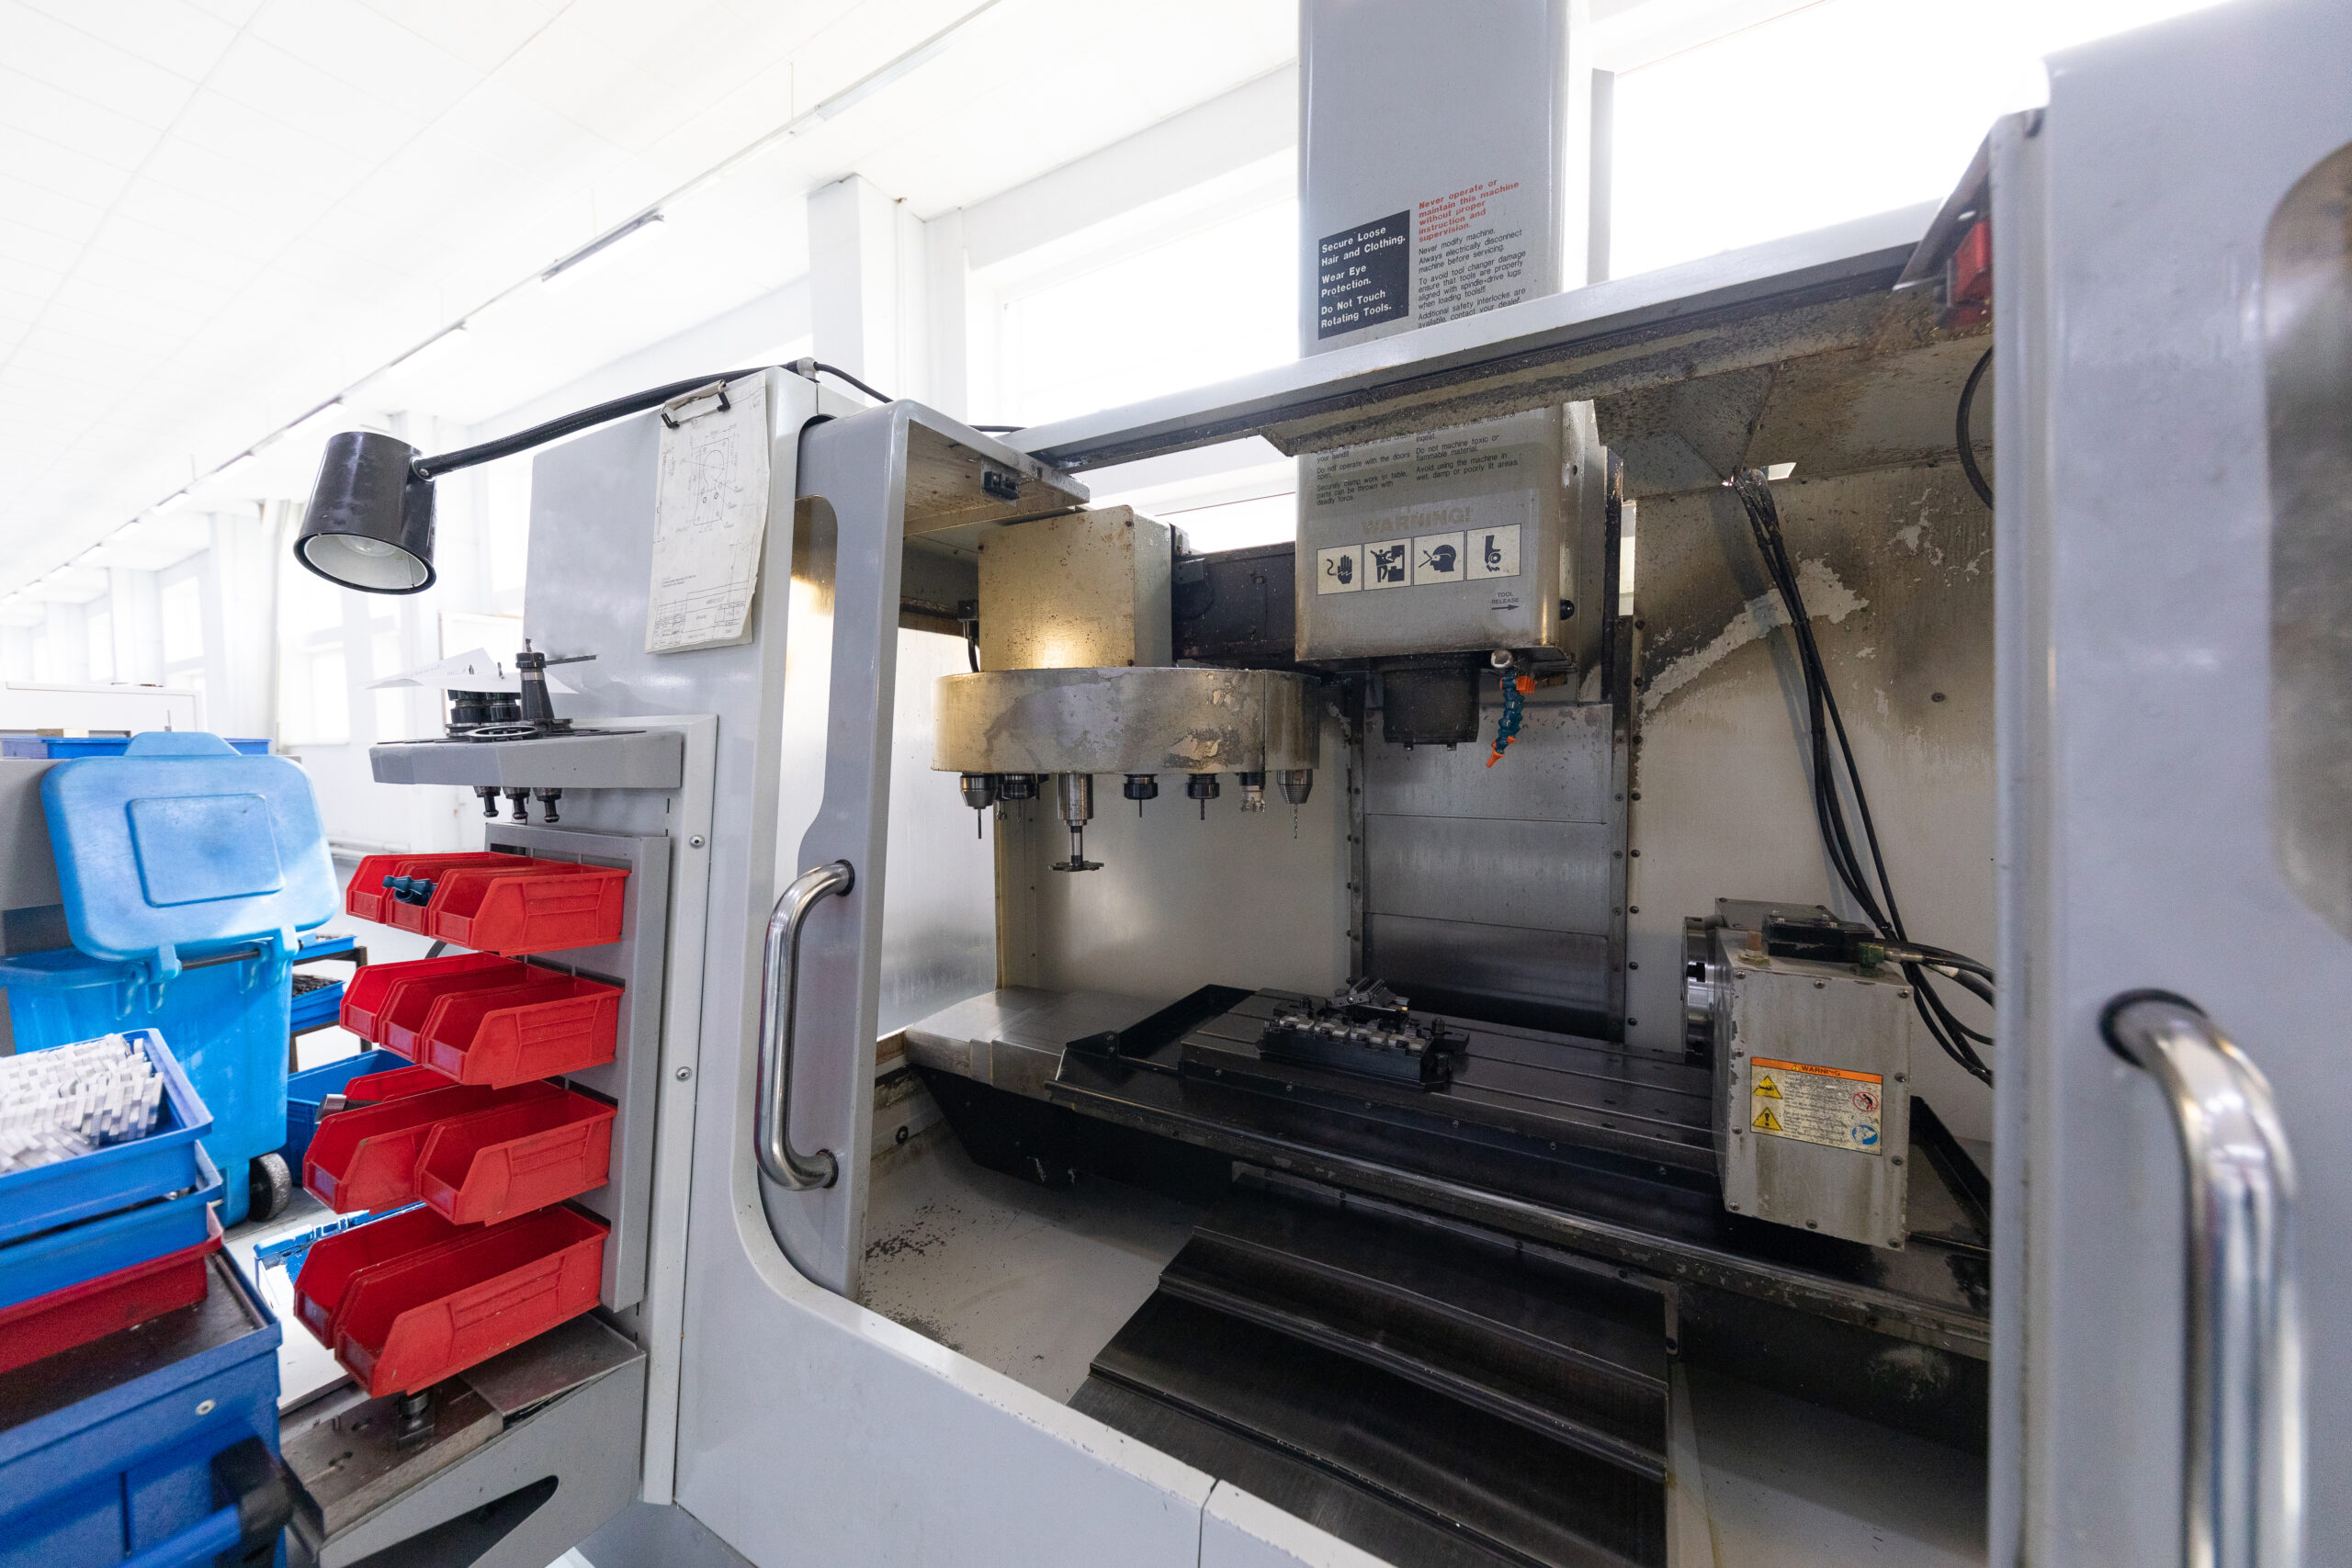
How Plastic Injection Molding Works
Custom plastic injection molding starts with a steel or aluminum mold. We inject molten plastic into that mold under pressure, cool it, and eject a finished part. The result is a precise, repeatable part — made the same way every single time.
The mold itself is the upfront investment. Once it is cut, you can run thousands — or millions — of identical parts at a low per-unit cost. That cost advantage grows the higher your volume climbs.
Tolerances in injection molding are tight. Parts that need to fit together, seal against another surface, or meet a spec sheet perform best with this process. We work with a broad material library:
Injection molding is best for production runs, functional end-use parts, and industries like medical devices, automotive, and consumer products where consistency is non-negotiable.
Most clients come to us after a prototype stage. We see the same pattern often — a part that started as a 3D print has proven its design, and now the team needs production-quality output at volume. That is exactly where injection molding takes over.
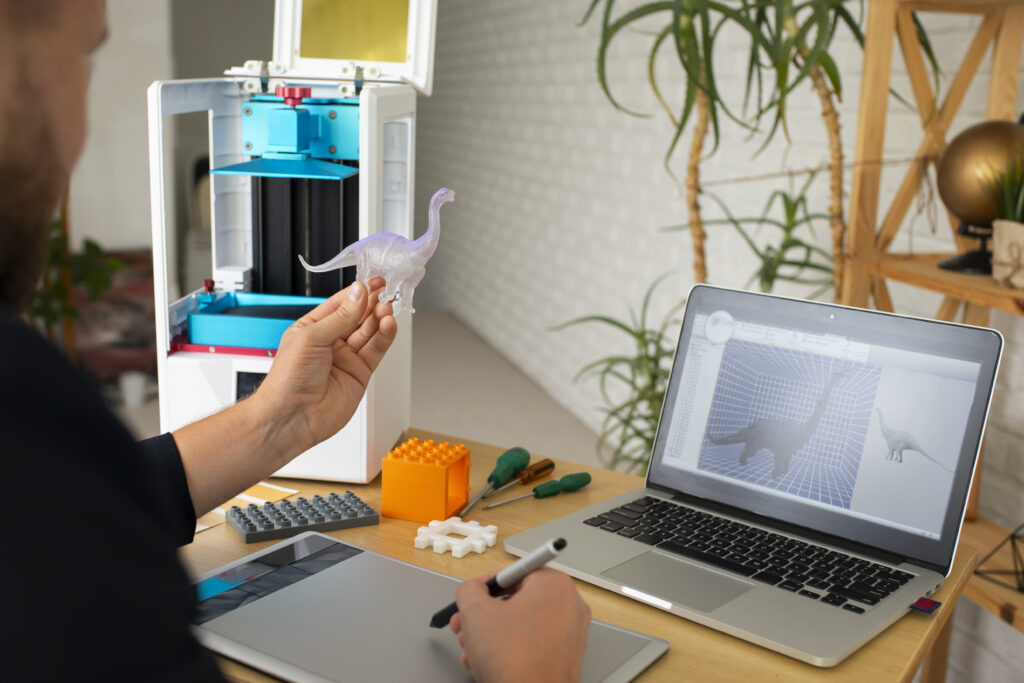
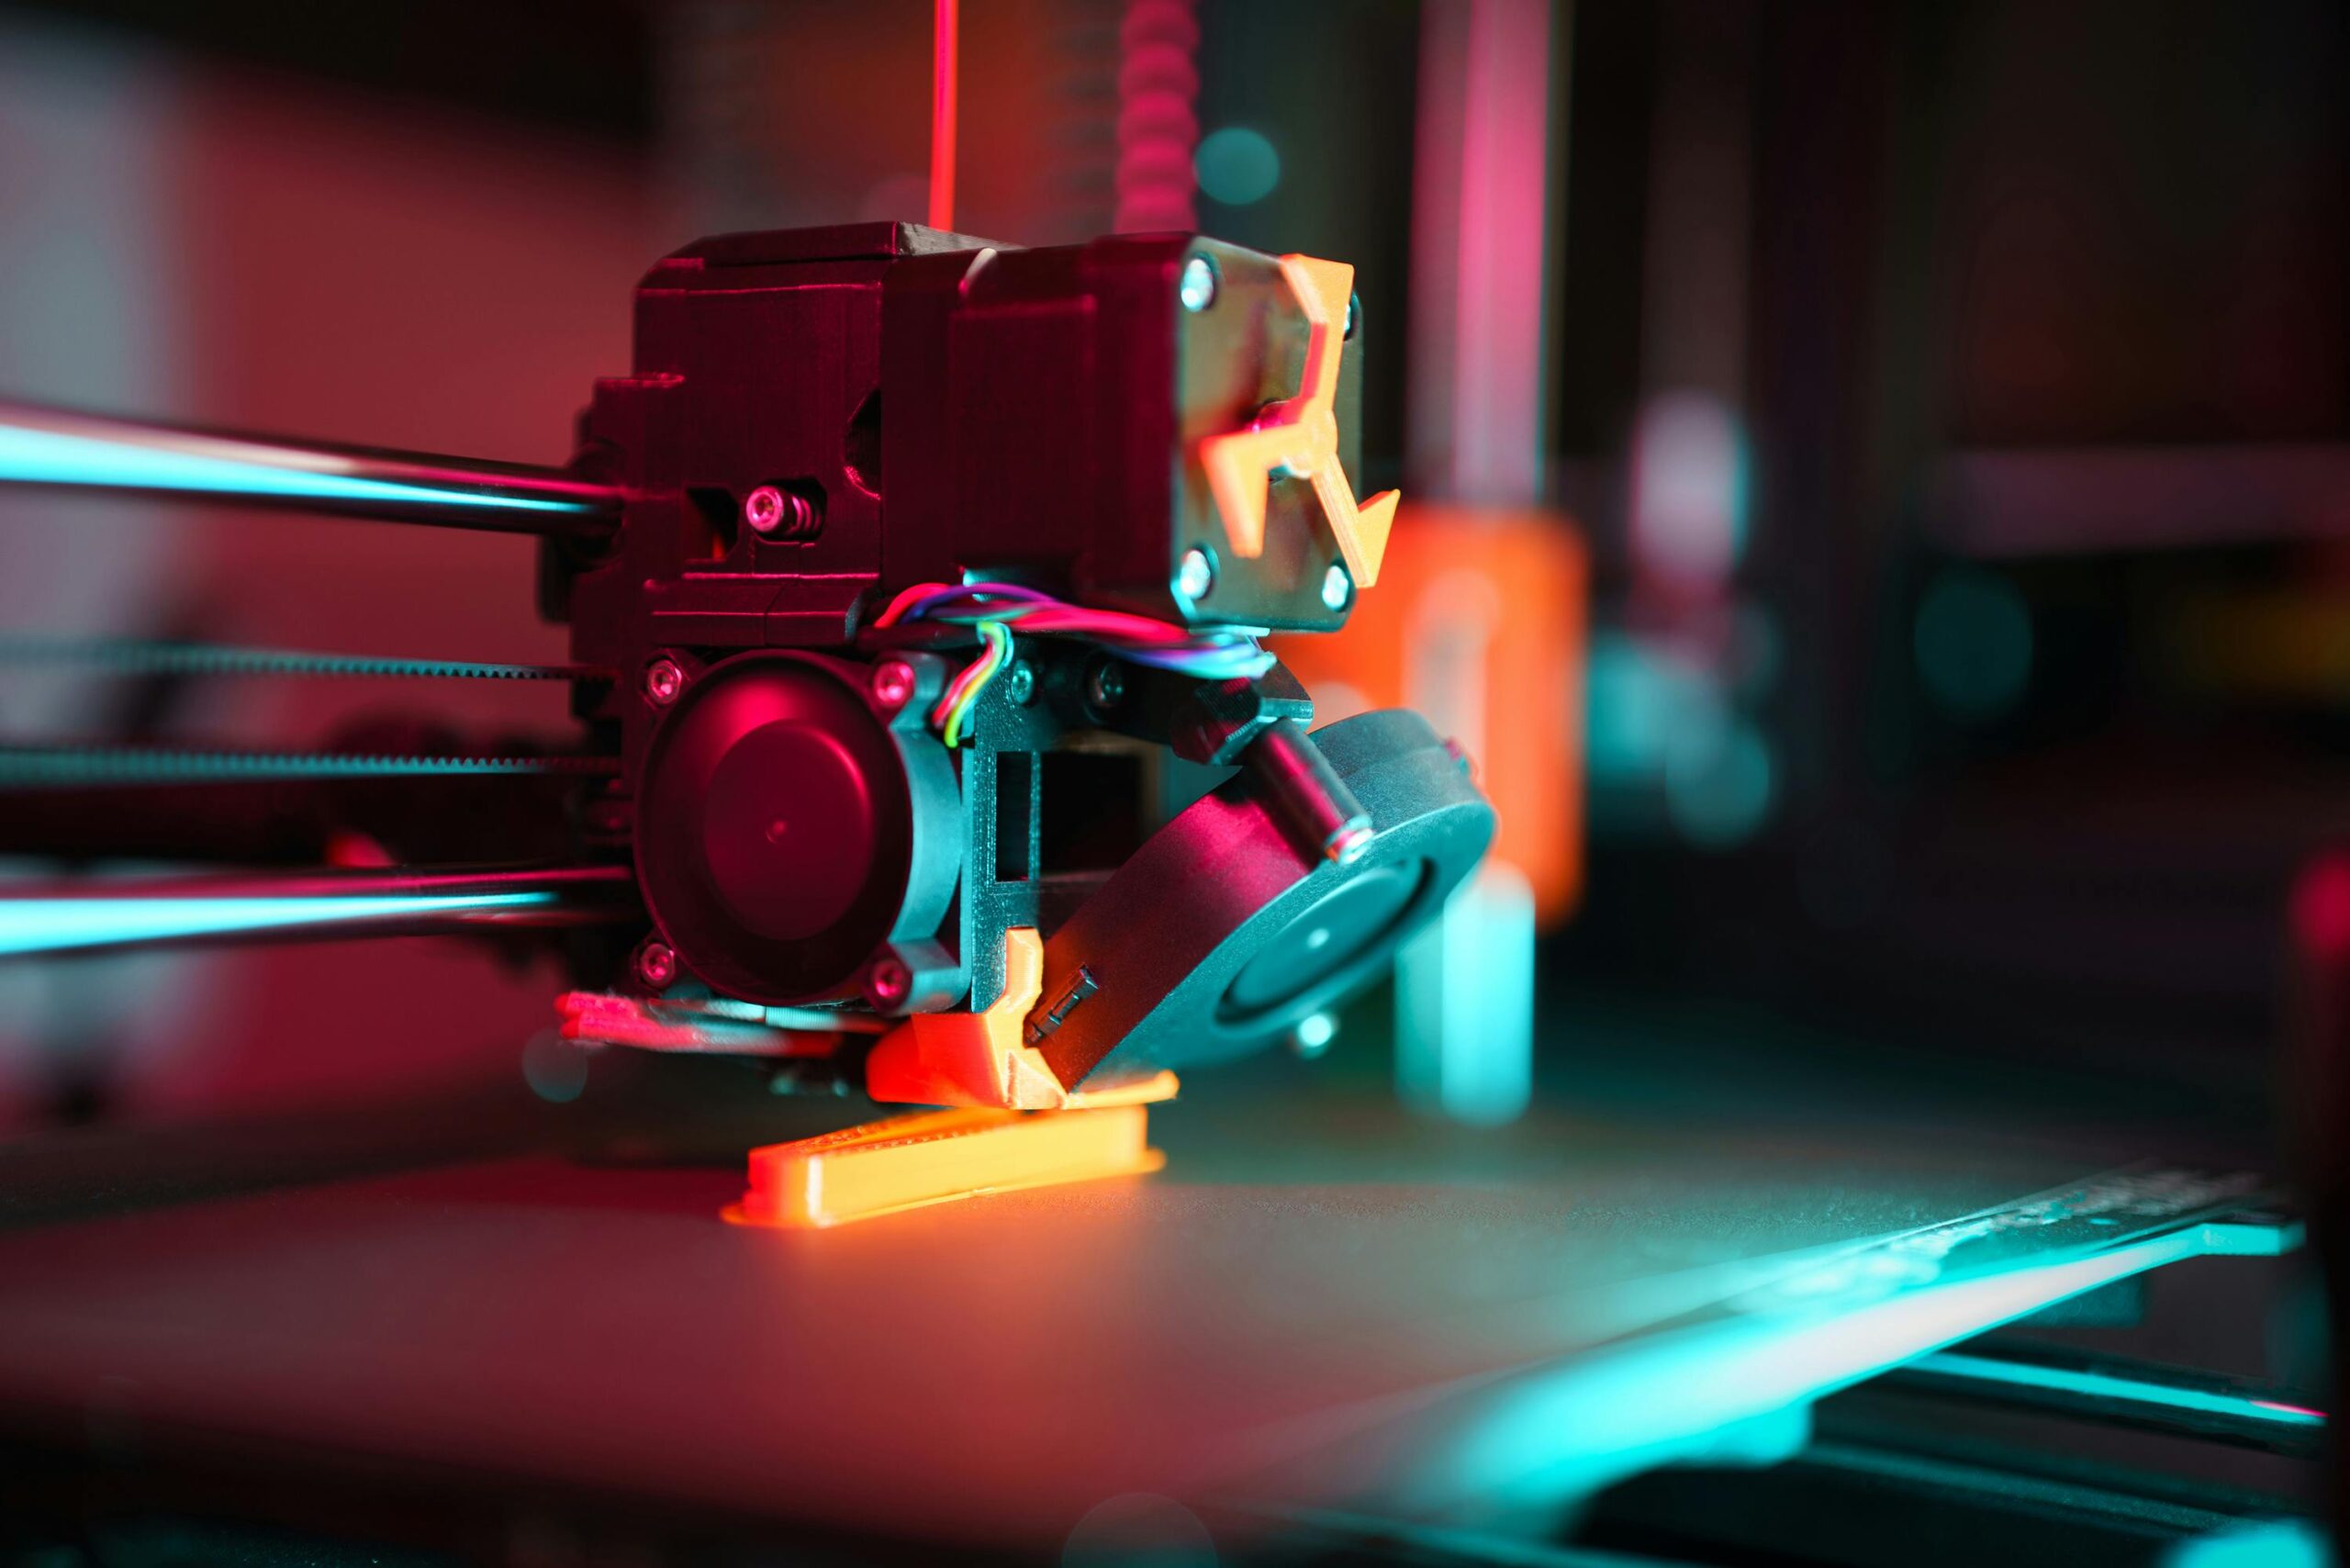
How 3D Printing Works (And Where It Fits)
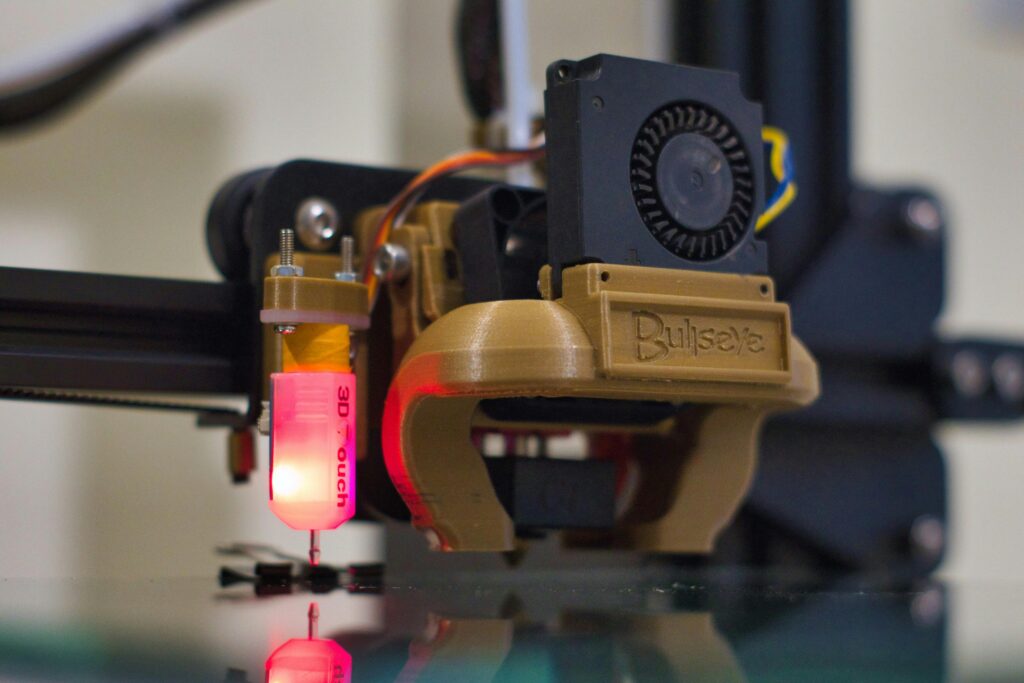
3D printing builds a part layer by layer from a digital file. There is no tooling required. You upload a file, choose a material, and get a part — sometimes within days.
Several process types exist, and each one has its own strengths:
FDM (Fused Deposition Modeling): Common, fast, and cost-effective for basic prototypes
SLS (Selective Laser Sintering): Stronger, more durable parts with functional material properties — the best 3D printing option for mechanical testing and pre-production validation
SLA (Stereolithography): Smooth surface finish, good for visual and fit-check models
There is no minimum order quantity with 3D printing. You can order one part. That makes it ideal for early-stage product development when designs are still changing.
3D printing also handles geometry that injection molding cannot. Internal channels, organic shapes, and deep undercuts are all possible without tooling constraints.
At Freeform, we run FDM in-house and access an SLS network for higher-resolution needs. We often print samples for clients first so they can check fit and function before we cut a mold. That step alone can save significant tooling cost by catching design issues early.
3D printing is best for validation, complex shapes, and confirming your design is ready before moving to production.
Now that you know how each process works, here is where the real decision happens — volume, cost, and timeline.
Injection Molding vs. 3D Printing — Key Differences
The process descriptions are useful. But most buyers need a direct comparison before they can make a call. Here is how the two methods stack up across the factors that matter most. For industry standards on tooling classifications and materials, the Plastics Industry Association is a reliable reference.
Factor
3D Printing
Injection Molding
Best volume
1–500 parts
1,000–1M+ parts
Upfront cost
Low (no tooling)
Higher (mold required)
Per-unit cost at scale
Higher
Lower
Lead time
Days
2–6 weeks (first run)
Tolerances
Moderate
Tight
Material options
Moderate
Extensive
Best use
Prototyping, complex geometry
Production, functional parts
The crossover point typically falls somewhere between 500 and 5,000 parts. The exact number depends on part complexity, material, and tooling type. Below 500, 3D printing almost always wins on total cost. Above 1,000, injection molding wins on per-unit cost — often by a wide margin. In the middle range, tolerance requirements and part geometry tip the decision.
Cost structure is the other key difference. 3D printing has low upfront cost but higher per-unit cost as quantity grows. Injection molding requires a tooling investment upfront, but that cost spreads across every part you run. The more you produce, the cheaper each part becomes.
Surface finish and consistency are also worth noting. Injection molded parts come out of the mold with a uniform, production-quality surface. 3D printed parts — especially FDM — show layer lines and require post-processing for a clean finish.
The comparison is useful. But the real question is: which one is right for your specific part and project stage?
How to Choose the Right Process for Your Project
Picking the right process comes down to five straightforward questions. Work through them in order and the answer usually becomes clear.
Step 1: How many parts do you need? Start here. If you need fewer than 500 parts, 3D printing is almost always the right starting point. If you need 1,000 or more, injection molding is likely your destination — though the exact crossover depends on part complexity and material. If you are somewhere in between, move to Step 2.
Step 2: Does your part need to fit, seal, or meet a spec? If yes, injection molding is likely your end destination. Tight tolerances are where injection molding has no equal. 3D printing can get close, but not close enough for parts that must perform consistently in a functional assembly.
Step 3: Where are you in the product lifecycle? Early-stage design validation belongs in 3D printing. For most production volumes and functional requirements, injection molding is the destination. The smartest path uses both — print to prove the design, then mold to scale it.
Step 4: When are you ready to invest in tooling? Mold tooling is a capital expense. It is not a question of whether to make that investment — it is a question of when. Cutting a mold before your design is locked in is one of the most expensive mistakes a product team can make.
Step 5: Can your manufacturer handle both stages? This one matters more than most buyers realize. A vendor who only does one process will hand you off — or worse, push you toward the process they offer regardless of what your part actually needs.
We recently worked with a client on a consumer product housing. We ran three printed iterations over two weeks. By the time we cut the mold, the design was locked. The mold needed zero revisions. That prototype-to-production path saved weeks of tooling rework and thousands in avoidable costs.
Knowing which process fits your part is step one. Knowing who to trust with both is step two.
Why Work With a Manufacturer Who Offers Both?
Most manufacturing shops specialize in one process. That works fine until your project moves from prototype to production — and suddenly you are starting over with a new vendor who has never seen your part.
That handoff creates real problems:
Design files get translated between systems and details get lost
New vendors re-quote from scratch with no context on your tolerance history
Onboarding delays push your production timeline back
No one owns the full picture of your part’s development
A single-vendor partner eliminates that gap. When the same team handles your 3D printed prototype and your injection molded production run, your design files, material specs, and tolerance history stay in one place. If a prototype reveals a design flaw, we catch it before tooling is cut — not after.
Freeform Polymers has been serving manufacturers and product teams in Northern Utah since 2011. We offer the full range under one roof, along with other services:
In-house 3D printing for fast prototype turnaround
Short-run injection molding for bridge production and market testing
High-volume production molding for scale
Custom mold making with our in-house tooling team
You work with one team from first print to full production run. No re-quoting. No file handoff. No starting over.
We are ISO 9001:2015 certified. To learn more about our team, our history, and how we work, visit our About page. If you are ready to move your part forward — whether you are still prototyping or ready to cut a mold — we are the right call.
Managing a plastic parts project means keeping a lot of moving pieces in order. Who designs the mold? Who sources the resin? Who runs production? Who handles assembly and ships…
You have a plastic part to produce. You pull up two options: injection molding and 3D printing. Both look like they could work. So how do you know which one…
You’ve finalized your part design. Your production numbers are climbing. Now comes the real question: is your current plastic molding process actually built for the volume you need? For manufacturers…
Need 50 plastic parts — not 50,000? Many manufacturers will turn you away. That’s exactly where short-run injection molding fills the gap. Standard injection molding is built for high-volume runs.…
Most people outside of manufacturing don’t know what a plastic injection molding machine is actually called. If you’ve talked to a supplier and felt lost in the terminology, that’s common.…
You have a plastic part design ready. A manufacturer tells you it needs to be injection molded. Then they start talking about cavities, cores, and ejector systems — and you’re…
Is plastic injection molding the right choice for your custom parts—or will the upfront costs outweigh the benefits? That’s a fair question. Tooling can run into the tens of thousands…
Need parts made to your exact specs—not pulled from a catalog? That’s where custom manufacturing comes in. The global injection molding market hit $295 billion in 2024 alone. Much of…