You have a plastic part design ready. A manufacturer tells you it needs to be injection molded. Then they start talking about cavities, cores, and ejector systems — and you’re lost before the conversation starts.
Plastic injection molding is the most widely used process for producing plastic parts at scale. Yet most buyers couldn’t name the three main parts of the mold before their first supplier meeting.
This guide explains plastic injection molding in plain terms — starting with the three main parts of the injection mold every buyer and engineer should understand. We’ll walk through how the process works, break down each mold component, and help you know what to ask when you’re ready to move forward with a manufacturer.
At Freeform Polymers, we work with buyers at every stage — from first-time product developers to experienced engineers. We want you to walk into that conversation prepared.
What Are the Three Main Parts of the Injection Mold?
The injection mold is commonly broken down into three main parts: the mold base, the molding system, and the ejection system.
- Mold base — the structural frame that holds the entire mold together, including the A plate, B plate, and clamp plates
- Molding system — the cavity and core that give your plastic part its shape, plus the feeding and cooling channels that control how plastic enters and solidifies
- Ejection system — the ejector pins and plates that push the finished part out of the mold once it has cooled
These three parts work together in sequence on every single cycle. Plastic enters through the molding system, takes its shape inside the mold base, and exits when the ejection system activates. Understanding this sequence helps you ask better questions, read quotes more clearly, and spot quality issues before they become problems.
When we review a new mold design with a client here in North Logan, these are the three areas we walk through first.
Want to see how these mold components affect your part’s cost and timeline? Explore our custom plastic injection molding service.
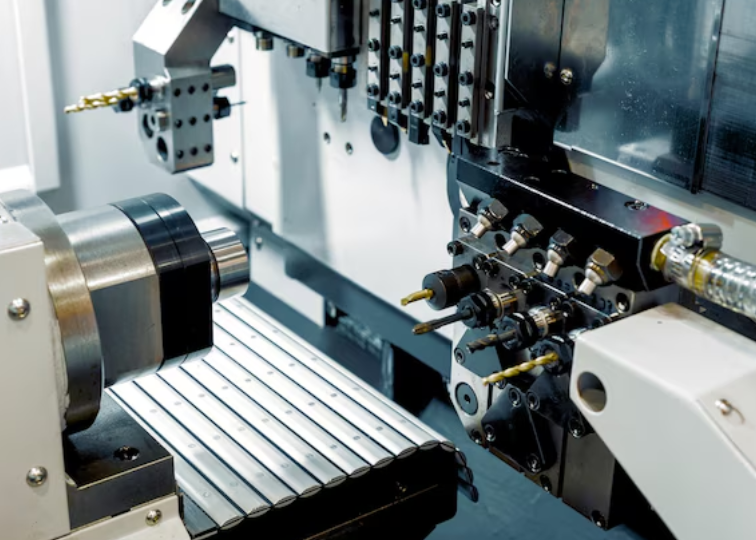
How Plastic Injection Molding Works
Plastic injection molding starts with raw plastic pellets. Those pellets are melted down and injected into a closed mold under high pressure. The mold holds the molten plastic in place while it cools and solidifies into the shape of your part.
Once the part has cooled, the mold opens and the finished piece is ejected. Then the mold closes again and the cycle repeats. According to the Plastics Industry Association, depending on part size and material, a single cycle can run in as little as 15 seconds or up to several minutes.
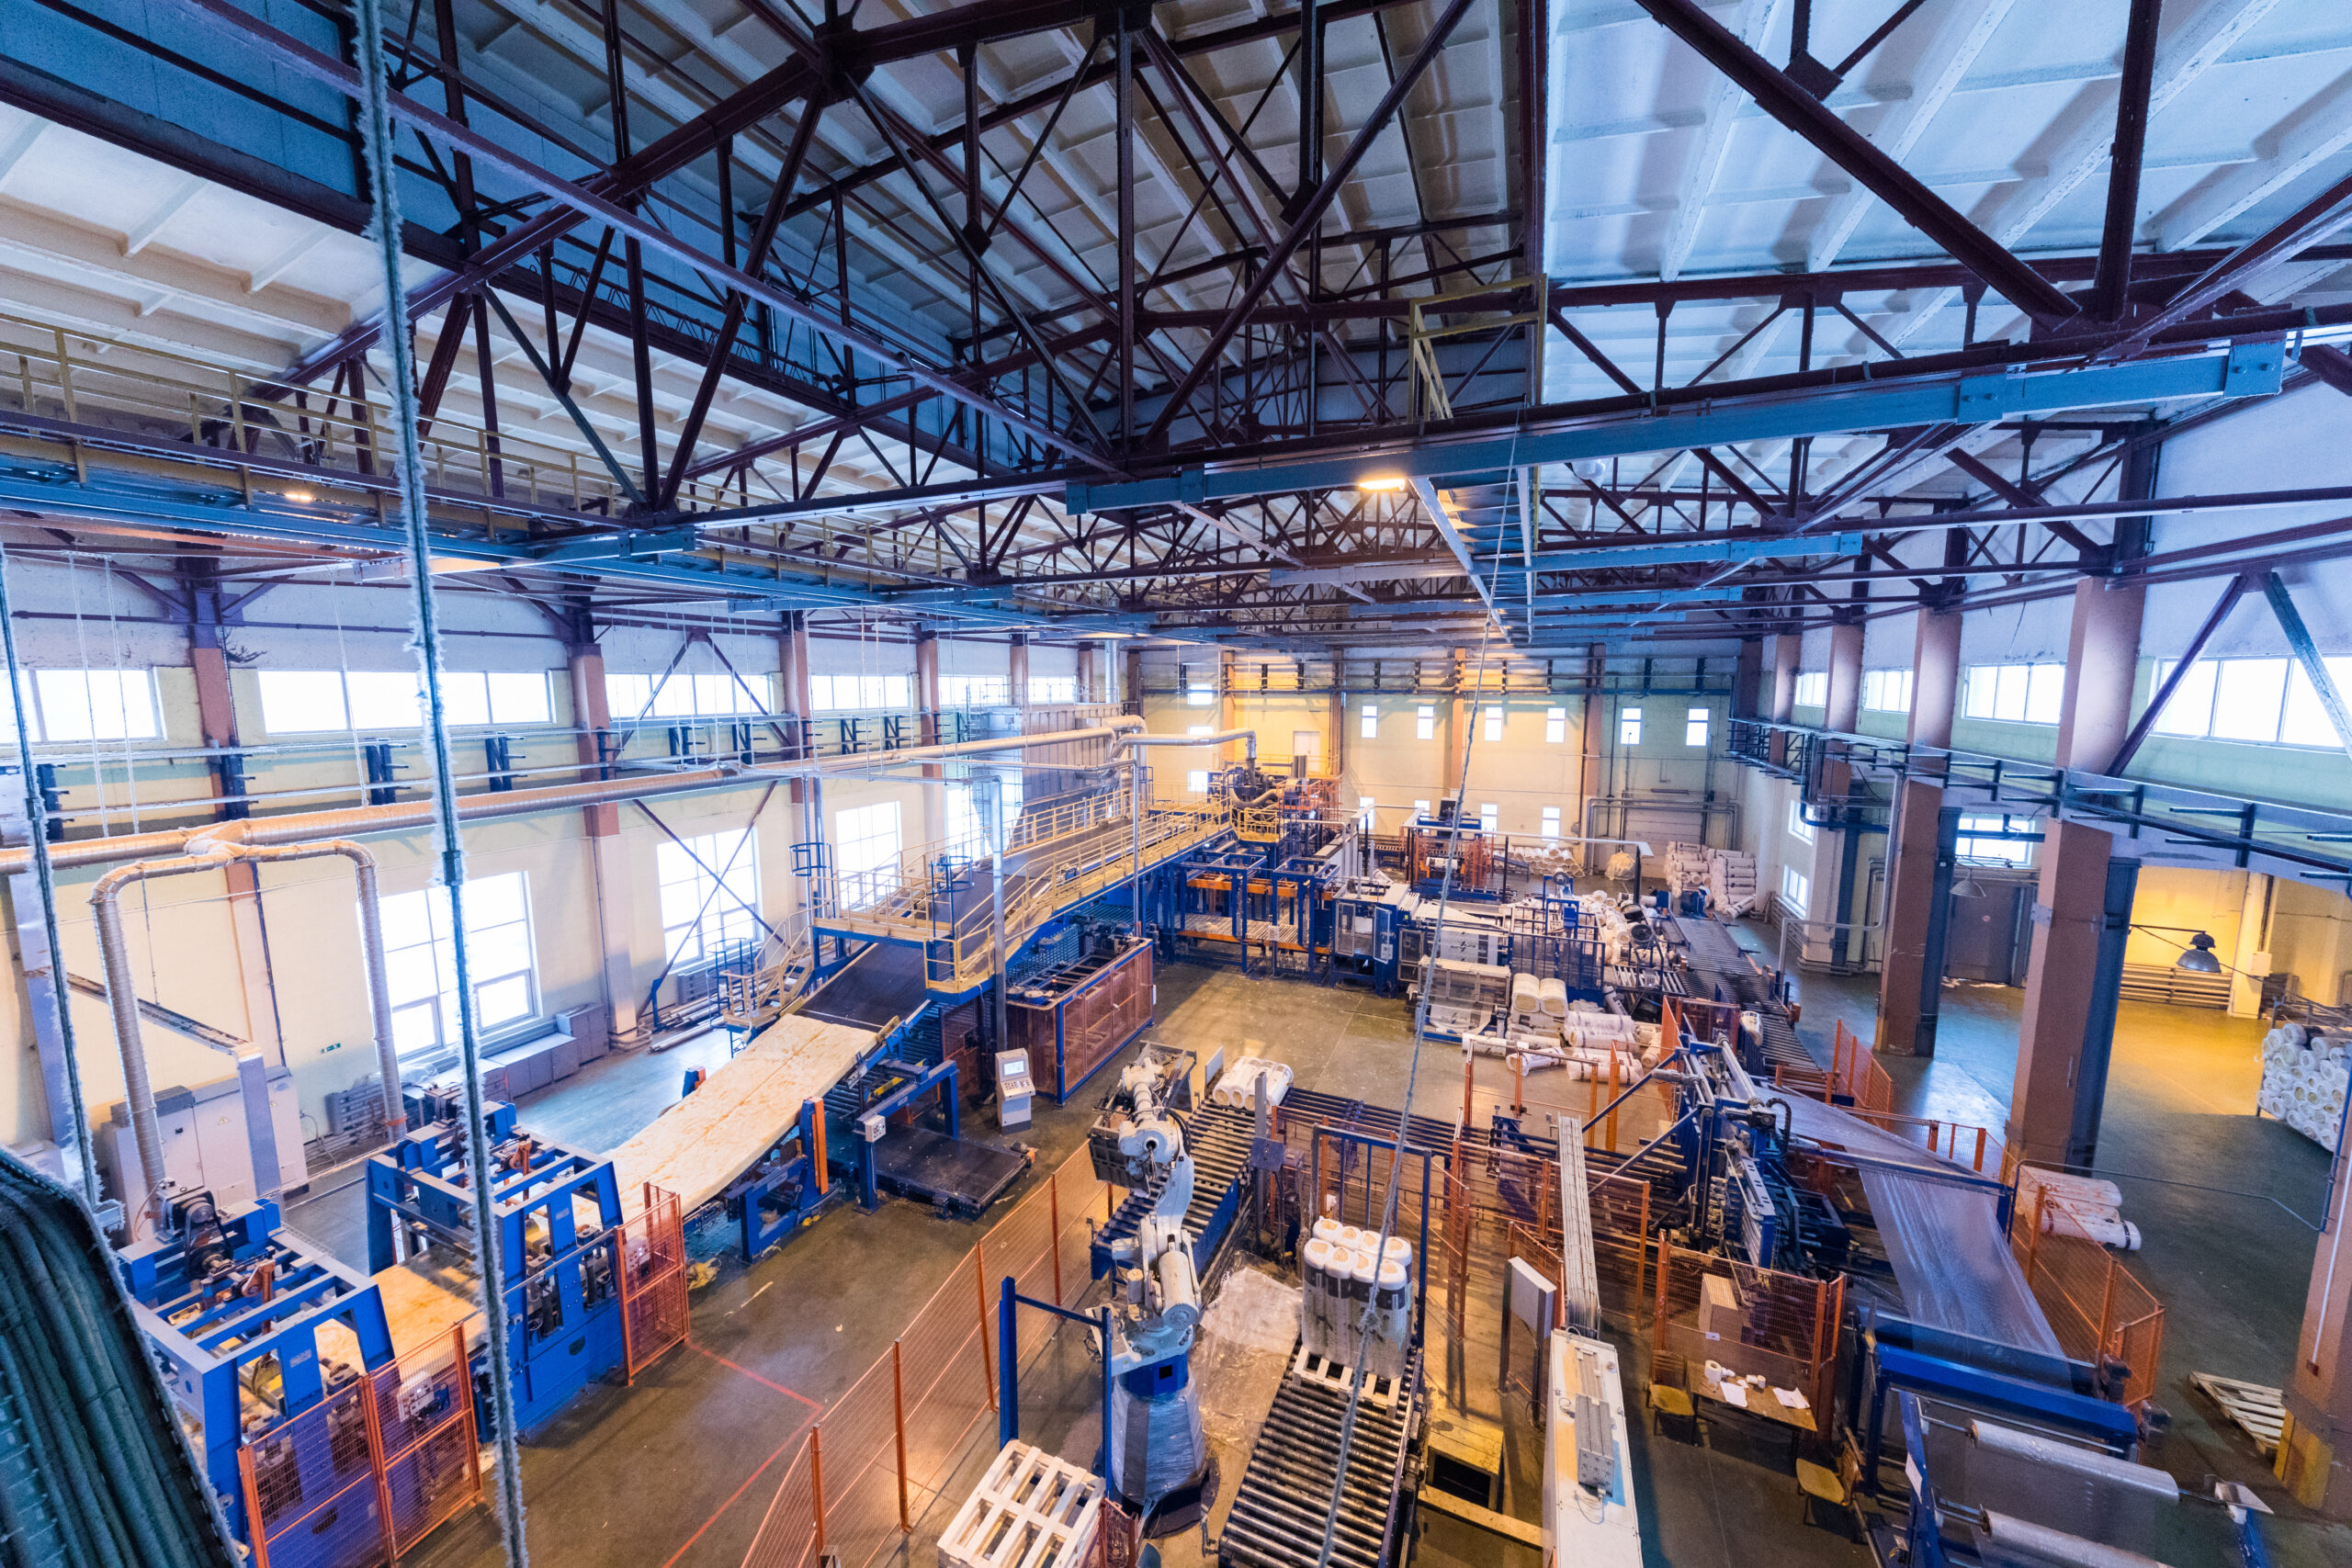
This speed is part of what makes injection molding the right choice for high-volume production. Once your mold is built and your process is dialed in, you can produce thousands of identical parts with very little variation. First-time buyers are often surprised by how fast a well-tuned mold runs on the production floor.
That repeatability is what separates injection molding from other plastic manufacturing methods. If your project calls for consistent parts at volume, this process is built for that.
Now that you know how the cycle works, the three parts of the mold that make it possible will make a lot more sense.
The Mold Base — The Foundation That Holds It All Together
The mold base is the outer frame of the mold. Think of it as the skeleton that holds every other component in the correct position. Without a well-built base, nothing else in the mold performs reliably.
A standard mold base includes these key components:
- Top clamp plate — attaches the mold to the injection molding machine
- A plate — holds the cavity side of the mold
- B plate — holds the core side of the mold
- Spacer block (C plate) — creates the space needed for the ejection system to operate
- Rear clamp plate — secures the base to the machine on the ejector side
The A plate and B plate are the two halves that open and close on every cycle. Proper alignment between these two plates is what keeps your part dimensions consistent run after run.
Mold bases are typically built from steel or aluminum. Steel bases last longer and handle higher production volumes. Aluminum bases cost less upfront and work well for shorter runs or prototype tooling. The right choice depends on your volume targets and budget.
When you request a quote, ask the supplier for the base steel grade specification. It’s one useful signal of overall mold quality and expected lifespan.
We always ask for that spec when we’re reviewing a new tool — it’s one of the clearest indicators of how a mold will perform over time. To learn more about how we approach mold construction, check our plastic injection mold making service.
The base holds everything in place — but the molding system is where your actual part takes shape.
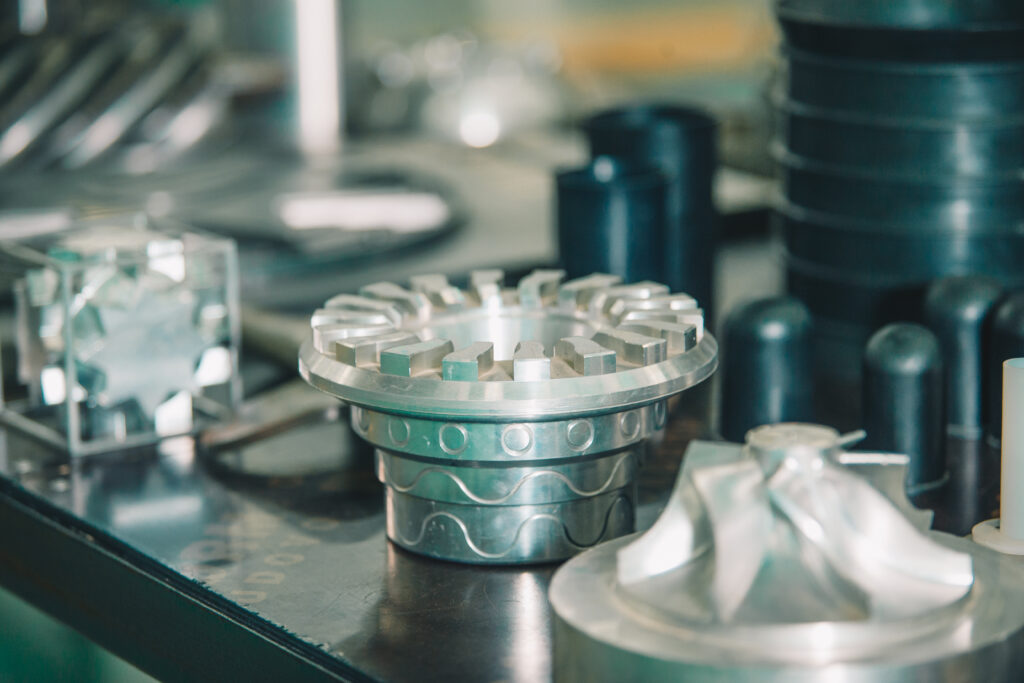
The Molding System — Where the Part Takes Shape
The molding system is the heart of the mold. This is where molten plastic enters, fills the shape of your part, and solidifies before ejection. It has two main jobs: shaping the part and controlling how plastic gets there.
The cavity and core define your part’s geometry. The cavity forms the outer surfaces of the part. The core forms the interior features — walls, bosses, holes, and recesses. Together they create the exact shape your design calls for.
The feeding system is the path molten plastic travels to reach the cavity. It moves in this sequence:
- Sprue — the main entry point where plastic enters the mold from the machine nozzle
- Runner — the channel that distributes plastic toward the gate
- Gate — the controlled opening where plastic enters the cavity
Gate location and type directly affect your part’s appearance, strength, and parting line. This is one of the first things we review on any new part design. A gate placed in the wrong spot can affect the finish, create weak points, or complicate the entire tool design.
Cooling channels run through the mold body and carry temperature-controlled water. These channels pull heat out of the part so it solidifies quickly and evenly. Poor cooling design is one of the leading causes of warping and sink marks in finished parts. Good cooling design shortens your cycle time and improves part consistency.
The molding system shapes your part — but it still needs a way to get that part out of the mold.
The Ejection System — How the Finished Part Gets Out
The ejection system activates after the mold opens. Its job is simple: push the cooled, solidified part out of the mold cleanly and consistently. A well-designed ejection system does this without marking, warping, or breaking your part.
The main components of the ejection system are:
- Ejector pins — slender rods that push directly against the part surface to release it
- Ejector plate — the plate that drives all ejector pins forward at the same time
- Ejector retainer plate — holds the pins in position within the ejector plate
- Return pins — push the ejector plate back into its starting position when the mold closes again
Ejector pin placement matters more than most first-time buyers expect. Every pin leaves a small mark on the part surface where it makes contact. Those marks are normal and unavoidable — but they need to be planned for. On cosmetic parts, we always discuss ejector pin location with the client before any steel is cut. Once the mold is built, those contact points are permanent.
Poor ejection design causes real production problems. Parts can stick inside the mold, warp under uneven ejection force, or crack during removal. The right ejection strategy depends on your part geometry, wall thickness, and surface finish requirements.
Ask your mold maker to walk you through the ejection plan before tooling begins. It’s a straightforward conversation that can prevent costly rework later.
Now that you understand all three systems, you’re ready to have a much more productive conversation with a mold manufacturer.
Talk to our injection molding team at Freeform Polymers — we’ve been helping businesses in Northern Utah and Southern Idaho build better parts since 2011.
Ready to Move Forward?
At Freeform Polymers, we handle every part of the process — from mold design and tooling to production runs and fulfillment. Our team in North Logan, UT works with product developers, engineers, and manufacturers across Northern Utah and Southern Idaho.
We are ISO 9001:2015 certified. That means every part we produce is held to a documented quality standard — not just a promise.
Whether you’re quoting a new mold, reviewing a part design, or looking for a more reliable local manufacturing partner, we’re ready to help.