Can You Make Your Own Injection-Molded Plastic Parts? An Honest Look at DIY
Justin Brown
June 25th, 2026
You sketched a part. Now you want to know if you can just make it yourself. The short answer is yes, sort of. People do mold their own plastic parts at home or in a small shop. But there is a real gap between possible and practical. It pays to know that gap before you spend a dime.
This guide shows what DIY plastic injection molding actually takes. You’ll see what kind of parts you can expect from it. And you’ll learn the exact point where calling a pro saves you money and stress.
We’ll cover the gear and molds you would need. Then a real step-by-step, the quality and quantity limits, and a simple checklist. By the end, you’ll know which path fits your project.
We run a 3D printer and a full mold shop in-house at Freeform Polymers. So we’ll be straight with you about where DIY shines and where it stalls.
Can You Make Your Own Injection-Molded Plastic Parts?
Yes. You can make your own injection-molded plastic parts with a benchtop or handheld injection machine and a mold. For small batches, the mold can even be 3D printed instead of cut from steel. This path works well for prototypes, hobby projects, and tiny runs of simple parts. But DIY has real limits. 3D-printed molds wear out fast, tight tolerances are hard to hit, and making hundreds of matching parts gets slow.
For durable, repeatable, or high-volume parts, a professional molding service is faster and cheaper per part.
Can You Really Mold Your Own Plastic? (Short Answer First)
Yes, it’s possible. People mold their own plastic parts every day with simple gear. The harder question is whether you should. Being able to do something does not always mean it’s the smart move for your project.
DIY answers can I? This guide answers should I?
DIY is a good fit if you’re:
A maker or hobbyist building parts for fun
Testing a one-off prototype before you commit
Learning how molding works hands-on
Producing a few simple parts where small flaws are fine
Skip straight to a pro if you need:
Parts you plan to sell or hand to customers
Tight tolerances that must match a spec
Parts people will rely on for safety or function
Dozens, hundreds, or thousands that look the same
What You Need for DIY Injection Molding
The list of gear is shorter than most people expect. But each piece matters, and skipping the safety items is a mistake. Here’s what a basic home injection molding machine setup calls for.
Item
Purpose
Rough cost
Plastic source
Raw pellets or regrind to melt and inject
Low per pound
Melt + inject method
A handheld, benchtop, or DIY press to push hot plastic into the mold
Basic manual units start around $500–$1,500; semi-automatic and automatic run $3,000–$15,000+
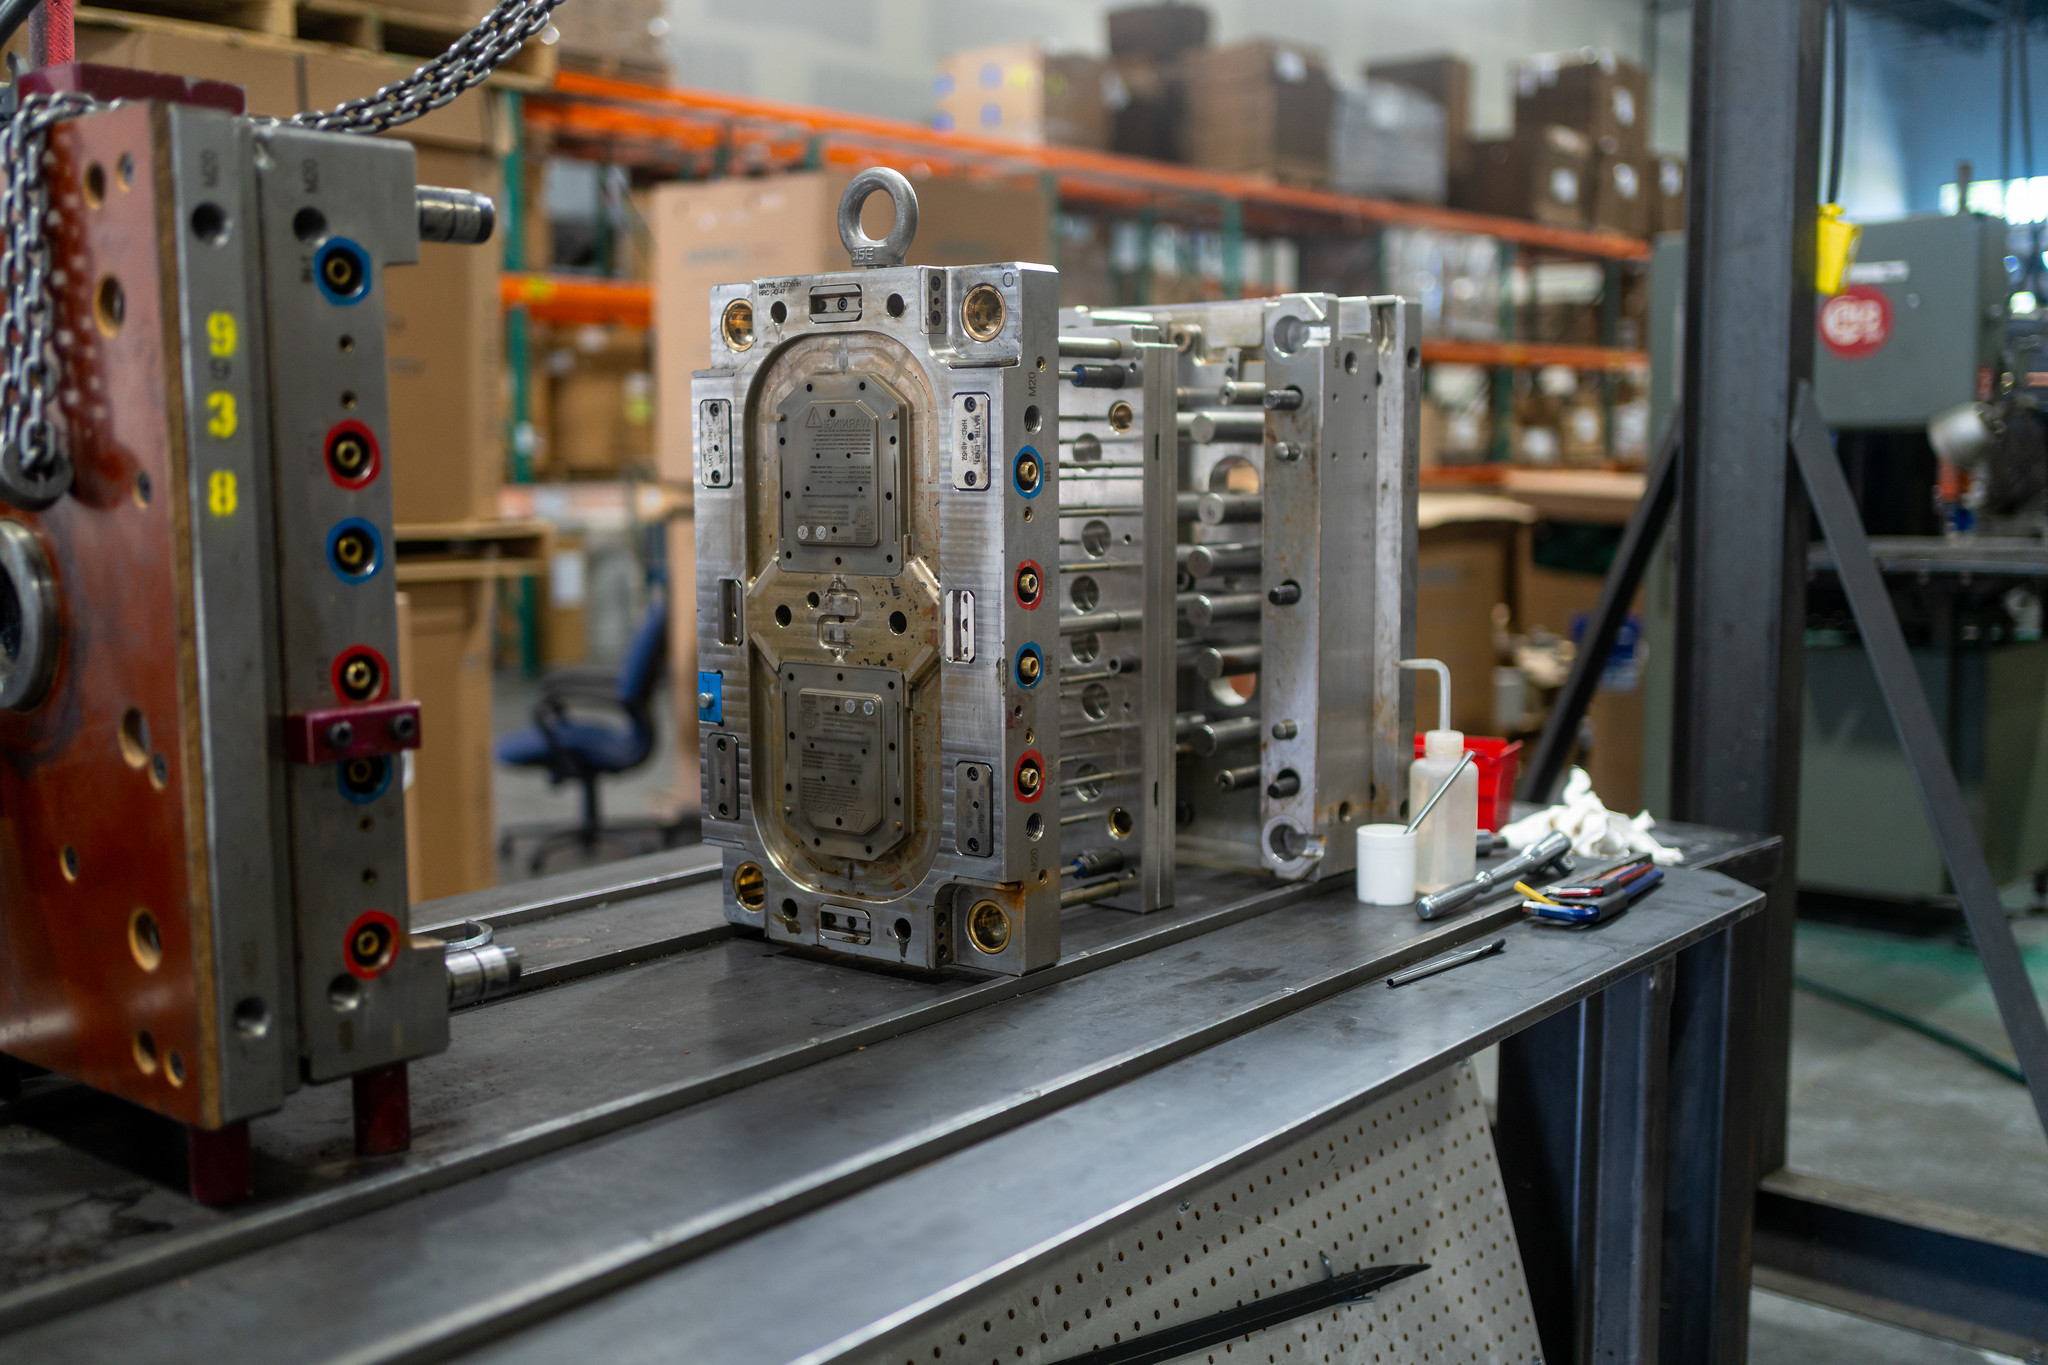
A mold
Holds the part shape — machined, cast, or 3D printed
A 3D-printed low-volume mold can start near $100
Safety gear
Gloves, eye protection, and ventilation for hot plastic, pressure, and fumes
Low
A few notes on the choices:
Plastic source. Pellets are the standard feed. Regrind from old parts can work for practice runs.
Melt and inject. Handheld and manual benchtop units are cheapest. Automatic machines cost more but give you better control over heat and pressure.
The mold. This is the part that drives quality. For low volume, a 3D-printed mold gets you started without cutting steel.
Safety gear. Molten plastic burns, and some plastics give off fumes. Work in a ventilated space.
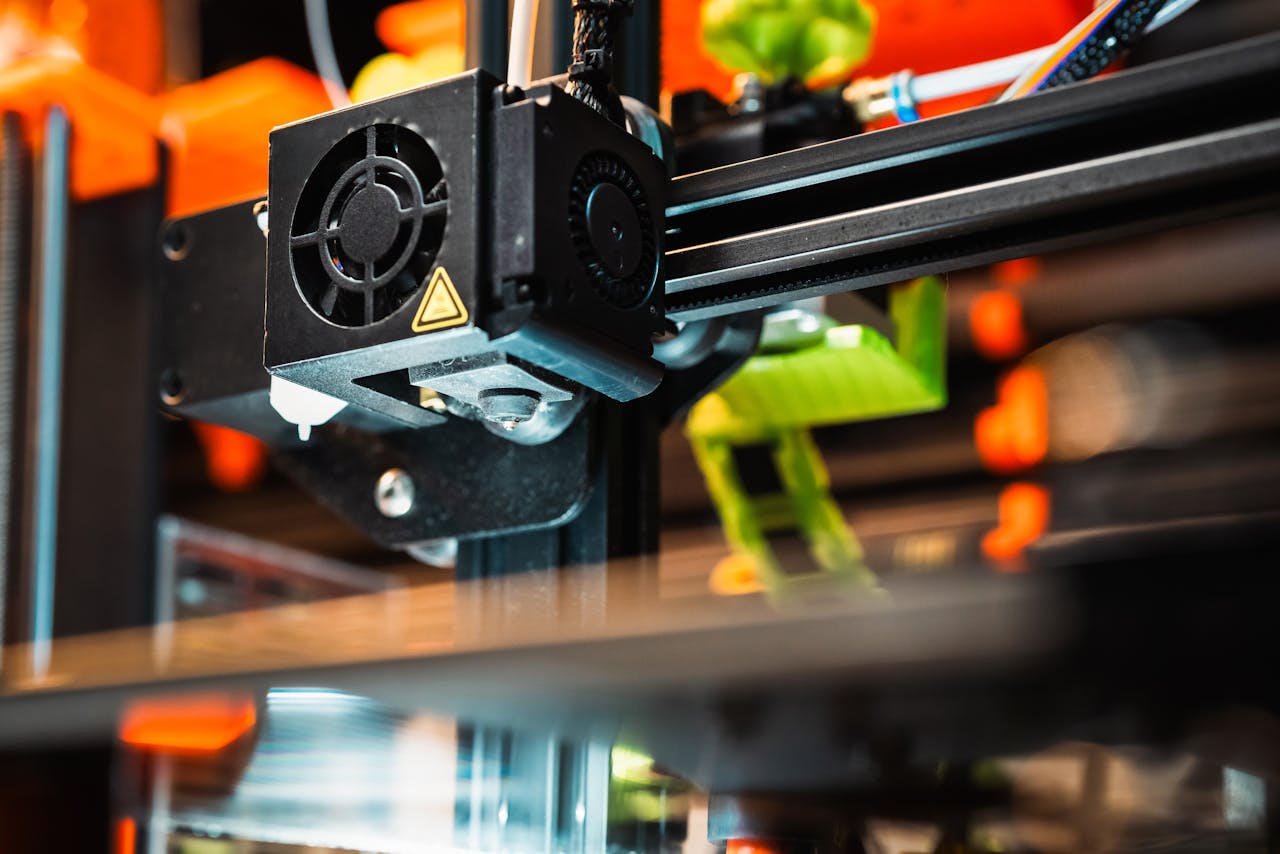
In our shop, 3D-printed molds work for a handful of soft-plastic shots before the detail starts to fade.
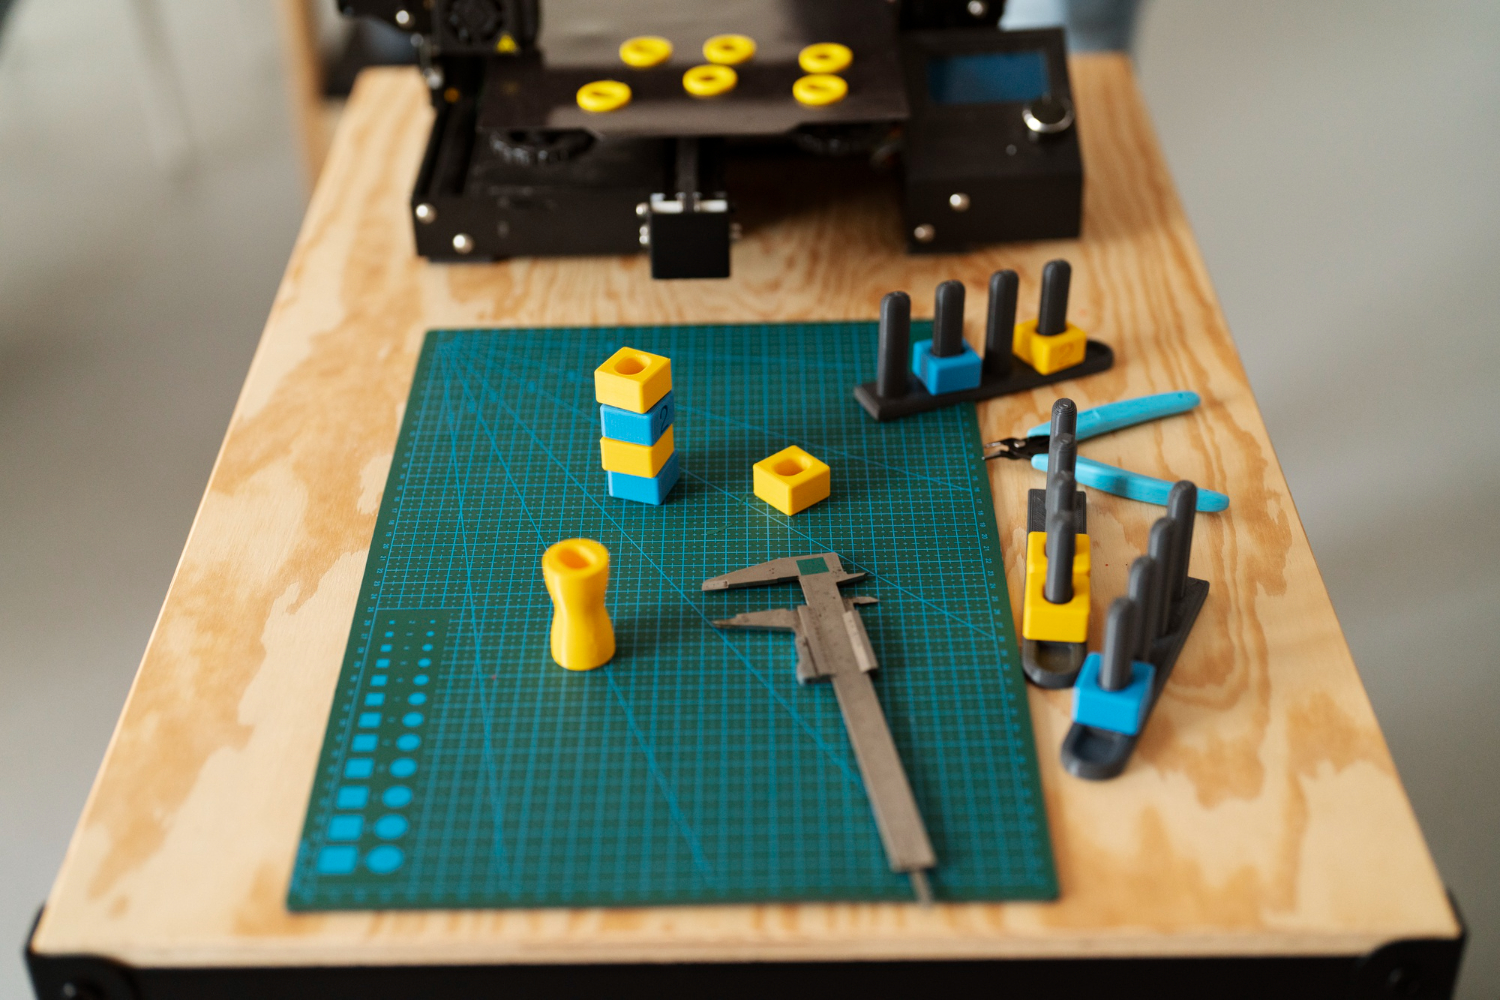
DIY Injection Molding Step by Step
Once your gear is ready, the process follows a clear order. Each step builds on the one before it. Rushing any of them shows up in the finished part.
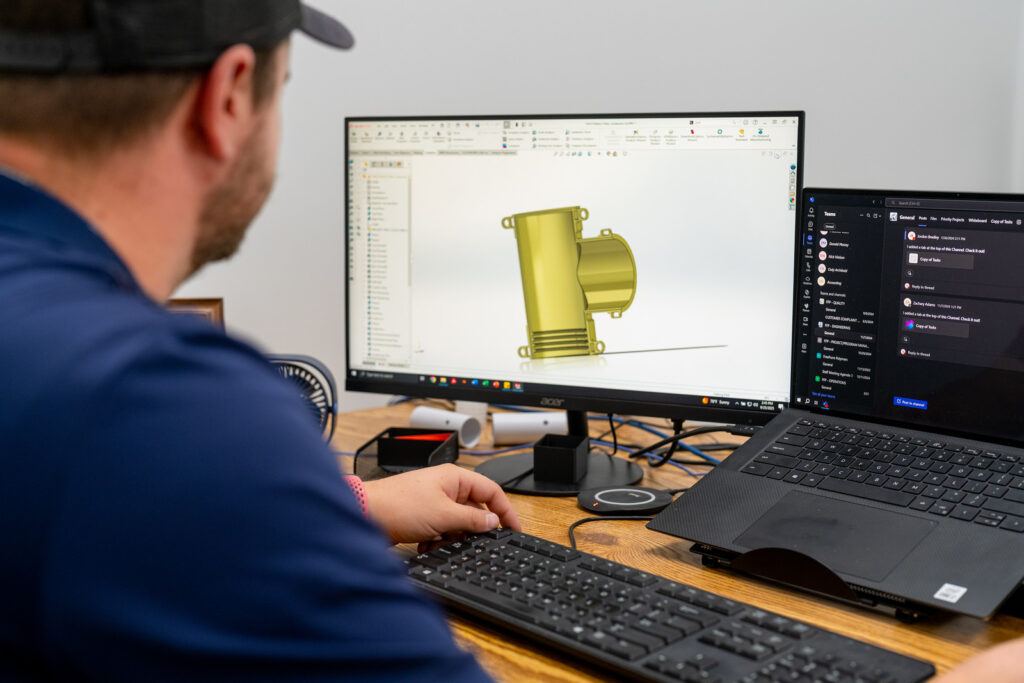
Design the part and mold. Keep wall thickness even, usually 2–4 mm. Add a slight draft angle, around 1–2 degrees, so the part releases cleanly. Even walls cool evenly and warp less. The Plastics Industry Association is a solid reference for these design basics.
Make the mold. For low volume, 3D print the mold to skip cutting steel. You can also cast or machine it. For a rundown of low-cost mold materials like silicone and putty, see the guide on the cheapest material to make a mold.
Melt and inject the plastic. Heat the plastic to its melt point. Then inject it into the closed mold under steady pressure. Hold the pressure for a moment so the cavity fills fully.
Cool, eject, and check. Let the part cool before you open the mold. Eject it gently, then inspect it for flaws. Compare it against your design before you run the next shot.
Common first-try problems:
Short shots — the mold doesn’t fill all the way
Warping — the part bends or twists as it cools
Flash — thin plastic squeezes out along the mold seam
What DIY Parts Look Like (Quality, Detail, and Limits)
DIY parts can look good. They can also fall short of what you pictured. Knowing the limits up front saves you from a frustrating surprise.
Surface finish depends on your mold. A smooth mold gives a smooth part. Fine details like text or sharp corners are harder to capture at home. The first few shots from a fresh mold usually look best.
3D-printed molds wear down quickly. Heat and pressure soften the printed surface over repeated shots. With soft, hot plastics like polyethylene or styrene, a printed mold often runs about 100 shots before it gives out. Tougher materials can drop that to just a handful. That’s fine for a few prototypes. It’s a problem for a steady run.
Tolerances are the next hurdle. “Close enough” works for a display piece or a rough fit. It does not work when a part has to snap into another part or seal tightly. Hitting a tight spec by hand is tough. This is where custom plastic injection molding earns its keep, since parts come out built to your exact spec.
Material choice limits you too. Soft plastics flow at lower heat and mold well at home. High-temperature resins are much harder to run on small gear.
DIY mold vs. pro mold at a glance:
DIY (3D-printed): low cost, fast to make, fades after about 100 shots
Pro (steel or aluminum): higher cost, holds detail, runs thousands of matching parts
Finally, judge each flaw by its job. A small blemish on a hidden surface may not matter. A flaw that breaks the fit or function does.
DIY vs. Professional: A Simple Cost Reality Check
The money question decides most projects. DIY and professional molding cost in opposite ways. One is cheap to start and pricey to repeat. The other is the reverse.
DIY has a low upfront cost. A basic machine and a 3D-printed mold get you going for a few hundred dollars. But every part takes your time, and the mold fades fast. As your count climbs, the cost per part climbs with it.
Professional tooling flips that. The mold costs more upfront. Once it’s built, each part comes off fast and cheap. The more parts you run, the less each one costs.
DIY
Short-run molding
Full production
Upfront cost
Low
Medium
High
Cost per part
High, and rises with volume
Moderate
Low at scale
Best for
Prototypes, hobby, a few parts
Tens to a few thousand parts
Large, repeat runs
Part consistency
Varies shot to shot
Good
Excellent
Watch the hidden DIY costs. Your time has value. So do the failed batches, the scrap plastic, and the molds you reprint when they wear out. Those add up quietly.
Short-run molding sits in the middle. You get real tooling and consistent parts without the cost of full production. It often fits the gap where DIY stalls but a full run is too much.
How to Decide What’s Right for Your Project
The right path comes down to a few honest questions. Answer them about your own part. Your answers point to DIY or to a pro.
How many parts do you actually need? A few favors DIY. Dozens or more favors a pro.
Do they need to match exactly or hit a tolerance? Tight specs are hard to hold by hand.
Will people buy or rely on these parts? Resale and safety parts call for proven quality.
Is your time worth more than the tooling savings? DIY trades money for hours.
If you answered yes to any of these, a pro is usually the smarter call.
You don’t have to guess where your part lands. Tell us what you’re making, and we’ll point you to the right path.Contact us and we’ll take a look.
Most plastic parts are molded with walls between 2 and 4 millimeters. With the right setup, thin-wall molding can push under 1 millimeter. So how thin can you really go…
Ever wonder how one button can feel hard on the outside but soft where you grip it? The symbol might even be a different color. No glue holds these parts…
Ever wonder how a toothbrush gets a hard handle and a soft grip in one piece? There is no glue holding the two parts together. The answer is two plastics,…
When you design a product, the resin you pick matters as much as the shape. Choose the wrong one and you could face recalls, failed compliance reviews, or unhappy end…
You are about to greenlight a part for production. You have seen 3D printing quotes that look reasonable per piece. You have seen plastic injection molding quotes with a scary…
Flip over a plastic container and you’ll see a small number inside a triangle. That number is the resin code. Three of those numbers get flagged for safety concerns more…