How Thin Can You Injection Mold Plastic? Minimum Wall Thickness, Explained
Justin Brown
June 25th, 2026
Most plastic parts are molded with walls between 2 and 4 millimeters. With the right setup, thin-wall molding can push under 1 millimeter. So how thin can you really go before a part fails?
This guide shows how thin you can injection mold plastic. You’ll get the safe minimum for common materials like ABS, polypropylene, and polycarbonate. We’ll also cover what to do when your design needs to go even thinner.
First, we share the typical minimum thickness. Then we break it down by material in a quick chart. After that, you’ll see what breaks when walls get too thin. We finish with design tricks that keep thin parts strong.
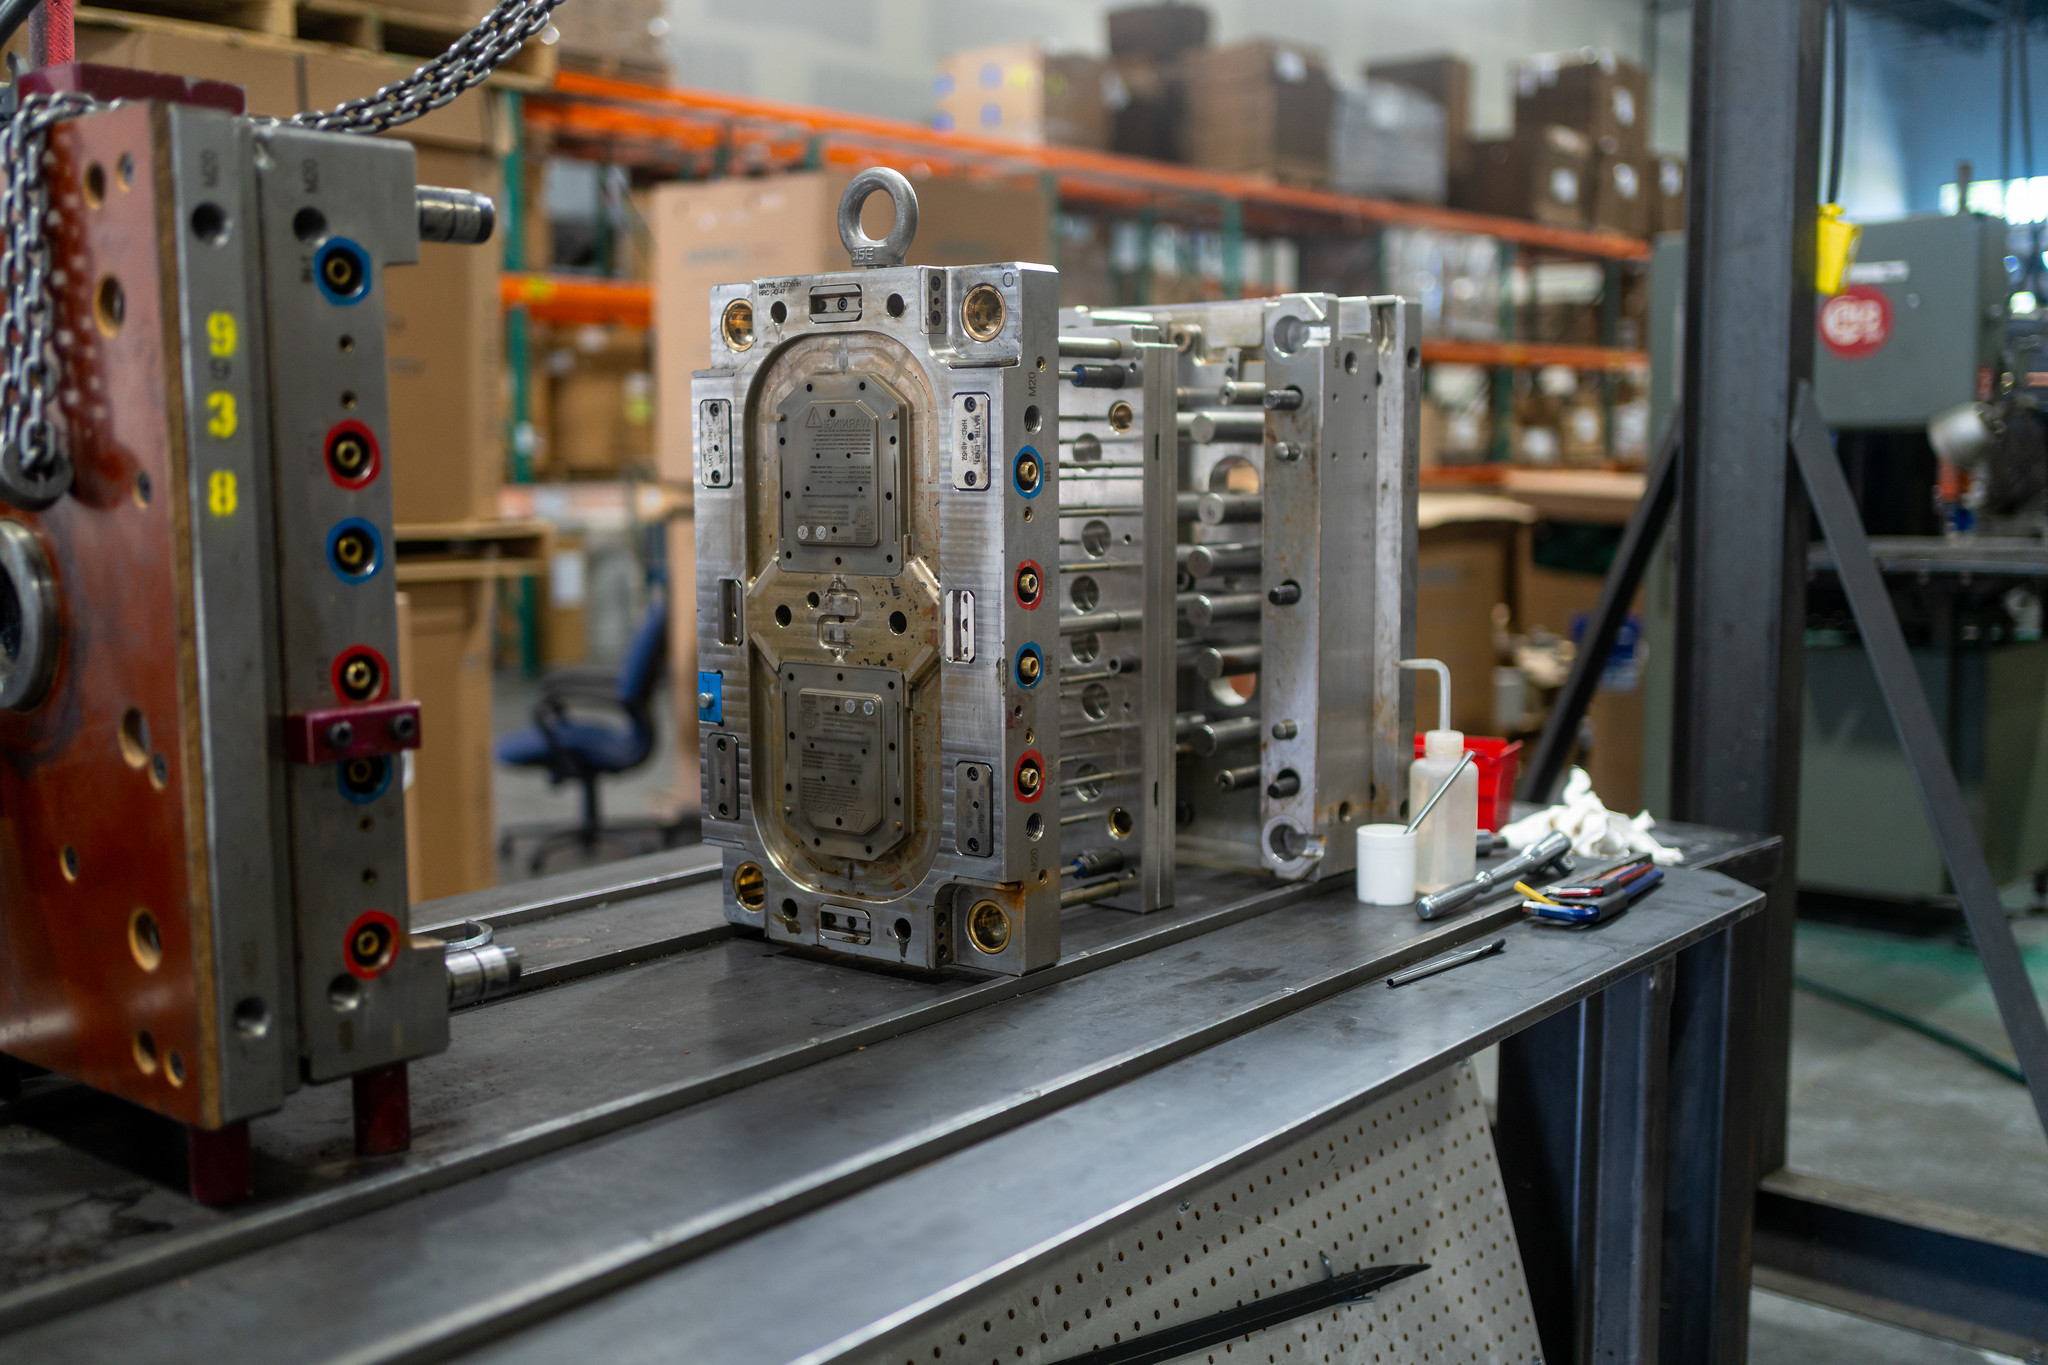
At Freeform Polymers, wall thickness is the first thing we check on every new design. Catching a problem here, in our Logan shop, saves you money before anything is cut.
How Thin Can You Injection Mold Plastic?
Most injection-molded plastic parts have walls between 2mm and 4mm. With thin-wall molding, you can go as low as 0.5mm to 1mm. The right number depends on the material and the size of your part.
Going thinner takes higher pressure and a faster fill. The design has to be right, too. If walls get too thin, the plastic may not fill the mold. That leaves weak spots or incomplete parts. Stiff plastics like polycarbonate flow differently than soft ones like polypropylene, so the safe minimum shifts by resin.
How Thin Can You Mold? The Short Answer
Most molded parts have walls between 2mm and 4mm. That range fills well and holds up in use. With thin-wall molding, you can go as low as 0.5mm to 1mm.
A “thin wall” usually means anything under about 1mm. It can also mean a part where the plastic has to flow a long way across a thin space. Both make the mold harder to fill.
The real minimum always depends on two things: the plastic you pick and the size of your part. A small part in an easy-flow resin can go thinner than a large part in a stiff one.
The exact minimum depends on what plastic you’re using. Here’s a quick look by material:
Minimum Wall Thickness by Material
Each plastic flows and cools at its own pace, so the safe minimum changes from one resin to the next. The chart below shows where each one starts.
Material
Thin-wall minimum
Recommended range
ABS
0.8mm
1.2mm – 3.5mm
Polypropylene (PP)
0.6mm
0.9mm – 3.8mm
Polyethylene (PE)
0.8mm
0.9mm – 3.0mm
Polycarbonate (PC)
1.0mm
1.5mm – 3.8mm
Nylon (PA)
0.8mm
0.9mm – 3.0mm
Polystyrene (PS)
0.9mm
1.2mm – 3.8mm
These are general ranges, not promises. Your part size, shape, and gate spot can move the number either way. Easy-flow resins like polypropylene reach thinner walls. Stiff resins like polycarbonate need a bit more room.
When a part has to be thin, the resin choice matters more than anything. We often steer a thin design toward an easier-flow plastic so it fills clean. If you want help choosing the right resin, we can walk through it with you.
What Happens When Walls Are Too Thin
Thin walls save weight and material. Push too far, though, and the part starts to fail. Here’s what goes wrong:
Short shots. The plastic cools before it fills the mold. You get an incomplete part.
Weak or brittle spots. Thin areas crack or snap under normal use.
Warping. Uneven cooling pulls the part out of shape.
Visible flow lines. The surface shows streaks where the plastic struggled to spread.
More scrap, higher cost. Failed parts get tossed. Your price per good part climbs.
Most of these show up as common molding defects Catching them in the design stage is far cheaper than fixing them later.
What Happens When Walls Are Too Thick
Thin walls aren’t the only risk. Thick walls cause their own trouble:
Sink marks. The surface dimples as the thick center cools and pulls inward.
Longer cycles. Thick parts take more time to cool, which raises your cost.
Trapped stress. Uneven cooling locks stress inside the part, so it can crack later.
The fix is rarely more plastic. Uniform walls beat thick ones almost every time.
How to Design Thin Parts That Still Work
A thin part can still be strong and easy to mold. The trick is smart design, not more plastic. From simple shapes to complex parts, our custom plastic injection molding holds tight tolerances. Here’s where to start:
Add ribs, not thickness. Ribs stiffen a part while the walls stay thin. We often suggest ribs because they add strength without the slow cooling and sink risk of a thicker wall.
Keep walls uniform. Even thickness fills and cools evenly. That cuts warping and sink marks.
Blend thickness changes. Where one section meets a thinner one, taper it. Sharp steps trap stress and block flow.
Mind the gate and flow length. Place the gate so plastic reaches every spot fast. Shorter flow paths fill thin walls better.
Pick an easy-flow resin. A resin that spreads fast reaches thinner walls without higher pressure.
Match the machine. Thin-wall parts need the right pressure and fill speed to finish clean.
The safest way to know your walls will work? Have someone check before the mold is built.
Get Your Wall Thickness Checked Before You Cut Steel
Tooling is expensive to change once the steel is cut. A wall that’s too thin or too thick means a costly fix later. Catching it during design saves you that bill.
That’s what a design-for-manufacturability review is for. We check your wall thickness, flag the risks, and suggest fixes before the mold is made. Our ISO 9001:2015 process keeps the work consistent from quote to finished part.
We’re a plastic injection molding partner based in Logan, serving Northern Utah and Southern Idaho, plus customers nationwide. You get our plastic injection molding services close to home, without the wait of going overseas.
Ready to check your design? Contact us and request a free quote or call us at (435) 774-9090 today!
Injection molding is precise and repeatable. But it still has real limits on size, design, tooling, and time. At Freeform Polymers, we know plastic molding works within the size of…
Design mistakes are one of the most common reasons a first mold sample gets rejected. A part looks perfect on screen. Then the sample comes back warped, or a thin…
Before hot plastic fills a mold, it starts small and simple. It begins as tiny pellets, about the size of rice. So what are those pellets made of? And what…
Not every plastic can go through an injection molding machine. Not every part shape can, either. You might have a design ready and a plastic in mind. Then a shop…
Most plastic parts are molded with walls between 2 and 4 millimeters. With the right setup, thin-wall molding can push under 1 millimeter. So how thin can you really go…
Ever wonder how one button can feel hard on the outside but soft where you grip it? The symbol might even be a different color. No glue holds these parts…
Ever wonder how a toothbrush gets a hard handle and a soft grip in one piece? There is no glue holding the two parts together. The answer is two plastics,…