What Is the Typical Tolerance for Injection Molding?
Your CAD model says 25.00 mm. Your first molded parts come back at 24.93 mm. Is that a problem, or is it normal? The answer depends on the tolerance you…
A curved enclosure or textured housing can be hard to print on cleanly. This is exactly the kind of job pad printing was built for.
Every day, we help customers at Freeform Polymers add logos, part numbers, and graphics to molded plastic parts. Some parts are flat and simple to print. Others have curves, dips, or rough textures that trip up flat printing methods. Choosing the wrong method can mean smudged ink, uneven coverage, or marks that wear off fast.
This guide breaks down the advantages of pad printing so you can decide if it fits your plastic parts. We’ll cover what makes pad printing different from flat printing methods. Then we’ll show where it beats other methods on curved or textured surfaces.
You’ll also learn when digital printing might be the smarter call instead. By the end, you’ll know which method fits your part, your material, and your budget. You’ll walk away ready to make the right call for your project.
Pad printing offers several advantages for decorating plastic parts:
See how it works on your part with our pad and digital printing services.
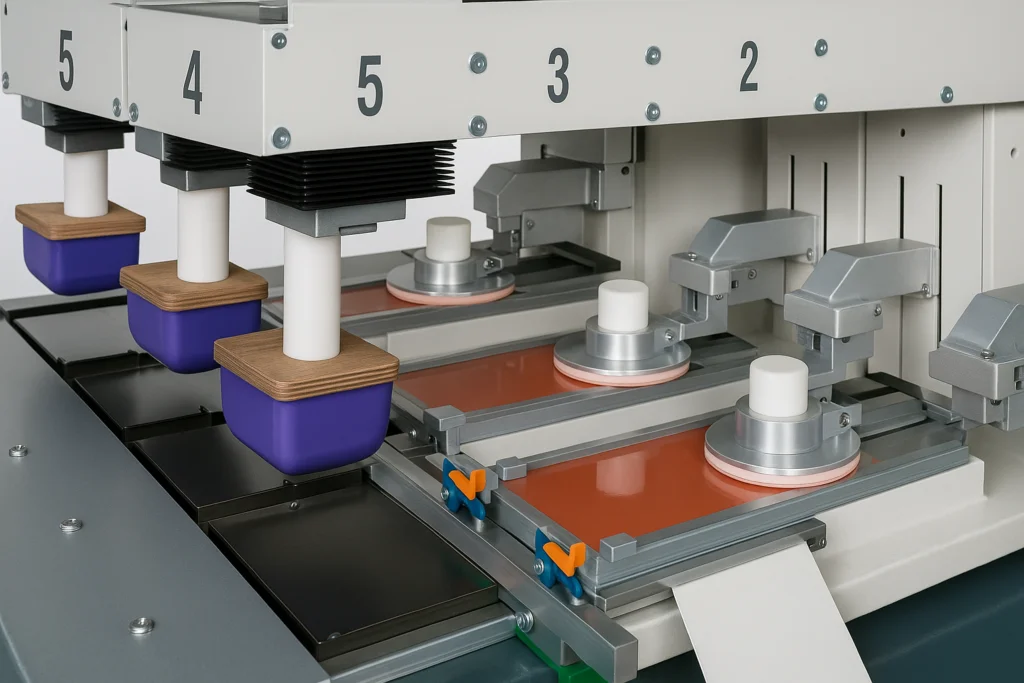
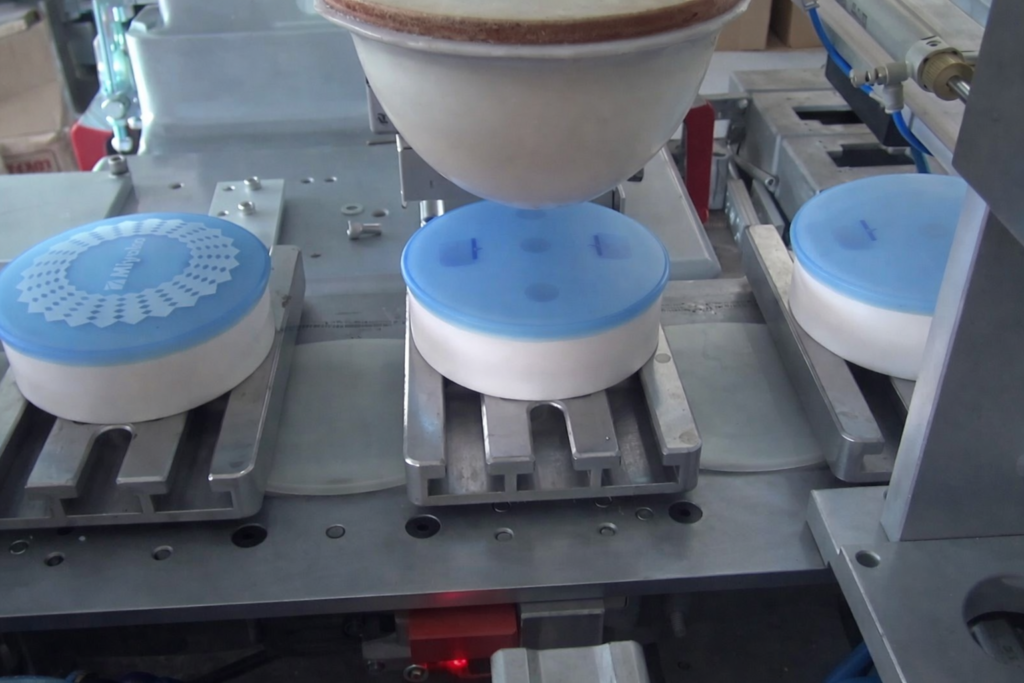
Pad printing uses a soft silicone pad to transfer ink onto a part. The process starts with an etched plate, called a cliché, that holds the image in a shallow groove. Plate makers typically use one of two methods: photopolymer exposure or laser etching. Both create a shallow image that holds ink before the pad lifts it.
Ink fills the groove, and the pad presses down to pick it up. The pad then presses onto your part, releasing the ink onto the surface. Because the pad is soft, it flexes around curves, dips, and textured surfaces. This is what sets pad printing apart from flat printing methods, which need a smooth, level surface to work well.
We run pad printing in-house on our shop floor. That means your logo or part number gets applied without shipping parts to a separate vendor.
Pad printing offers real benefits once you know where it fits. Here’s what makes it a strong choice for many plastic parts.
These advantages make pad printing a common choice for enclosures, knobs, and other shaped parts. The right fit still depends on your part and your goals.
Advantages aside, the right call still depends on your part’s shape and finish. Pad printing and digital printing solve different problems.
Pad printing works best for logos, part numbers, and small graphics on shaped parts. It also handles curves and textures that digital methods struggle with. Digital printing works best for full-color, photo-quality images on flat or gently curved surfaces. It skips the plate-making step, which helps on short runs.
| Factor | Pad Printing | Digital Printing |
| Best for | Logos, part numbers, shaped parts | Full-color, photo-quality graphics |
| Surface fit | Curved, textured, irregular | Flat or gently curved |
| Setup cost | Plate required | No plate needed |
| Best run size | Production runs | Short runs |
Plate cost is the main tradeoff. Pad printing needs an etched plate upfront, but that cost spreads out over a production run. Digital printing skips the plate, which helps when you’re printing fewer parts. Many manufacturers use digital printing for early samples, then switch to pad printing once a design moves into full production.
Pad printing works well across most common engineering plastics. Knowing your material helps you plan for the best result.
Compatible plastics include:
These are the same materials we mold most often. See our guide to picking the right resin for injection molding for more detail on how each one performs.
Some plastics need surface prep before printing. Polypropylene and other low-surface-energy plastics often need a flame or plasma treatment first. This step helps the ink stick and last.
Pad printing shows up most often on enclosures, knobs, and housings. These parts often have curves or recessed features that flat printing can’t reach. Matching the right ink and cure process to your material keeps the mark durable over time.
Not every job is a pad printing job. Knowing the limits helps you avoid a mismatch before you commit.
If your part falls into one of these cases, we’ll walk you through the better fit. Manufacturers typically test a few samples with both methods before locking in a production run. That step catches issues early and confirms the ink holds up on your actual material.
Want to learn more? Contact us and see how it works on your parts or project!