How Long Does an Injection Mold Last? Mold Life by Class, Material, and Care
The mold is often the biggest check you’ll write on a plastic part project. So it’s fair to ask how many parts it will give you. Will it cover your…
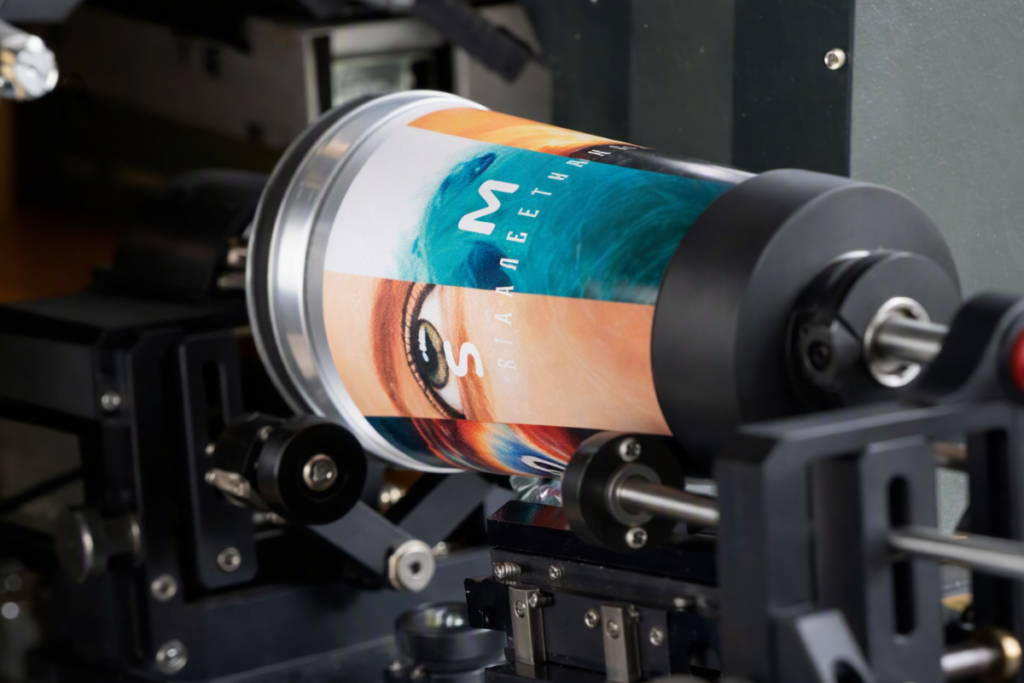
What actually happens when a machine prints a full-color logo onto a curved plastic part, with no plate and no setup delay? That question comes up a lot when customers ask us about digital printing.
At Freeform Polymers, we explain how digital printing works on plastic parts every day. It’s a printing method that skips plates and screens. A machine sends your design straight from a file to the part.
In this article, we’ll walk you through the process step by step. You’ll learn what materials work best with digital printing. We’ll also show you how to decide between digital printing and pad printing for your project.
Digital printing sends your design straight from a computer file to the plastic part. A print head applies ink directly. There’s no plate and no screen to set up first.
Here’s how the process works:
Because there’s no plate to build, digital printing sets up fast. It works well for short runs, prototypes, and full-color graphics.
See how we set up a digital printing job for your part in our pad and digital printing service.
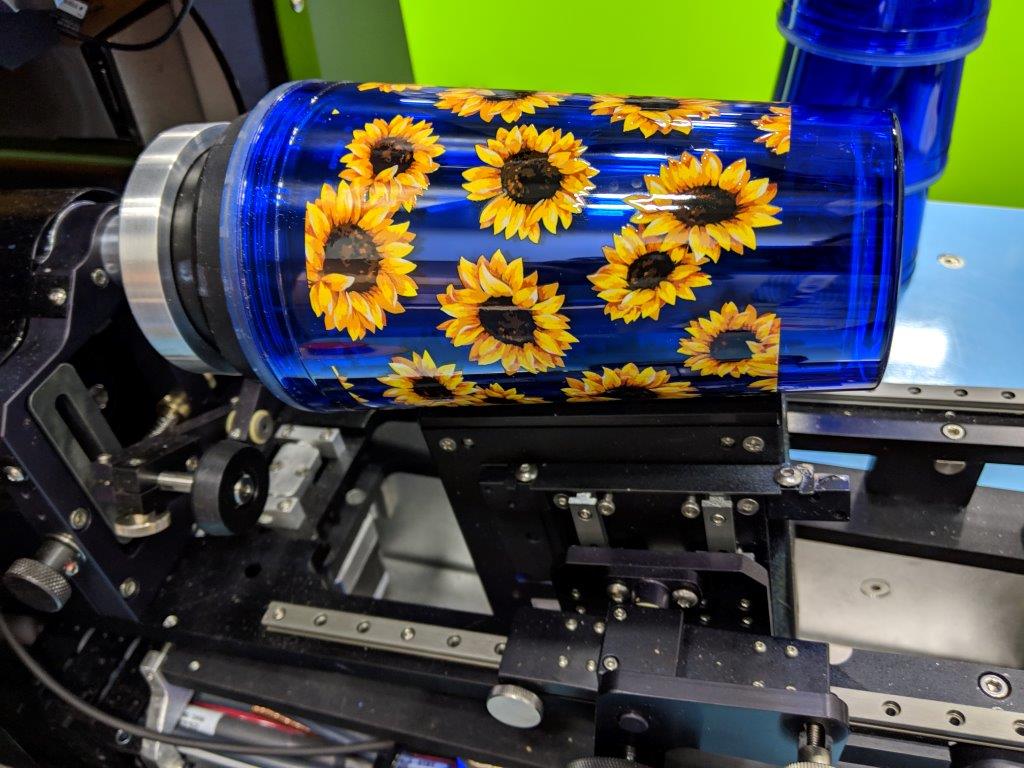
Digital printing is a plate-free way to decorate plastic parts. Your design goes straight from a file to the part surface.
Instead of screens or transfer pads, digital printing uses inkjet technology. The print head applies ink in precise, controlled passes.
This method produces full-color, high-resolution graphics. Fine detail and photo-quality images come through clearly.
Digital printing is different from 3D printing. 3D printing builds a part layer by layer. Digital printing only decorates a part’s surface after it’s molded. Read more about 3D printing vs. injection molding if you’re weighing part-making methods.
Digital printing follows a clear sequence. Each step matters for a clean, durable result.
1. Artwork prep and file setup We start with your design file. We position and scale it to match your part’s shape and size.
2. Surface prep We clean the part first. Plastics like polypropylene have low surface energy, so ink doesn’t stick well on its own. We treat these surfaces with flame or plasma treatment so the ink bonds properly.
3. Ink application The inkjet print head applies your design directly to the part. No plate or screen touches the surface.
4. Multi-color pass registration For multi-color designs, the print head runs several passes. Each pass lines up precisely with the last, so colors stay sharp and aligned.
5. Curing and inspection We cure each print with heat, air, or UV light, depending on the ink type. Then we inspect the part for color accuracy and adhesion.
A quality check at multiple points in the run, not just at the end, helps catch color or adhesion issues early. This keeps parts consistent from the first piece to the last.
Digital printing works on a range of plastics. Common choices include:
Digital printing works best on flat surfaces. Curved, textured, or recessed parts are usually a better fit for pad printing.
This method suits full-color and photo-quality graphics best. If your design has several colors or fine detail, digital printing captures it clearly.
Digital printing also fits short production runs and prototypes. You get sharp, accurate printing without the setup time a plate-based method needs.
Not sure which plastic fits your part? Check our material selection guide before you start your project.
Digital printing and pad printing decorate plastic parts in different ways. Knowing the difference helps you pick the right method for your project.
| Digital Printing | Pad Printing | |
| Setup | Plate-free, file to part | Uses an etched plate |
| Best part shapes | Flat surfaces | Curved, textured, or recessed surfaces |
| Cost at volume | Better for short runs | Better for high volume |
Pad printing uses a plate to transfer ink onto the part. Making that plate takes time upfront, but it pays off on large production runs. Pad printing also reaches into recessed or textured areas that digital printing can struggle with.
Digital printing skips the plate entirely. That makes it faster to start and more cost-effective for short runs or prototypes.
Digital printing is a strong fit for certain projects. Here’s when we recommend it:
If your project fits this list, digital printing may be your best option. Contact us, get a printing quote and we’ll help you decide.