What Is the Difference Between CNC Turning and CNC Milling?
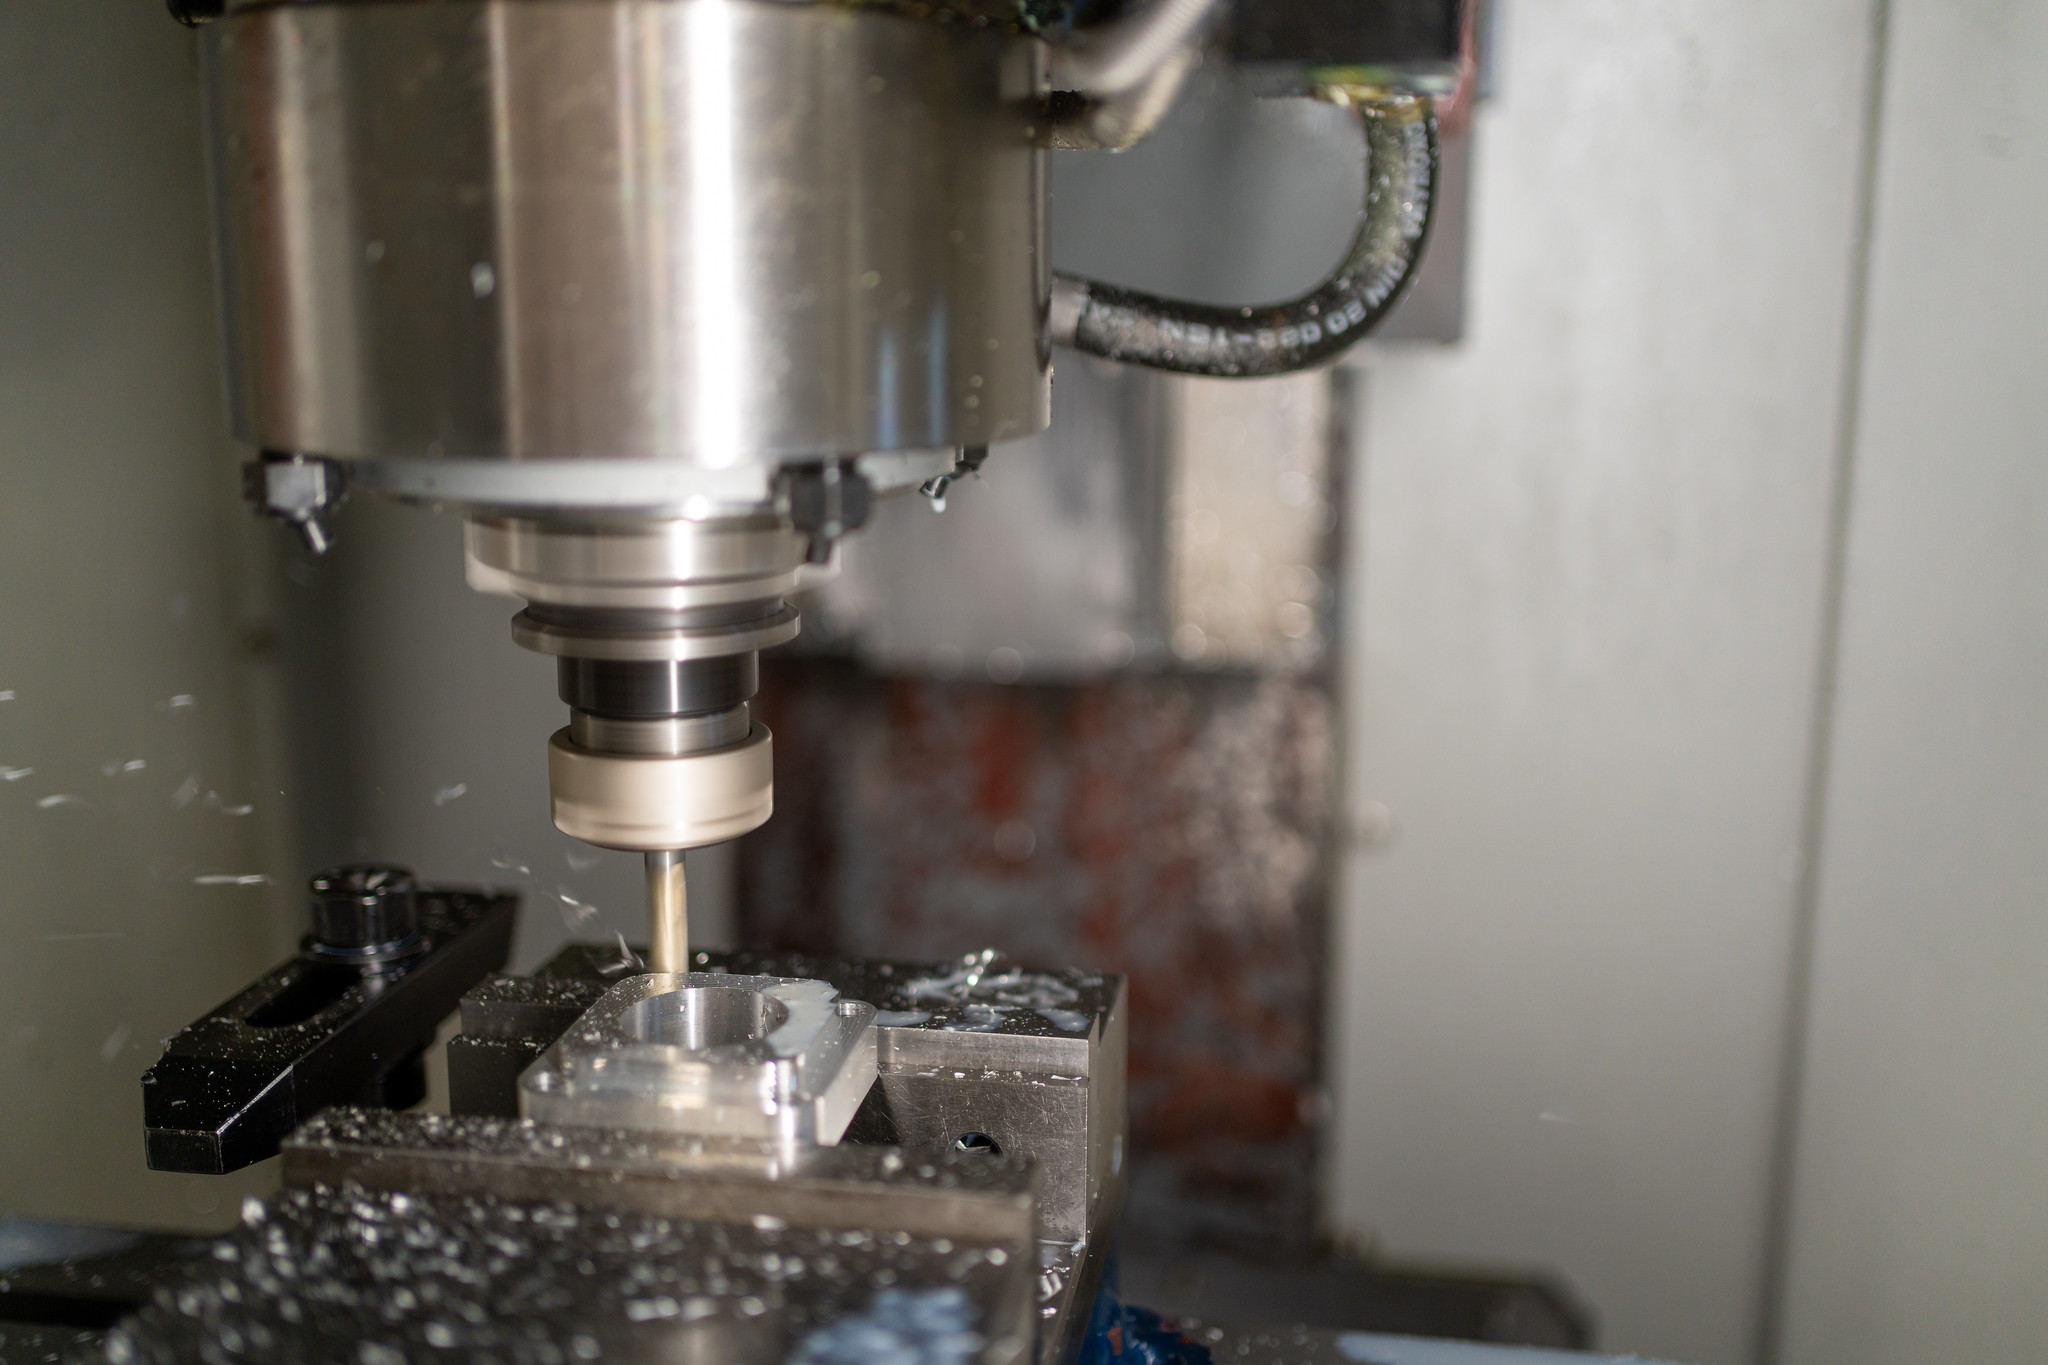
You have a part to make. Someone mentioned CNC turning or CNC milling. Maybe both came up. They sound alike, but they are not the same process. Picking the wrong…
Does your part need a simple logo, or a full-color image? That one question decides whether pad printing or digital printing is right for your part.
At Freeform Polymers, we print on plastic parts every day. We know picking the wrong method can mean redone artwork, or a part that won’t hold ink. A product developer with a finished molded part often runs into this exact problem, and guessing wrong costs time and money.
This guide breaks down pad printing vs digital printing in plain terms. You’ll learn how each method works, see the key differences side by side, and find out how to match the right one to your part.
Pad printing transfers ink from an etched plate onto a part using a soft silicone pad, which shapes around curves and textures — making it the better choice for logos, part numbers, and small graphics on molded parts like housings and knobs.
Digital printing applies ink directly with an inkjet head and no plate, making it the better choice for full-color, photo-quality graphics and shorter runs where cutting a plate isn’t worth the setup time. The right method depends on the part’s shape, the number of colors, and run size.
Pad printing, also called tampography, uses a soft silicone pad to lift ink from an etched plate. We press that pad onto your part, transferring the image in one clean motion.
The pad flexes as it presses down. This lets it reach into curves, corners, and textured surfaces that flat printing methods can’t cover.
Before we print, we review your artwork and build the etched plate for your design. Then we clean the part’s surface, so ink bonds tightly instead of flaking off later. Ink is matched to your plastic and your color targets, then applied and cured by air, heat, or UV.
We use pad printing most often for:
Textured housings and curved enclosures are some of the most common parts printed this way across the industry. The pad’s flexibility makes it a natural fit for these shapes, especially when a part has to hold up to daily handling.
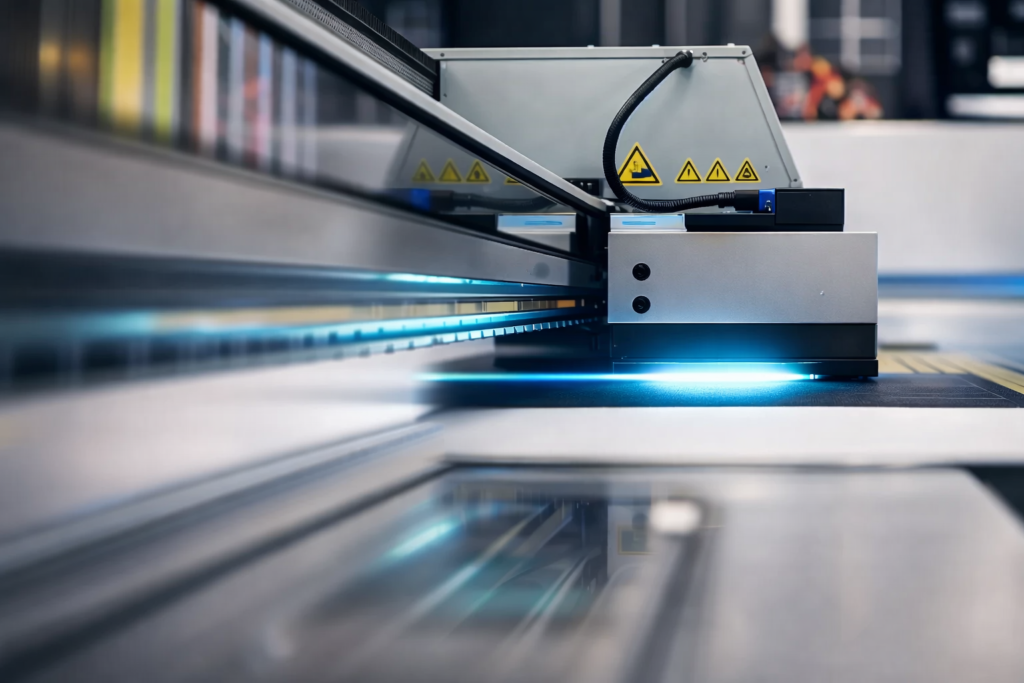
Digital printing applies ink straight from an inkjet head onto your part. There’s no plate to cut and no pad involved.
This makes setup faster than pad printing. It’s a strong choice for one-off jobs or low-volume runs, since you’re not paying for tooling before the first part comes off the line.
We follow the same care with digital printing that we use for pad printing. Files are reviewed and loaded for inkjet output, the part’s surface is cleaned, and the print is cured and inspected before it ships.
We use digital printing most often for:
Now that you know how pad printing works, here’s how digital printing compares.
| Factor | Pad Printing | Digital Printing |
| Surface type | Curved or textured | Flat, photo-detail |
| Color capability | 1–4 spot colors | Full color |
| Setup | Requires a plate | No plate needed |
| Best-fit run size | Recurring, higher-volume marks | Shorter or highly detailed runs |
Pad printing holds up well on shaped parts that need a simple mark, again and again. Once the plate is built, each print runs fast and stays consistent from part to part.
Digital printing wins when your part needs full color or you’re printing a smaller batch. Skipping the plate means you can change artwork between runs without added cost.
Once you know the differences, the real question is which one fits your part. Here’s how we walk through it:
Each factor changes the answer. A curved enclosure with one logo color usually points to pad printing. A flat panel with a detailed, full-color graphic usually points to digital.
We print on ABS, polycarbonate, polypropylene, nylon, acrylic, and PVC. Not sure which plastic fits your part? Our material selection guide breaks down the tradeoffs.
Ink and cure methods matter too. We match the ink and the cure step — air, heat, or UV — to your plastic and how the part will be used. UV is a cure step we use within pad and digital printing, not a separate printing method on its own.
Some materials need extra prep before printing. Polypropylene and polyethylene, for example, often get a flame or plasma treatment first. This step helps ink adhere to plastics that naturally resist it.
Not sure which answer fits your part? Ask us directly, and we’ll help you decide.
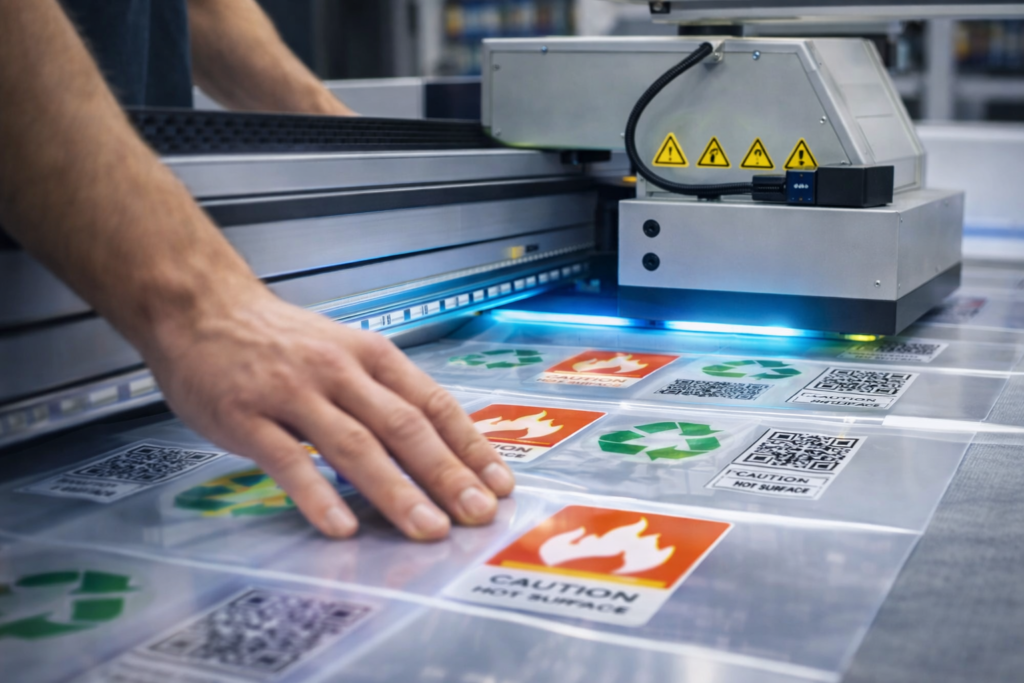
We print on the parts we mold right here in Logan, Utah. Our shop works with ABS, polycarbonate, polypropylene, nylon, acrylic, and PVC.
Before we print, we clean and prep each part’s surface. This step removes residue and helps the ink bond tightly to the plastic.
Every job goes through the same steps: artwork and setup, surface prep, ink selection, printing, and a final cure and inspection. This keeps your logo, part number, or graphic sharp and in place.
We’re proud to hold ISO 9001:2015 certification. This means you get consistent quality on every part, every run.
Freeform Polymers started in 2011. We’re based in Logan, Utah, serving Cache Valley and beyond.
Contact us today and get a printing quote for your project!