What Is Box Build Assembly? How Parts Become a Finished Product
Justin Brown
October 22nd, 2026
Your circuit boards are finished. Your enclosure is molded. Screws, cables, and labels are coming from four different suppliers. Someone still has to turn that pile of parts into one product that powers on.
That step has a name. If you’re searching “what is box build assembly,” this guide gives you a clear answer. You’ll learn what goes into it and how to tell if your product needs it.
Here’s a common problem: Parts from different vendors can each meet their own drawings and still not fit together. Small size differences on each part add up, which engineers call tolerance stack-up. It often shows up for the first time at assembly, when it’s hardest to fix.
We’ll start with what goes inside a box build and how it differs from PCB assembly. Then we’ll walk through the process step by step and how units get tested. Last, you’ll see what to send us so your quote comes back accurate.
What Is Box Build Assembly?
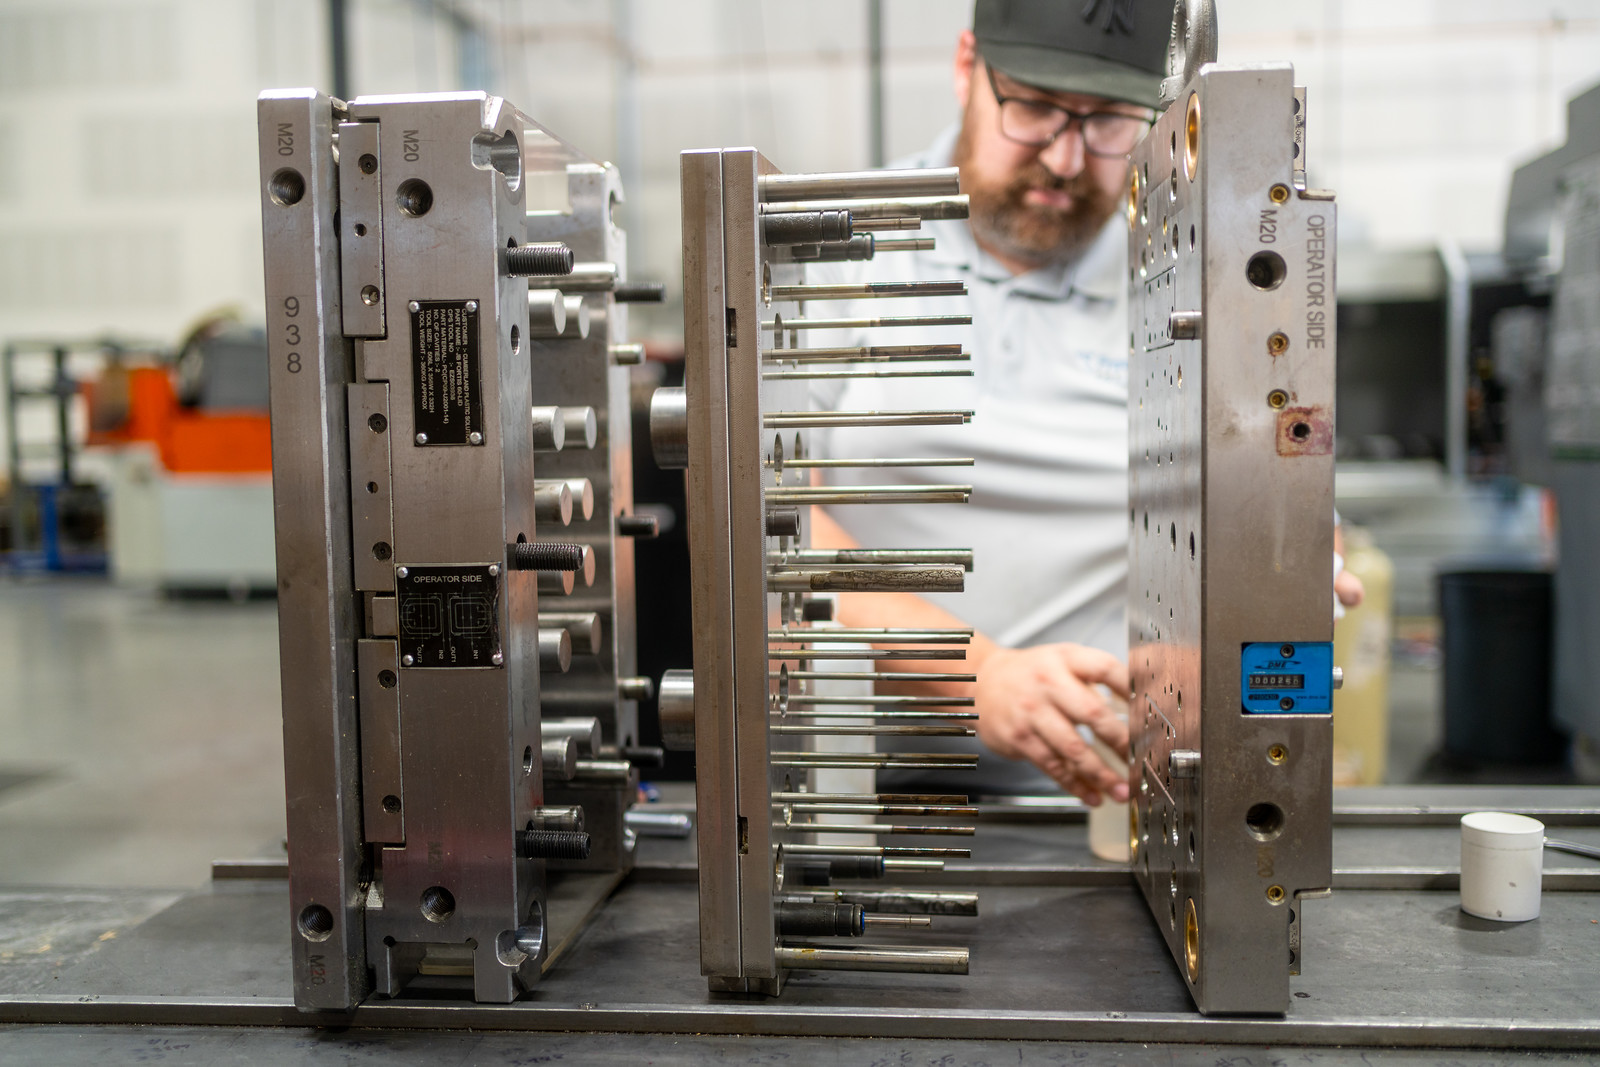
Box build assembly is the step where all the parts of a product come together into one finished, working unit. A builder installs circuit boards (PCBAs), wires, cables, connectors, and hardware inside an enclosure, the “box.” Then the units are inspected and tested before they ship.
A typical box build includes:
Mounting circuit boards and sub-assemblies
Routing and connecting wires and harnesses
Installing fasteners, inserts, and connectors
Closing the enclosure and adding labels
Inspecting and testing the units
Packaging them for shipment
When the work is done, you get a product that’s ready to sell or use, not a box of loose parts.
What Goes Inside a Box Build?
Every box build starts with a parts list. Use the list below to check your own bill of materials (BOM). If you see gaps, that’s a good sign of where your project needs a plan.
Circuit boards (PCBAs): These usually come from you or your electronics supplier, finished and ready to install.
Wire harnesses and cables: Wires are cut, stripped, crimped, and labeled before assembly starts.
Hardware: This covers fasteners, threaded inserts, connectors, gaskets, and parts like displays or switches.
The enclosure: This is the housing that holds everything, made from plastic or metal.
Labels, serial tags, and packaging: These identify each unit and protect it on the way to you.
Small parts like labels and tags are easy to forget. They still affect how your product looks and how you track each unit after it ships. Our pad and digital printing adds logos, part numbers, and instructions right on the part.
Box Build vs. PCB Assembly: What’s the Difference?
PCB assembly places electronic parts onto a bare circuit board and solders them in place. Box build starts after that step, once the boards are finished. It adds the mechanical work, wiring, enclosure, testing, and packaging that turn a board into a product.
PCB Assembly
Box Build Assembly
Starts with
A bare board and electronic parts
Finished boards, an enclosure, cables, and hardware
Main work
Placing and soldering parts onto the board
Mounting, wiring, fastening, closing, and labeling
Testing focus
The board and its circuits
The whole unit’s fit and function
What you get
A finished circuit board
A complete product ready to ship
Some electronics suppliers offer both services. Others build the boards and hand them off to a mechanical assembler. When you work with us, we receive your finished PCBAs from you or your electronics supplier. Then we install them and build the rest of the product around them.
Simple vs. Complex Box Builds
Box builds range from a few parts to dozens of connected pieces. Where your product falls shapes how long each unit takes and how much testing it needs. We handle both simple mechanical assemblies and full electromechanical builds.
Simple Mechanical Assembly
Full Electromechanical Build
Parts
A few parts and fasteners
Several boards, displays, and a power supply
Wiring
Little or none
Multiple harnesses and connectors
Work instructions
A short step list
Detailed steps with photos and checkpoints
Testing
Fit and visual checks
Power-on and function tests
Common example
A molded housing with a switch and a cable
A control unit with a screen and multiple boards
More complexity means more labor time per unit. It also means more detailed work instructions, so every unit gets built the same way. Testing gets deeper too, since more connections mean more places where something can go wrong.
How the Box Build Process Works, Step by Step
Every build we run follows the same five stages. Each stage has a clear job, so problems get caught early instead of at the end.
Project review and documentation. We start with your BOM, drawings, and assembly instructions. Missing details get flagged early, so the build runs cleanly once production begins.
Component prep and inspection. Boards, wiring, fasteners, enclosures, and molded parts are inspected and staged. Wires get cut, stripped, crimped, and labeled before they reach the assembly bench.
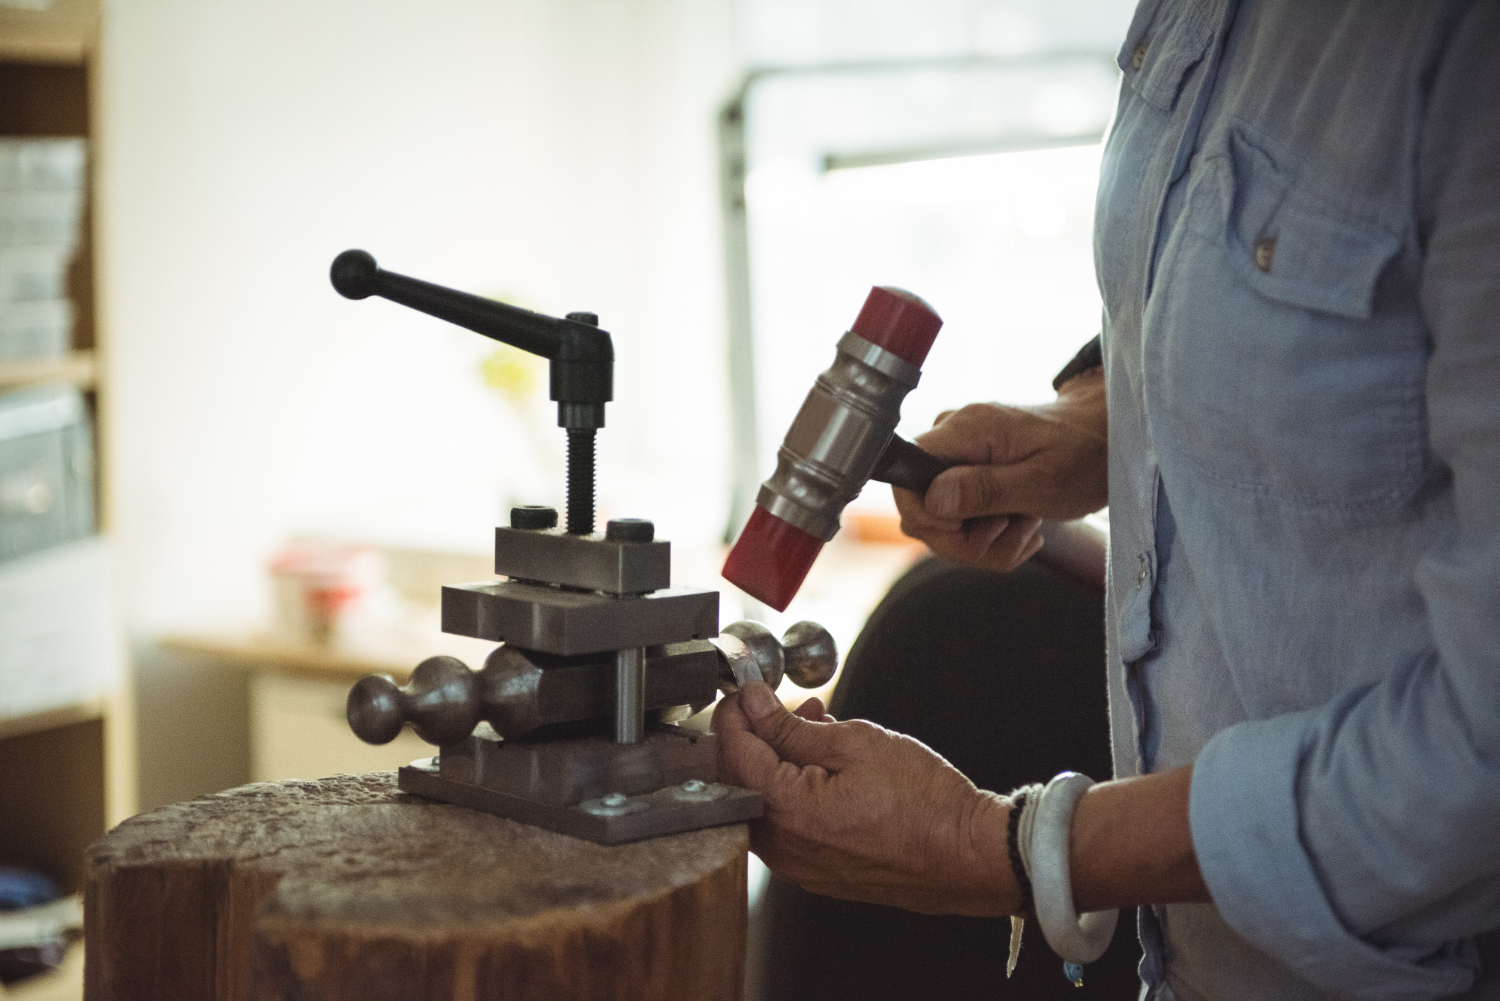
Mechanical assembly. Our technicians install hardware, mount sub-assemblies, route cables, and seat connectors. Each step follows your work instructions, so every unit in the run comes out the same.
Functional testing and inspection. Finished units are checked for fit, finish, and function. Visual inspections, sample checks, and your test plan happen at set stages of the build.
Packaging and delivery. Completed units are labeled and packaged for shipping or kitting. If your schedule calls for it, we can deliver in phases instead of all at once. Our inventory management service can help keep stock on schedule.
How Are Box Builds Tested?
Box builds are tested at set stages, not only at the end. That way, a loose connector or a pinched wire can be caught before the enclosure is closed. Here’s what testing covers in our shop:
Visual and fit checks: We confirm parts are seated, wires are routed right, and the enclosure closes cleanly.
Functional testing: Units are checked against your test plan. Do they power on? Do the switches and signals work?
Sample checks: Units are pulled at set points in the run to confirm the build stays consistent.
Many buyers also ask for a first article inspection. That’s a full check of the first finished unit before the rest of the run is built. It’s a common way to confirm the build matches your drawings early.
Standards buyers often call out
IPC-A-610: An industry standard for what makes an electronic assembly acceptable
IPC/WHMA-A-620: An industry standard for cable and wire harness assemblies
If your product needs to meet one of these, list it in your quote request.
All of this runs inside our ISO 9001:2015 certified quality system. That means our inspection steps are written down, followed the same way each time, and reviewed.
Plastic or Sheet Metal Enclosure: Which Is Right for Your Box Build?
The enclosure holds everything else, so it shapes how your build goes. Most products use either formed sheet metal or a molded plastic housing. Each one fits a different kind of product.
Sheet Metal
Molded Plastic
Best for
Low volumes, industrial gear, rack-mount units
Higher volumes and handheld or consumer products
Upfront cost
Low, since most parts need little or no custom tooling
Higher, since a mold must be built first
Cost per unit at volume
Drops less as volume grows
Drops as the mold cost spreads over more parts
Shapes and features
Mostly flat panels and bends
Curves, ribs, bosses, and snap fits built right in
Weight and look
Heavier; often painted or coated
Lighter, with color and texture molded in
Shielding
Stronger built-in shielding than plastic
Needs a conductive coating if your product needs shielding
If you go with plastic, a few design details decide how smoothly assembly goes. Bosses hold screws, and snap fits can replace fasteners. Brass or steel inserts give you threads that stay strong through repeated assembly, and we handle threaded insert installation in-house. Small size differences across mating parts can also add up, so check our guide on injection molding tolerances.
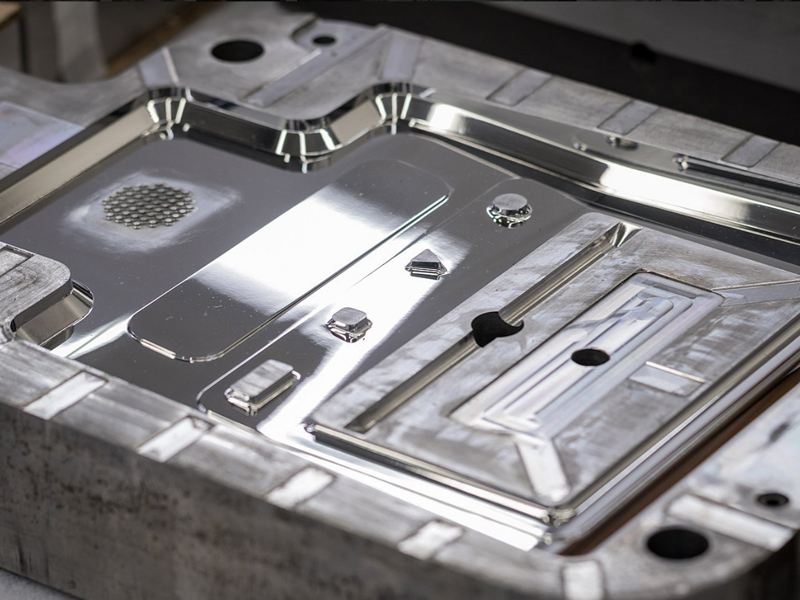
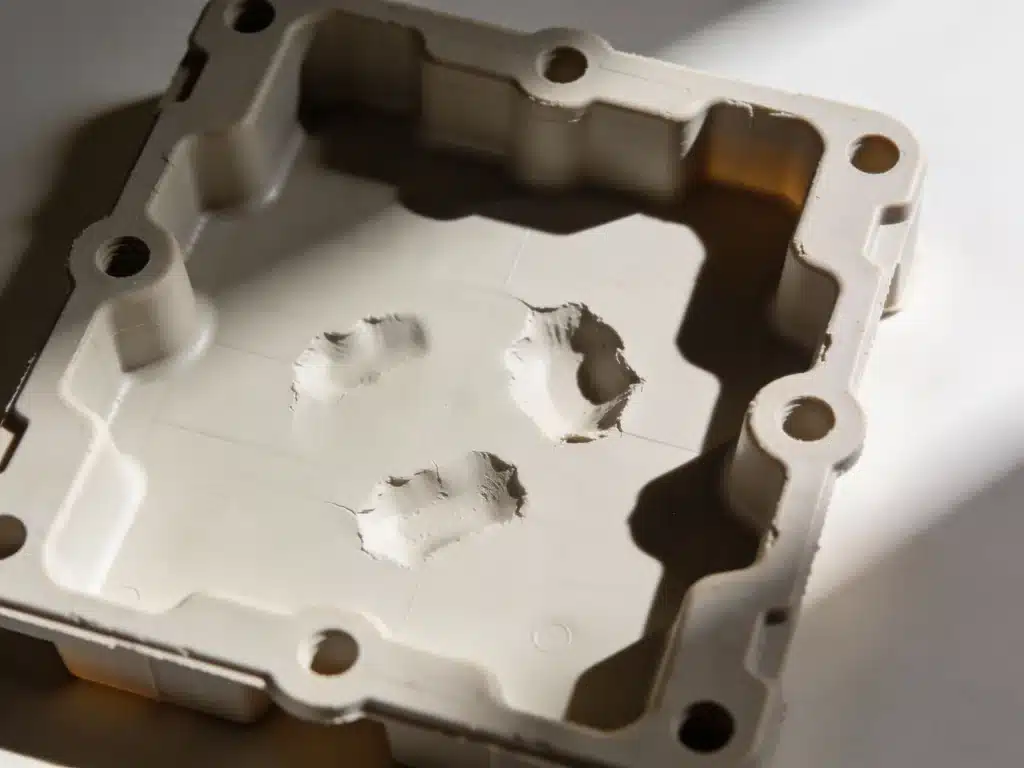
Looks matter on any product your customer holds. The mold’s surface sets the finish on every housing, from glossy to textured. A glossy finish shows flaws like sink marks more easily than a matte texture. Our guide to SPI surface finish grades helps you pick the right one.
Here’s where one shop makes a difference. We build the mold, mold the enclosure, and assemble the product under the same roof. When a part doesn’t fit, you have one team to call, not two vendors pointing at each other.
What Affects Box Build Cost and Lead Time?
Box build pricing depends on the work each product takes. No two products need the same steps. These are the factors that move your cost and your timeline most:
Part count and labor: More parts and more steps mean more hands-on time per unit.
How complete your documents are: Missing drawings or unclear instructions add engineering time before the build can start.
Testing depth: A quick visual check costs less than a full power-on test. Custom test fixtures add setup time too.
Component availability: Your slowest part sets your timeline. Long-lead circuit boards or connectors often decide when the build can begin.
Volume and release schedule: Larger runs spread setup time across more units. Releasing builds in phases can also match production to your sales.
You have the most control over your documents. A complete package up front saves time and gives you a more accurate quote.
What to Send for a Box Build Quote
The more you send up front, the faster and more accurate your quote will be. Use this checklist before you reach out. If something isn’t ready yet, send what you have, and we’ll flag what’s missing.
Box Build Quote Checklist
☐ Bill of materials (BOM): List every part and note who supplies each one.
☐ CAD files and drawings: Include the enclosure and the full assembly.
☐ Work instructions or a sample unit: Show us how the product goes together.
☐ Test plan: Spell out what each unit must do to pass.
☐ Volume and release quantities: Share your yearly volume and how many units you need per batch.
☐ Packaging and labeling needs: Note any labels, serial tags, or box requirements.
A sample unit is often the fastest way to show us how your product fits together. It answers questions that drawings sometimes miss.
Box Build Assembly in Utah: Outsource or Keep It In-House?
Some teams build their own products. Others hand assembly to a partner. The right choice depends on your volume, your space, and how often your design changes.
Keeping it in-house may fit if:
You build very small quantities
Your design still changes from week to week
Your engineers need hands-on time with every unit
Outsourcing may fit if:
Your volume is steady and growing
Floor space and staff are tight
You want your team focused on design, not assembly
Where you outsource matters too. Overseas assembly can lower the piece price, but shipping time and distance make changes slower. Our guide to domestic vs. overseas manufacturing walks through the full cost picture.
Since 2011, businesses across Northern Utah and Southern Idaho have trusted us as a local manufacturing partner. At our shop, we handle molding, machining, and assembly in one facility. When your enclosure, machined parts, and final build come from one place, you have fewer vendors to manage. You also get one team accountable for the finished product.
Ready to turn your parts into a finished product? We’ll review your files, flag any gaps, and build a plan that fits your schedule. Explore our box build and mechanical assembly services, or call us at (435) 774-9090 and let’s talk through your project!
You need 400 parts for a product launch. The first quote comes back with a 10,000-part minimum. Now you face a hard choice. You can buy parts you don’t need,…
Your circuit boards are finished. Your enclosure is molded. Screws, cables, and labels are coming from four different suppliers. Someone still has to turn that pile of parts into one…
You asked for a smooth, nice-looking part. Then the samples came back shiny, and every fingerprint and tiny dent showed. The mold did exactly what it was told. It just…
Your first sample parts look great until you flip one over. There’s a rough nub right on the face your customer sees first. That nub is where the plastic came…
Your first sample parts just came back. They look right until you tilt one toward the light. Then you see it: a shallow dent sitting right over a rib. Nothing…
Your CAD model says 25.00 mm. Your first molded parts come back at 24.93 mm. Is that a problem, or is it normal? The answer depends on the tolerance you…
A part passes inspection and ships out on time. Weeks later, it cracks after a solvent wipe or a tightened bolt. Nothing was wrong with the design. The stress was…