How Long Does an Injection Mold Last? Mold Life by Class, Material, and Care
The mold is often the biggest check you’ll write on a plastic part project. So it’s fair to ask how many parts it will give you. Will it cover your…
The mold is often the biggest check you’ll write on a plastic part project. So it’s fair to ask how many parts it will give you. Will it cover your first order, or your next five years of production? The answer shapes your tooling budget from day one.
This guide answers how long an injection mold lasts. You’ll learn what shortens a mold’s life and what extends it. You’ll also see how to plan tooling so it outlasts your production run. And you’ll see why two molds built to the same standard can wear out at very different times.
An injection mold can last anywhere from a few hundred cycles to over a million. A cycle is one shot of the press. Most molds are built to a target set by the SPI mold class system:
Real-world life also depends on the plastic you mold, your part design, and how well the mold is kept up. A well-kept mold can run past its rating. A neglected one wears out early.
Mold life is counted in cycles, not years. What matters is how many times the press closes, not how long the mold has existed. A mold that runs every day will reach its limit long before one that runs a few times a year.
A cycle is one shot of the press. A single-cavity mold makes one part per shot. A multi-cavity mold makes several parts per shot. So a four-cavity mold rated for 100,000 cycles can make about 400,000 parts.
Cycles vs. Parts vs. Years
A mold doesn’t have an expiration date. It reaches end of life when repairs would cost more than the mold is worth. Until then, worn areas can often be repaired and put back to work.
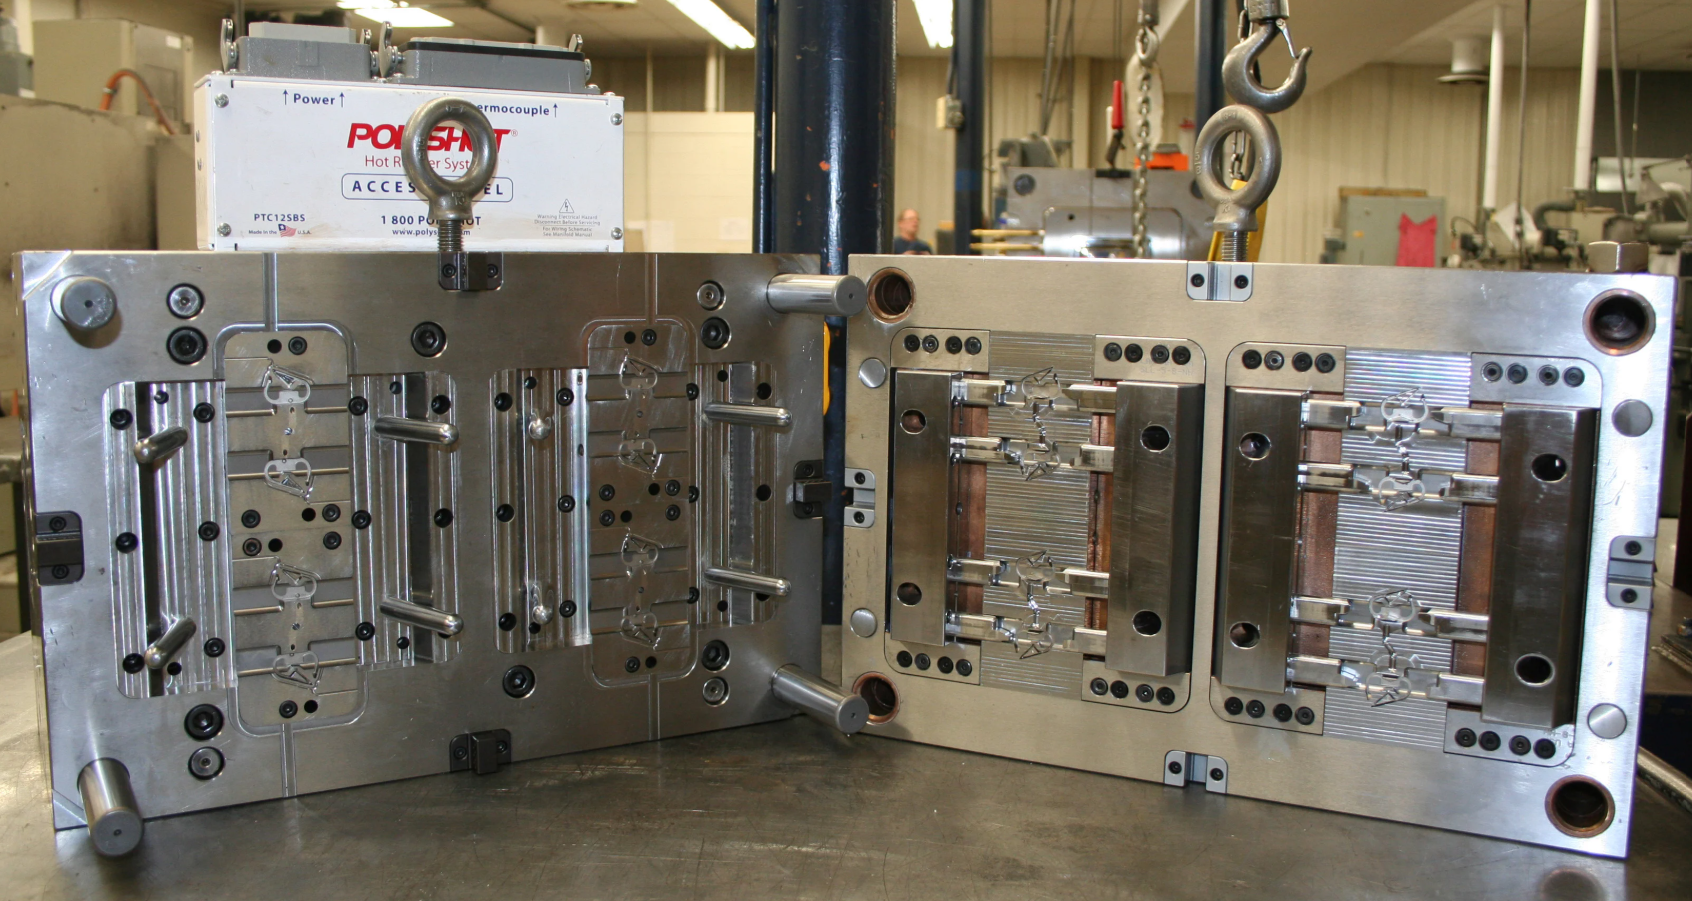
Two molds of the same class can last very different lengths of time. The resin, the part design, and the care each mold gets all change the result. For a refresher on how a mold is built, see the three main parts of an injection mold.
Now that you know mold life is counted in cycles, here’s how the industry sets those targets.
SPI mold classes are the industry’s shared scale for mold life. SPI stands for the Society of the Plastics Industry, renamed the Plastics Industry Association in 2016. The classes give you and your molder the same language. When you ask for a Class 102 mold, we both know what it’s built to handle.
Each class sets how tough the mold must be built. Higher classes cost more up front because they’re made to take more shots.
| Class | Built for | Typical use | Relative cost |
| 101 | 1,000,000+ cycles | Very high volume | Highest |
| 102 | Up to 1,000,000 cycles | Medium to high volume, abrasive resins, tight tolerances | High |
| 103 | Under 500,000 cycles | Low to medium volume | Average |
| 104 | Under 100,000 cycles | Low volume, non-abrasive resins | Low to moderate |
| 105 | 500 cycles or fewer | Prototypes only | Lowest |
A class is a build standard, not a guarantee. It tells you what the mold is made to handle. The resin, the part design, and the care it gets decide whether it reaches that number.
Match the class to your lifetime volume, not your first order. Say you need 20,000 parts this year and 80,000 more over the next few years. A Class 104 mold would be right at its limit. A Class 103 mold gives you room to grow.
If you’re planning very large runs, see our guide to high volume injection molding. If you need a pilot batch or a small order, our short-run injection molding guide is a better fit.
Class sets the target. What the mold is made of decides how hard it is to hit.
The metal your mold is made from sets how much wear it can take. Aluminum is faster to build but wears sooner. Steel takes longer to build but holds up much longer.
Aluminum moves heat up to five times faster than steel. So aluminum molds cool parts quickly and can shorten cycle times. But aluminum is soft, so it wears out sooner than steel.
An aluminum mold typically lasts about 10,000 to 100,000 cycles. The exact number depends on the alloy, the resin, and the part’s shape. That makes aluminum a good fit for prototypes and lower volumes.
Steel is the choice when you need the mold to keep going. Pre-hardened P20 steel is common for medium runs. Hardened H13 steel is built for true high volume.
| Aluminum | P20 steel | H13 steel | |
| Typical use | Prototypes and early runs | Steady production | Long, high-output programs |
| Wear | Wears soonest | Moderate | Most wear-resistant |
| Best volume | Low (about 10,000–100,000 cycles) | Medium | High |
The plastic you run matters too. Abrasive resins, such as glass-filled nylon, call for hardened steel. Corrosive resins, such as PVC, call for stainless steel.
Even the right metal wears out faster under certain conditions. Here’s what to watch for.
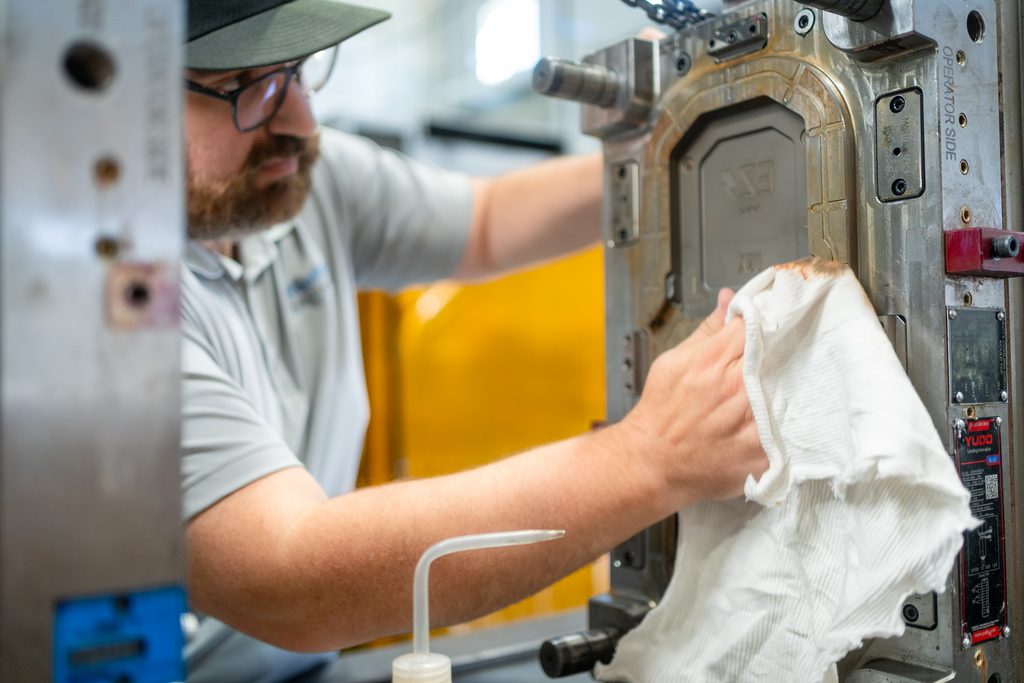
Some molds wear out well before their class rating. Most of the time, the cause is one of a few known risks. Check your project against this list.
Wear and part defects also feed each other. A worn mold makes more bad parts, and some defects add more wear to the mold.
Even a well-built mold wears out early without care. That brings us to maintenance.
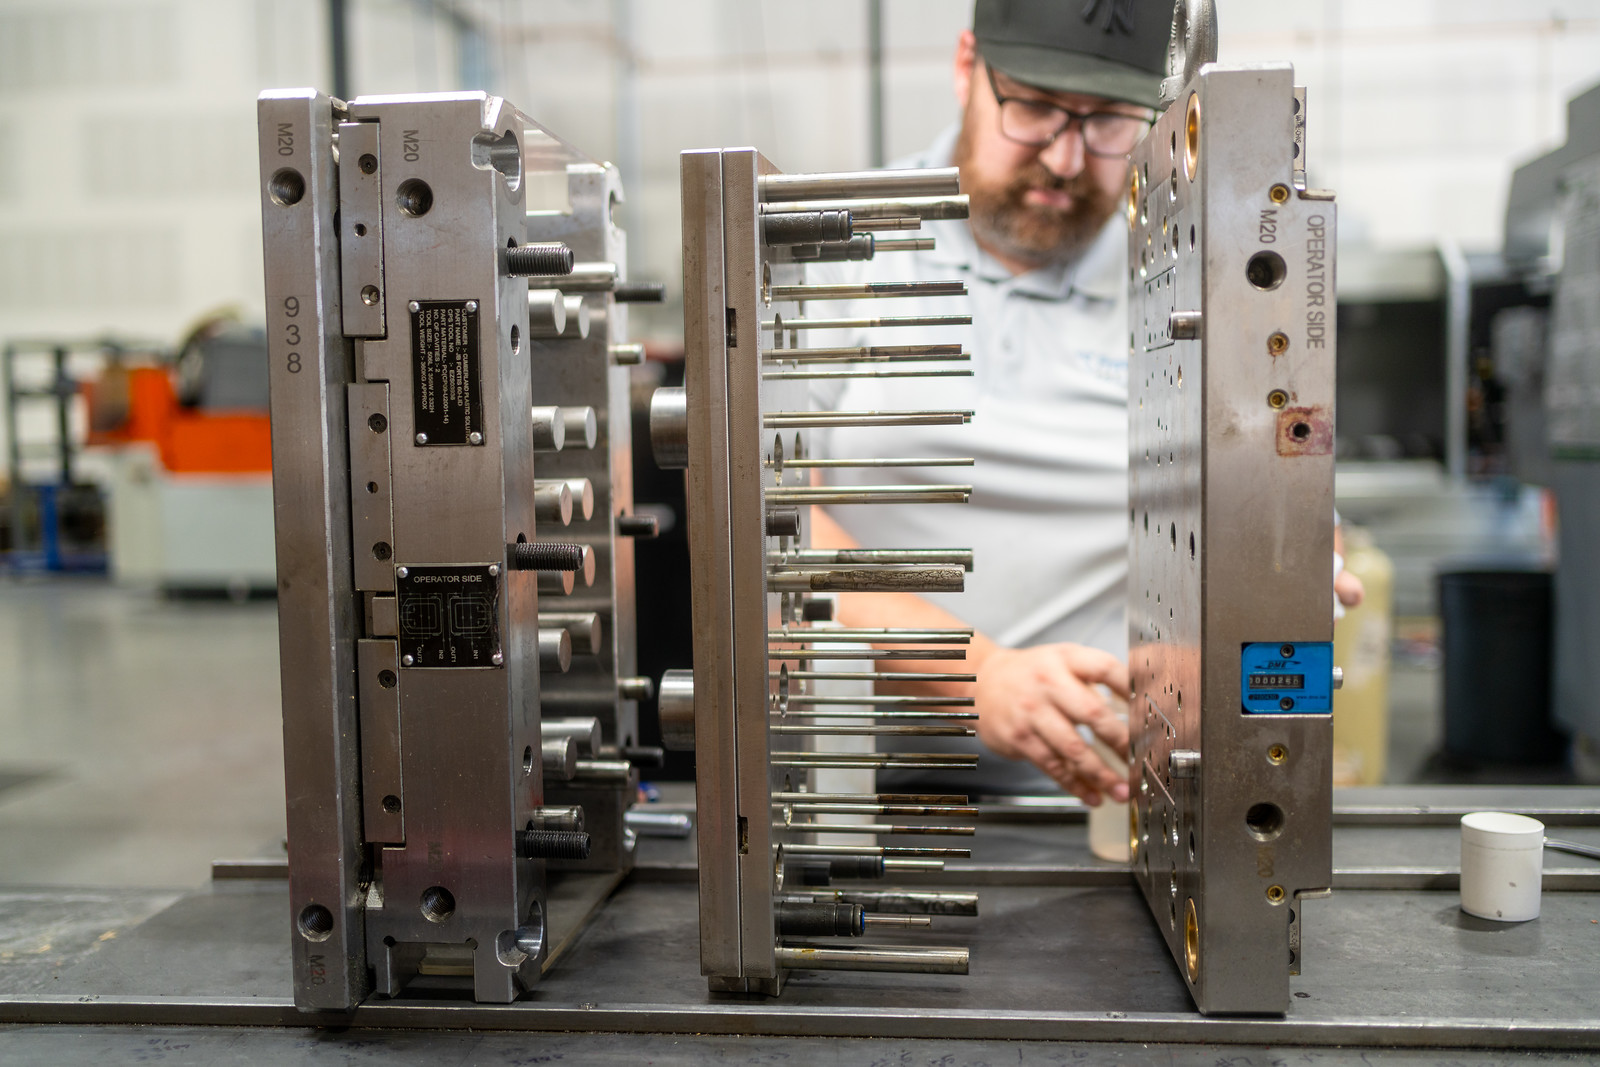
Maintenance is the biggest lever you control. You can’t always change the resin your part needs. But you can decide how well the mold is cared for between runs.
Waiting until a mold breaks costs more than planned care. A schedule based on cycle count tracks actual wear, so service happens when the mold needs it. It also keeps service from getting skipped when runs come back to back.
Use this checklist to keep your mold in shape:
After every run
Scheduled preventive maintenance
Storage
That rust step is about timing. A mold that ran on chilled water can collect condensation as it sits. Bringing it to room temperature first helps keep rust from forming.
The log matters most if your mold ever moves to a new shop. It shows the next molder what’s been done and what’s coming due.
Have a mold that’s due for maintenance or moving shops? See our injection mold repair and maintenance services.
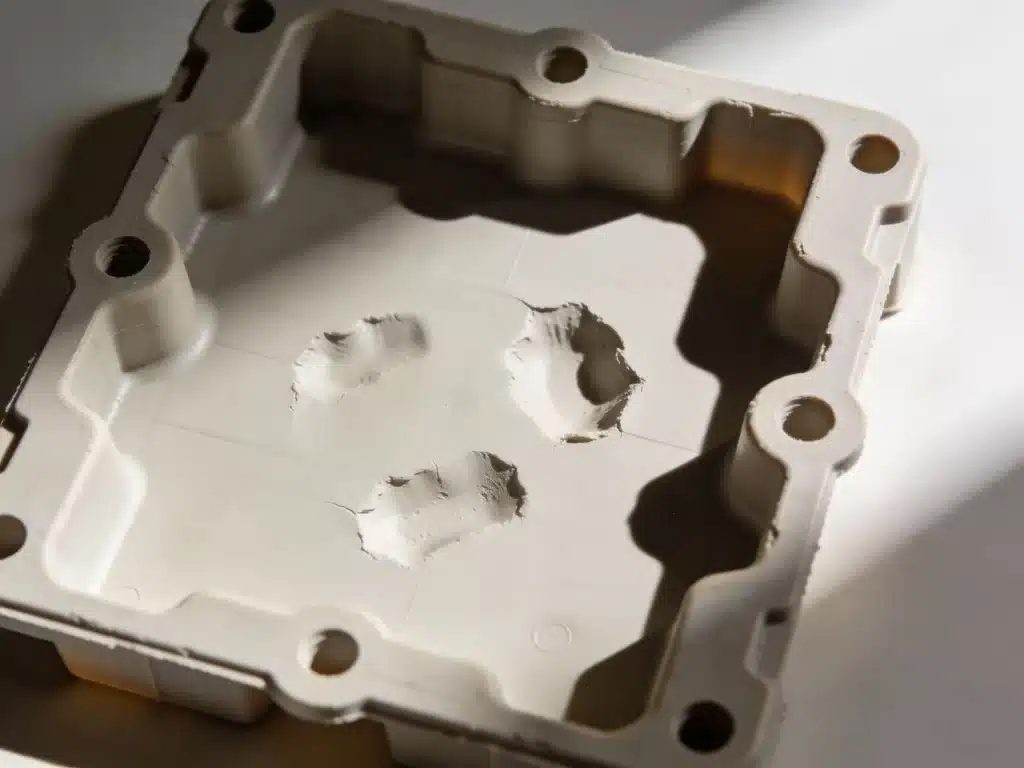
A worn mold usually shows itself in the parts it makes. Watch for these warning signs:
Don’t wait on flash. Leftover flash or debris caught between the mold halves can dent the parting line. Once that happens, flash only gets worse. Other defects, like sink marks, usually trace back to the process, part design, or cooling, so check those first.
Many signs of wear can be fixed. Common repairs include:
A repair fixes one problem. Refurbishing reworks several worn areas at once to bring the whole mold back to spec. Replacing means building a new tool.
To decide, weigh the cost of the fix against how many parts you still need. If you only need a few more runs, a repair often makes sense. If you need years more from the mold, a new tool may cost less over time. For a look at what goes into new tooling, see why injection molds cost so much.
Repair, refurbish, or replace?
Moving your mold to a new molder? Have it evaluated first. A good evaluation records wear, measures the gates, and finds old temporary fixes, like shims, that became permanent. You’ll know its condition before the first run, not after the first bad batch.
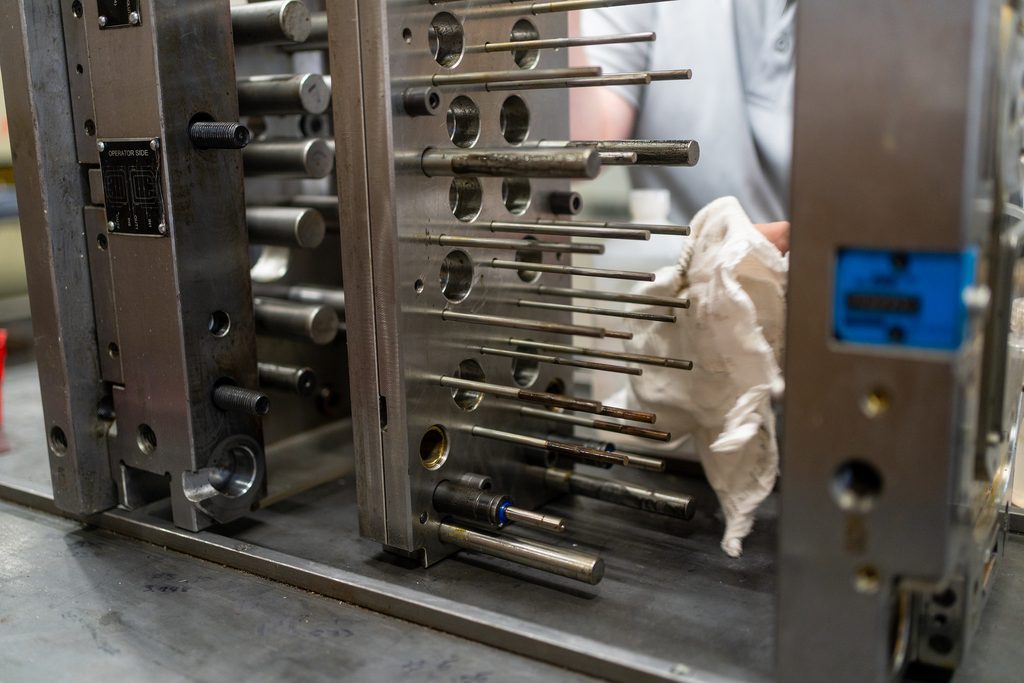
At Freeform Polymers, we build molds, run them, and repair them. That gives you one place to go for new tooling, production, and repairs.
Across the industry, some of the most common repairs are parting-line flash damage, worn ejector pins, and cavity surface damage. Catching them early keeps a small fix from turning into a big one.
Mold life starts before the first cut. We review your part design for manufacturability (DFM) before tooling. That’s also the time to pick a mold class that fits your lifetime volume, not just your first order.
We’re ISO 9001:2015 certified, and we serve businesses across Northern Utah and Southern Idaho.
Ready to plan a new mold or bring a worn one back to spec? Contact us today and learn more about our mold repair and maintenance services.