What Are the Different Types of Gates Used in Injection Molding?
Justin Brown
October 15th, 2026
Your first sample parts look great until you flip one over. There’s a rough nub right on the face your customer sees first. That nub is where the plastic came in. It’s the mark left by the gate.
The types of gates in injection molding matter more than most people expect. That small opening affects how your part looks, how strong it is, and how much trimming it needs. The right gate can keep that mark off the faces that count. At Freeform Polymers, we settle gate type during mold design, before any steel is cut.
This guide breaks down each gate type, how it works, and which parts it suits. We’ll start with what a gate is. Then we’ll walk through cold runner and hot runner gates and compare them side by side. Last, we’ll show how gate location affects your part.
What are the Different Types of Gates Used in Injection Molding?
Injection molding gates fall into two main groups: cold runner gates and hot runner gates. Cold runner gates are fed by unheated channels. Each shot leaves a runner or sprue that has to be removed. Common types include:
Edge gate: feeds the part from the side at the parting line. It’s the most common gate, and one of the simplest.
Tab, fan, and film gates: edge gate variations that lower stress or spread the flow across wide or thin parts.
Submarine (tunnel) and cashew gates: sit below the parting line so the gate shears off on its own.
Pin-point gate: a tiny gate, often used in three-plate molds.
Direct sprue, diaphragm, and ring gates: feed large single parts, round parts, and tubes.
Hot runner gates include thermal (hot tip) and valve gates. They leave little or no runner waste. The best gate for you depends on part shape, resin, looks, and volume.
What Is a Gate in Injection Molding?
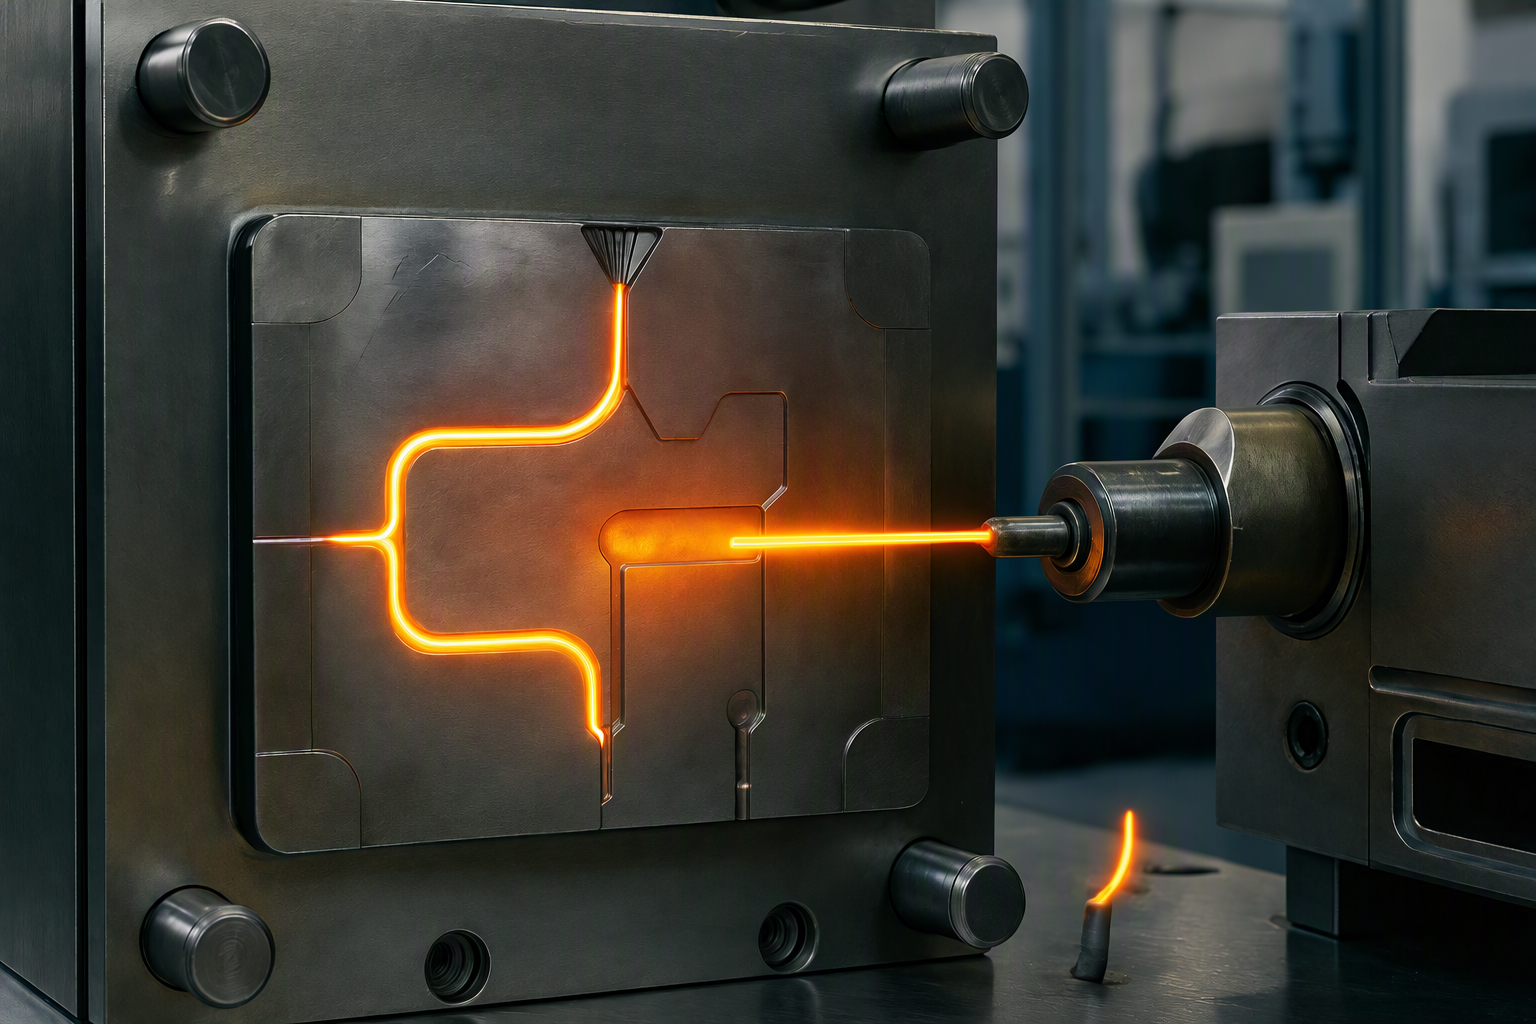
A gate is the small opening where melted plastic enters the mold cavity. It’s the last stop before the plastic becomes your part. Every molded part has at least one.
In a standard cold runner mold, plastic travels this path:
Sprue: the main channel that takes plastic from the machine nozzle.
Runner: the channels that carry plastic toward each cavity.
Gates are small on purpose. A narrow gate seals off as it cools, after the cavity is filled and packed. That keeps plastic from flowing back out. The thin spot also makes the gate easier to break or trim away.
The gate also leaves a small mark on your part, called the vestige. That’s why gate choice affects how your part looks. We set gate type and location during mold design, before any steel is cut.
Edge-Fed Gates: Edge, Tab, Fan, and Film Gates
Edge-fed gates are the most common gate family. They feed plastic into the side of your part at the parting line. That’s the seam where the two mold halves meet.
Edge gate: the most common gate, and one of the simplest. It’s also easy to change or resize later. Best for: most general parts and prototypes.
Tab gate: adds a small tab between the gate and the part. The tab takes the high stress and the mark, so your part doesn’t. Best for: low-stress parts, like clear or optical parts.
Fan gate: widens out like a fan to spread flow across the part. This helps lower the risk of warp. Best for: wide parts.
Film (flash) gate: a thin, wide gate that runs along one edge. Best for: flat, thin parts.
The tradeoff is trimming. Each of these gates has to be cut off after molding, by hand or as a secondary step. We can handle that step with our post-mold machining and trimming.
Self-Degating Gates: Submarine, Cashew, and Pin-Point Gates
Edge gates are simple, but someone has to trim them. This next family removes itself. The gate breaks away from your part as the mold opens or the part ejects.
Submarine (tunnel) gate: angled below the parting line. It shears off when the part is pushed out of the mold.
Cashew (banana) gate: a curved version of the sub gate. The curve lets it reach hidden spots, like the inside of a part.
Pin-point gate: a very small gate, often used in three-plate molds. It separates when the mold plates pull apart.
Upside:
Less trimming, which saves labor at higher volumes.
A small mark that’s easier to hide.
Watch-outs:
Very brittle resins may snap instead of flexing out of the mold cleanly.
Filled or abrasive resins wear down the sharp shearing edge faster.
Center-Fed Gates: Direct Sprue, Diaphragm, and Ring Gates
Not every part is flat. Round parts, tubes, and large single parts need a different way in. These gates feed plastic evenly through the center or around the outside of the part.
Round parts with an open center: A diaphragm gate fills the part evenly from the center out. This helps keep round parts concentric and avoids weld lines.
Tubes: A ring gate wraps around the outside of the tube. Plastic flows around the ring first, then fills the tube as one even front.
Large single parts: A direct sprue gate feeds plastic straight into the part. It’s the simplest gate style, but it leaves a large mark.
Direct sprue and diaphragm gates suit single-cavity molds best. The tradeoff is cleanup. These gates have to be cut or machined off after molding.
Hot Runner Gates: Thermal (Hot Tip) and Valve Gates
Hot runner gates sit at the end of heated nozzles. The plastic stays melted all the way to the cavity. That means little or no runner to trim or throw away.
Gate
How it works
The mark it leaves
Thermal (hot tip)
Heat at the tip controls the flow. Simpler design.
Can leave a small bump or string.
Valve
A pin moves forward to shut the gate.
Usually the cleanest, often just a faint ring.
The tradeoff is cost. Hot runner tooling costs more up front, so it fits best at high volumes. For a closer look at that choice, see our guide to hot runner vs. cold runner molds.
Which Injection Molding Gate Type Is Right for Your Part?
Each gate type solves a different problem. This table shows how they stack up side by side.
Gate type
Best for
Mark left
Trimming needed
Relative tooling cost
Edge
Most general parts, prototypes
Visible at the edge
Yes
Low
Tab
Low-stress parts, like clear parts
On the tab
Yes
Low
Fan
Wide parts
Wide mark at the edge
Yes
Low
Film
Flat, thin parts
Thin line along the edge
Yes
Low
Submarine (tunnel)
Higher-volume parts
Small, hidden
No
Medium
Cashew
Gating hidden spots
Small, hidden
No
Medium
Pin-point
Three-plate molds
Tiny
No
Medium
Direct sprue
Large single parts
Large
Yes, cut off
Low
Diaphragm
Round parts with an open center
At the center
Yes, cut or machined off
Low
Ring
Tubes
Around the outside
Yes
Low
Thermal (hot tip)
High-volume parts
Small bump or string
No
High
Valve
High-volume cosmetic parts
Cleanest, often a faint ring
No
Highest
To narrow it down, answer these five questions:
Shape: Is your part flat, wide, round, or tube-shaped?
Resin: Is your resin brittle, filled, or abrasive?
Looks: Which surfaces will your customer see?
Volume: How many parts do you need?
Budget: How much can you put into tooling?
Low volumes and prototypes usually lean toward simple edge gates. High-volume or cosmetic parts lean toward sub gates or valve gates. Bring your answers to our design for manufacturability (DFM) review, and we’ll help you weigh the options.
How Gate Location Affects Part Quality
Picking the gate type is half the job. Where you put it matters just as much. The gate’s location shapes how plastic fills your part and where problems show up. Autodesk lists most of these checks in its Moldflow design rules for gate placement.
Sink marks: Gate into the thickest section of your part. That lets the plastic pack fully before the gate freezes off.
Weld lines: Weld lines form where two flow fronts meet. Gate location decides where those lines land, which affects strength and looks.
Jetting and flow lines: A poorly placed gate can shoot plastic into an open space too fast. That can leave snake-like jetting marks or visible flow lines.
Vestige: Keep the gate mark off cosmetic faces and mating surfaces. A mark in the wrong spot can spoil the look or the fit.
Gates also wear over time. Glass-filled and other filled resins wear them faster. A worn gate can change how your part fills.
Get Gate Design Help from a Local Mold Maker in Logan
Gate choice is easier when your mold maker is down the road. We’re an ISO 9001:2015 certified molder based in Logan. Since 2011, we’ve served businesses across Northern Utah and Southern Idaho.
Our engineers review gate locations, wall thickness, and parting lines at the start of each mold build. We work through gate type, cavity count, and cooling with you. You review and approve the mold design before any steel is cut.
Design, machining, and mold trials all happen in our building. Your part never gets handed off between outside shops.
Have a part that needs a gate plan? Contact us and request a free quote, or call us at (435) 774-9090. We’ll talk through your part and the options that fit it.
You asked for a smooth, nice-looking part. Then the samples came back shiny, and every fingerprint and tiny dent showed. The mold did exactly what it was told. It just…
Your first sample parts look great until you flip one over. There’s a rough nub right on the face your customer sees first. That nub is where the plastic came…
Your first sample parts just came back. They look right until you tilt one toward the light. Then you see it: a shallow dent sitting right over a rib. Nothing…
Your CAD model says 25.00 mm. Your first molded parts come back at 24.93 mm. Is that a problem, or is it normal? The answer depends on the tolerance you…
A part passes inspection and ships out on time. Weeks later, it cracks after a solvent wipe or a tightened bolt. Nothing was wrong with the design. The stress was…
You design a part to be exactly 100 mm long. The first samples come back at 98.5 mm. Nothing went wrong on the press, and the mold wasn’t built wrong.…