How Do You Calculate Clamping Tonnage for Injection Molding? Formula, Tonnage Factors, and a Worked Example
Justin Brown
November 12th, 2026
Your quote says a 150-ton press. A second quote for a similar part says 300 tons. Which one is right? One simple formula gives you a solid starting point.
Getting this number right matters. Too little, and melted plastic squeezes out the seams of the mold as flash. Too much, and the press can crush the mold’s vents and roll the edge of the parting line. The right number protects your parts and your tooling.
In this guide, we show you how to calculate clamping tonnage for injection molding in four steps. It’s the same projected-area method that molding trainers at RJG teach. You’ll also get a worked example you can copy for your own part.
First, we explain what clamp force does. Then we show you how to find projected area and choose a tonnage factor. Next, we walk through one full example with real numbers. We also cover when the rule of thumb breaks down. Last, we show how clamp tonnage and shot size work together to pick the right press.
How Do You Calculate Clamping Tonnage for Injection Molding?
To calculate clamping tonnage, multiply your part’s projected area by a tonnage factor for your plastic.
Find the projected area. This is the part’s flat “shadow” at the parting line, in square inches. For a simple part, use length × width.
Multiply by the number of cavities. Then add the runner area if the mold uses a cold runner.
Multiply by the tonnage factor. This is usually 2 to 8 tons per square inch. A common starting point is 3.
Add a 10–20% safety margin.
Example: 26 sq in of projected area × 3 tons per sq in = 78 tons. Add 10%, and you need about 86 tons. A 100-ton press fits.
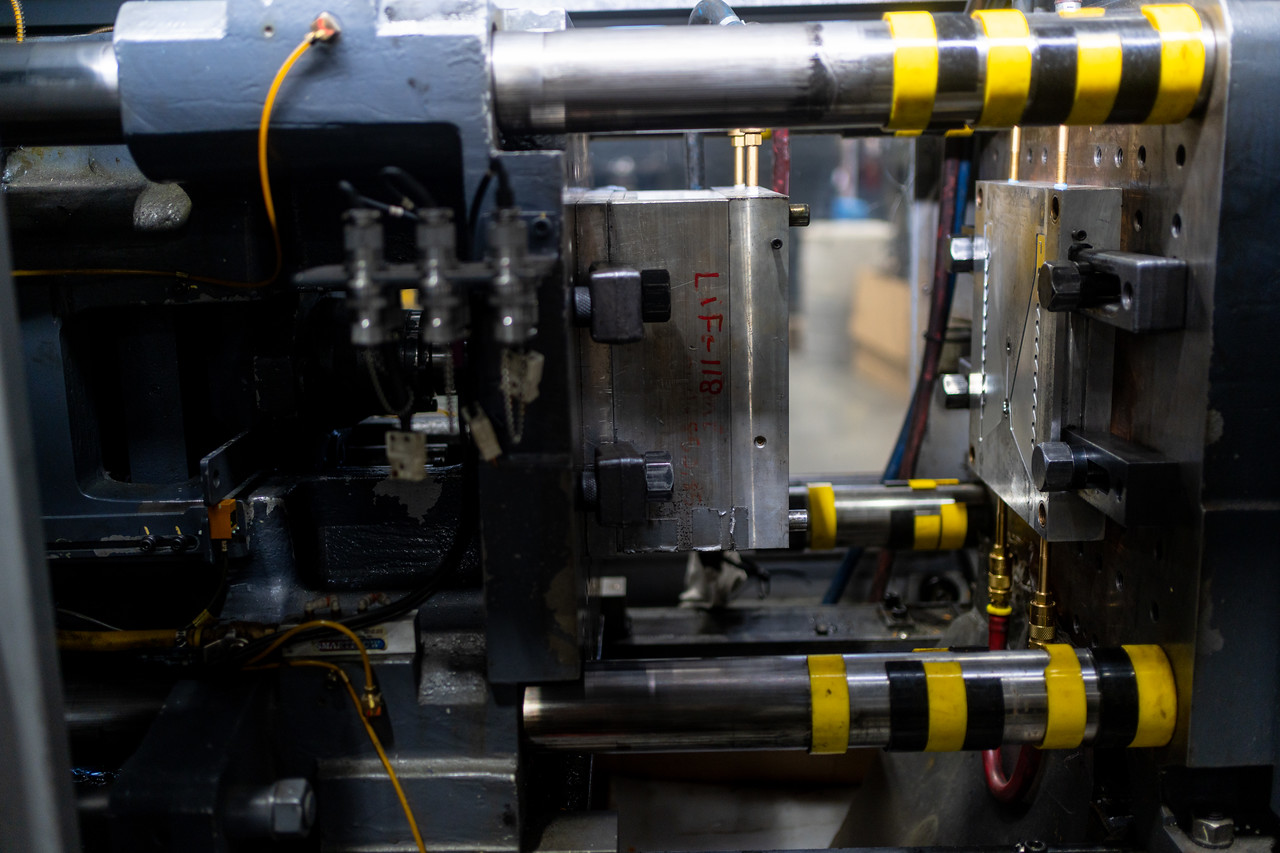
Before the math, it helps to know what the clamp is fighting. An injection mold has two halves that meet at the parting line. Melted plastic enters the mold under high pressure, and that pressure pushes the halves apart.
Clamping force is the push that holds the two halves shut while the mold fills. A press’s “tonnage” is the most clamp force that machine can apply. A 100-ton press can hold a mold shut with up to 100 tons of force.
Clamp force
What happens
Too little
The mold opens slightly. Plastic leaks out the seams as flash, a thin fin of extra material.
Too much
Vents get crushed, the parting line can roll, and inserts can break. Parts can show burns or short shots.
Low clamp force isn’t the only cause of flash. A worn parting line or too much injection pressure can cause it too. Too much force does its damage more slowly. Over time, it can shorten how long an injection mold lasts.
Start with projected area. It is not the part’s full 3D surface area. Imagine a light shining straight down on the part, along the line the mold opens. The flat shadow it casts is your projected area.
Plastic pressure pushes against that shadow, so that’s the area the clamp has to hold back. Here’s how to measure it:
Square or rectangular parts: length × width.
Round parts: π × radius², or about 3.14 × r × r.
Through-holes formed by steel cores: subtract them. No plastic sits there, so nothing pushes there.
Complex shapes: measure the area from your CAD model.
Next, multiply by the number of cavities. A 4-cavity mold casts four shadows, not one.
Then look at the runner. A cold runner and its sprue fill with plastic on every shot, so their area counts too. A hot runner keeps the plastic melted inside the mold, so it adds less to the total. Our guide to hot runner vs. cold runner molds explains how each system works.
Step 2: Choose a Tonnage Factor
Once you have the area, you need the number to multiply it by. That number is the tonnage factor. It tells you how many tons of clamp force each square inch of projected area needs.
Plastics Engineering, the Society of Plastics Engineers’ magazine, puts most tonnage factors between 2 and 8 tons per square inch. Some sources go as high as 10. If you’re not sure where to start, 3 tons per square inch is a common starting point.
Where your part lands depends a lot on how easily your plastic flows:
Plastic type
Examples
Where the factor usually falls
Easy-flowing
PP, PE, PS
Low end, about 2–3 tons per sq in
Stiff-flowing
PC
Higher end of the range
Not sure yet
—
Start at 3 tons per sq in, then adjust
Part design matters too. These features raise the pressure inside the mold, so they push the factor up:
Thin walls
Long flow paths from the gate to the far end of the part
Small gates, or only one gate
Ask your material supplier as well. Tonnage factors are supposed to appear on material data sheets, but they’re often missing. Your supplier may be able to give you a number for your grade.
Worked Example: Sizing a Press for a 4-Cavity Part
Here’s the full math for one part, step by step. The sample part is a simple rectangle, 3 inches long and 2 inches wide. The mold has 4 cavities and a cold runner with 2 square inches of projected area. We’ll use the common starting factor of 3 tons per square inch.
Step
Math
Result
1. Projected area per part
3 in × 2 in
6 sq in
2. Area for all cavities
6 sq in × 4
24 sq in
3. Add the cold runner
24 sq in + 2 sq in
26 sq in
4. Multiply by the tonnage factor
26 sq in × 3 tons per sq in
78 tons
5. Add a 10% safety margin
78 tons × 1.10
About 86 tons
This part needs about 86 tons of clamp force. Presses come in set sizes, so you round up to the next size available. Here, a 100-ton press is a good fit.
With a 20% margin, you’d need about 94 tons, so a 100-ton press still covers it. Notice the runner, too. It added 6 tons before the margin, so it’s worth counting.
When the Rule of Thumb Breaks Down
The formula gives you a starting point, not a final answer. That’s one reason two quotes for the same part can list different presses. Real parts push the number up or down.
These push tonnage up:
Thin walls
Long flow paths
Small gates, or only one gate
These can bring it down:
Easy-flowing plastics, such as LDPE, often need less than 3 tons per square inch
Larger gates, or more of them
Thick walls with short flow paths
More force is not safer. It can be tempting to max out the clamp just in case. RJG, a molding training firm, shares a case where a mold needed about 100 tons. It was clamped at the press’s 400-ton maximum instead. The cavity block cracked, and replacing it cost more than $100,000.
Too much force can hurt the parts, too. It can cause burns, short shots, and changes in gloss. That’s why molders fine-tune clamp force on the press. Here’s one method RJG describes:
Start at a higher clamp setting with full, well-packed parts.
Lower the tonnage in steps, and weigh the parts at each step.
When part weight starts to climb, the mold halves are starting to separate.
Set the clamp a bit above that point as a safety buffer.
Clamp Tonnage vs. Shot Size: Both Have to Fit the Press
Tonnage tells you if the mold stays shut. Shot size tells you if the barrel can fill it. A press has to pass both tests before it’s the right press for your part.
Shot size is the amount of plastic it takes to fill every cavity and the runner in one cycle. Like tonnage, it’s set by the mold, not the press. Our guide walks you through how to calculate shot size step by step.
Clamp side (holds the mold shut)
Barrel side (fills the mold)
Clamp tonnage: enough force to keep the mold closed
Shot size: enough melted plastic for one full cycle
Tie-bar spacing: the mold must fit between the bars
Injection pressure: enough push to fill and pack the part
Platen size: the mold must sit fully on the platens
Daylight: the press must open far enough to remove the parts
A press can have plenty of tonnage and still be the wrong fit. The mold may not fit between the tie bars, or the barrel may be too small. A mold that’s too small for the press can bend the platens and cause flash. One rule of thumb is that the mold should span 70% or more of the space between the tie bars.
Matching Your Part to the Right Press in Logan, Utah
You’ve now seen the math a molder uses to pick a press. The best time to run it is during a design for manufacturability review, before any steel is cut. Changing a design on screen costs far less than reworking a finished mold.
Our shop is in Logan, and we work with businesses across the Cache Valley, Utah, and the surrounding areas. Our custom plastic injection molding service covers prototypes, short runs, and high-volume production.
Have a part you’d like sized? Contact us through our online form or call us at (435) 774-9090 to get your part quoted!
Your quote says a 150-ton press. A second quote for a similar part says 300 tons. Which one is right? One simple formula gives you a solid starting point. Getting…
Your mold is built and ready to run. It goes in the press, and the first shot comes out short. The barrel couldn’t hold enough plastic to fill the mold…
Your mold quote comes back higher than you planned. One line item says “2 side actions.” You never asked for those, so where did they come from? The reason is…
You need 400 parts for a product launch. The first quote comes back with a 10,000-part minimum. Now you face a hard choice. You can buy parts you don’t need,…
Your circuit boards are finished. Your enclosure is molded. Screws, cables, and labels are coming from four different suppliers. Someone still has to turn that pile of parts into one…