What Is a T1 Sample in Injection Molding? T0, T1, and T2 Explained
Justin Brown
November 5th, 2026
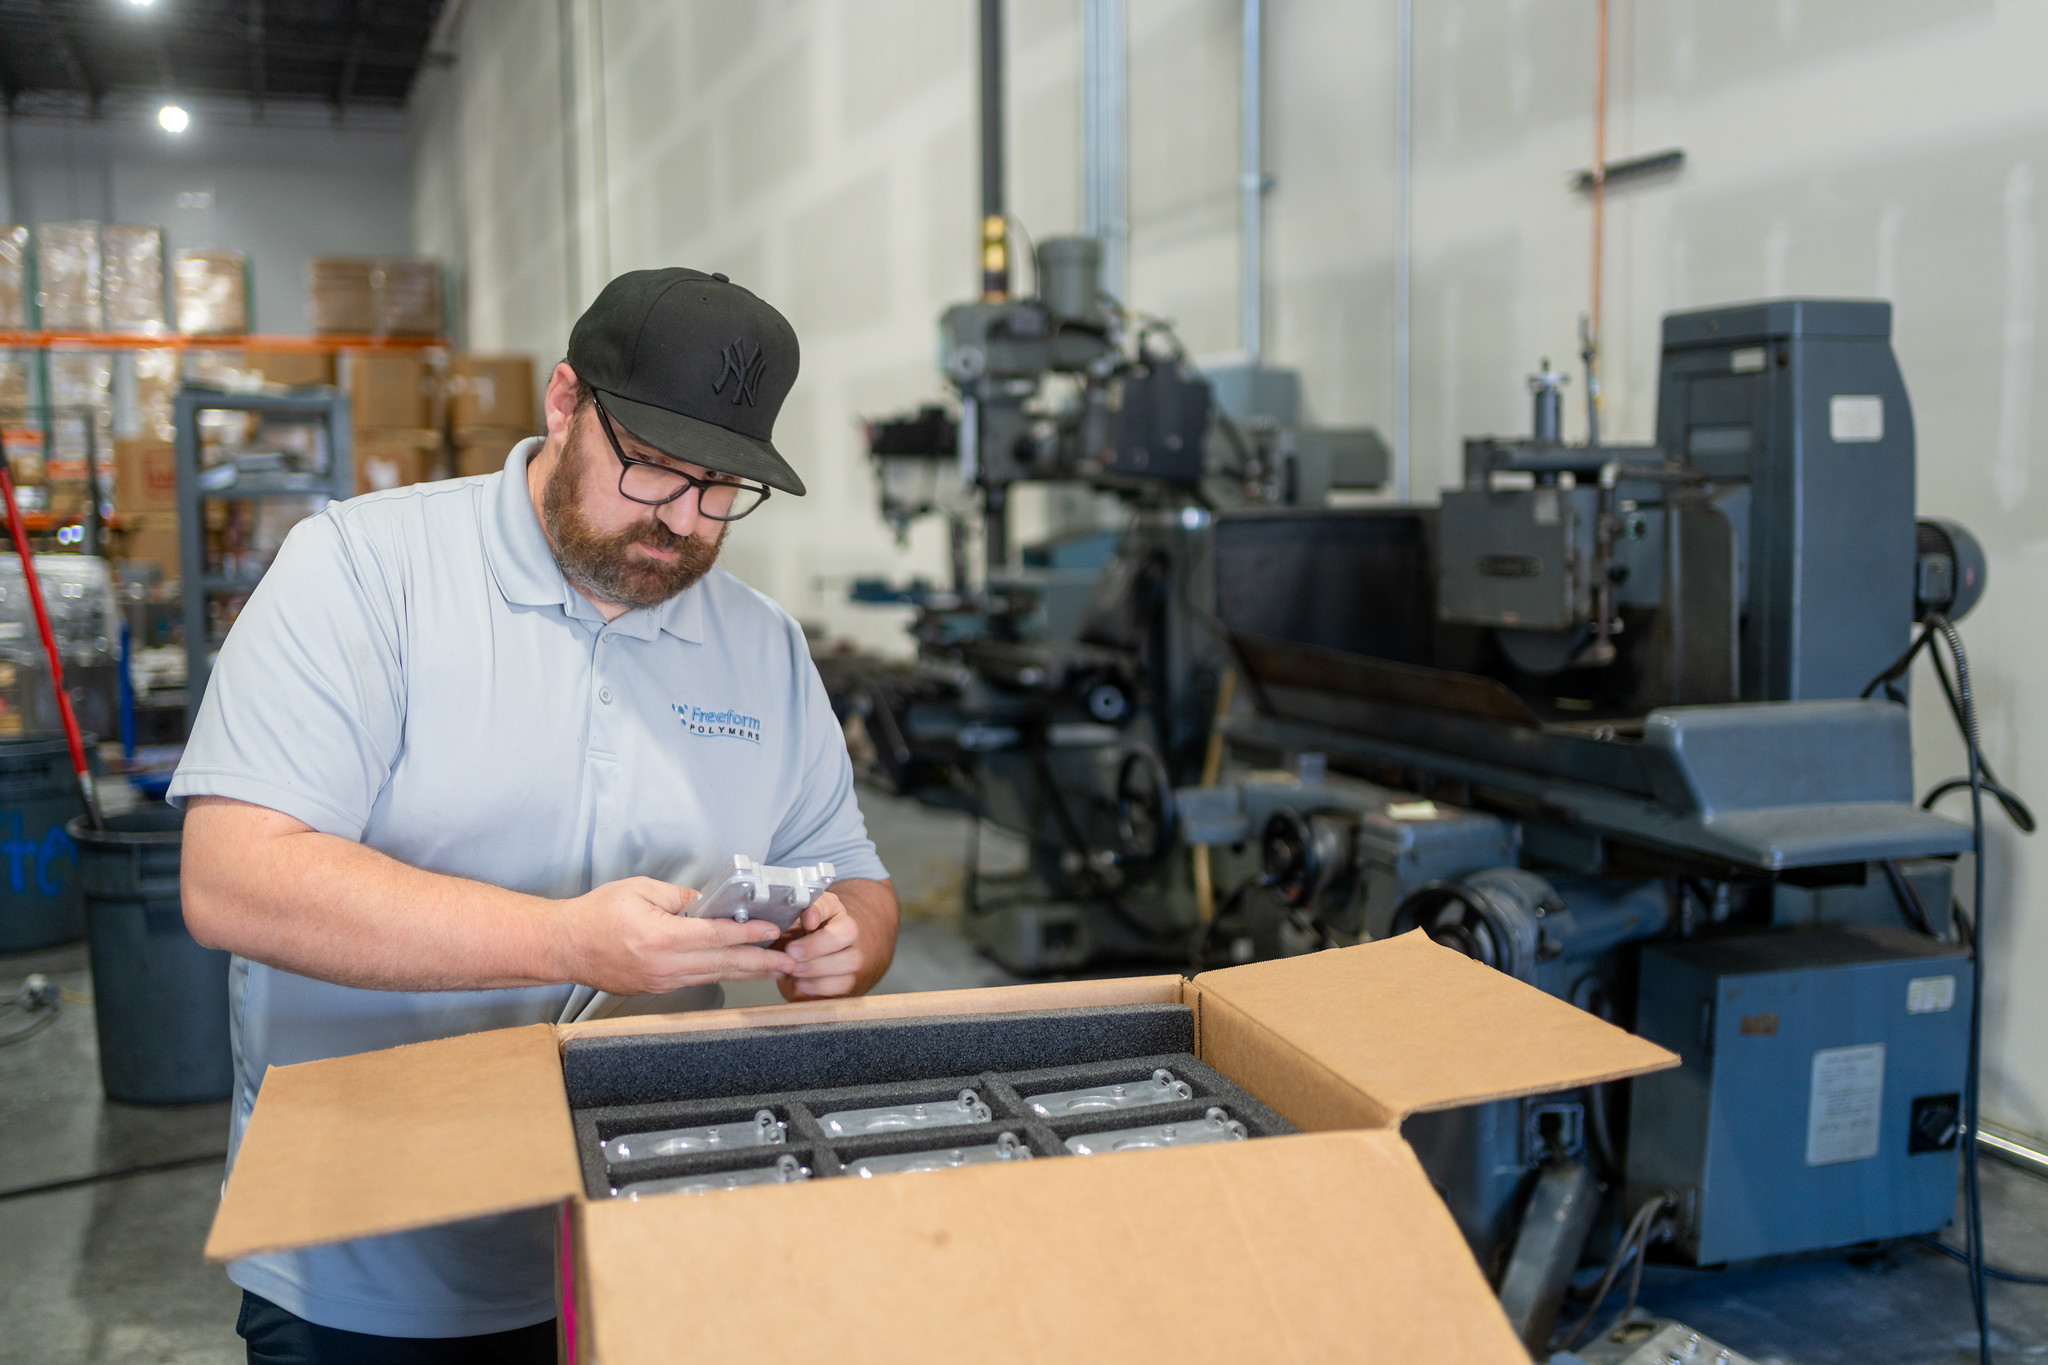
Your new mold is done. A box of first parts shows up with a note that says “T1 samples.” Most parts look great. One has a dent, and a hole sits a little off.
Is the mold bad, or is this how it’s supposed to go? In most cases, it’s normal. This guide explains what a T1 sample in injection molding is and what to check on it. You’ll also learn what has to happen before your mold moves to production.
At Freeform Polymers, we run molds through a staged trial process known across the industry as T0, T1, and T2. Each trial ends with a written report. It documents parts, photos, dimensions, and process settings, so you see what we saw and what we changed.
We’ll start with all three stages. Then we’ll show what gets checked at each one. You’ll learn how to tell a process fix from a mold fix. We’ll end with a checklist you can use before you sign off.
What Is a T1 Sample in Injection Molding?
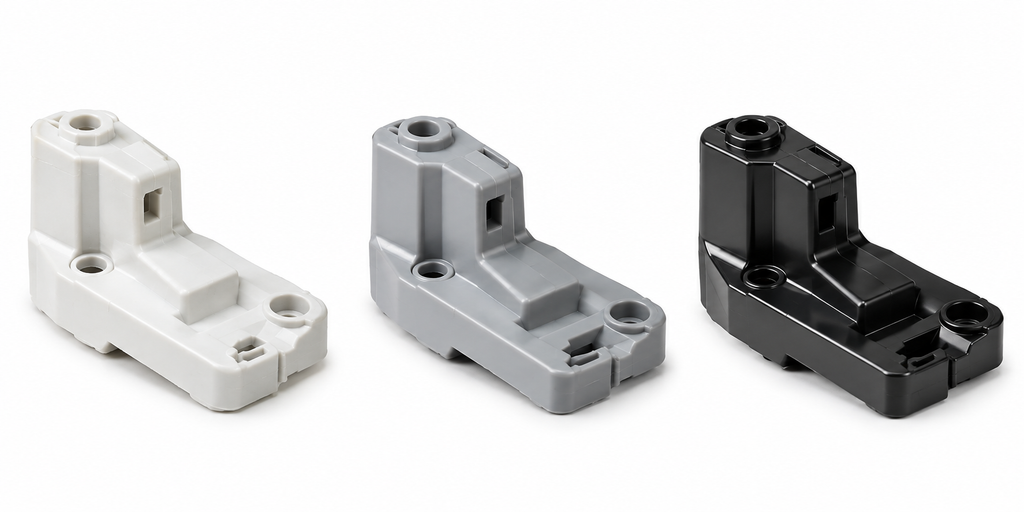
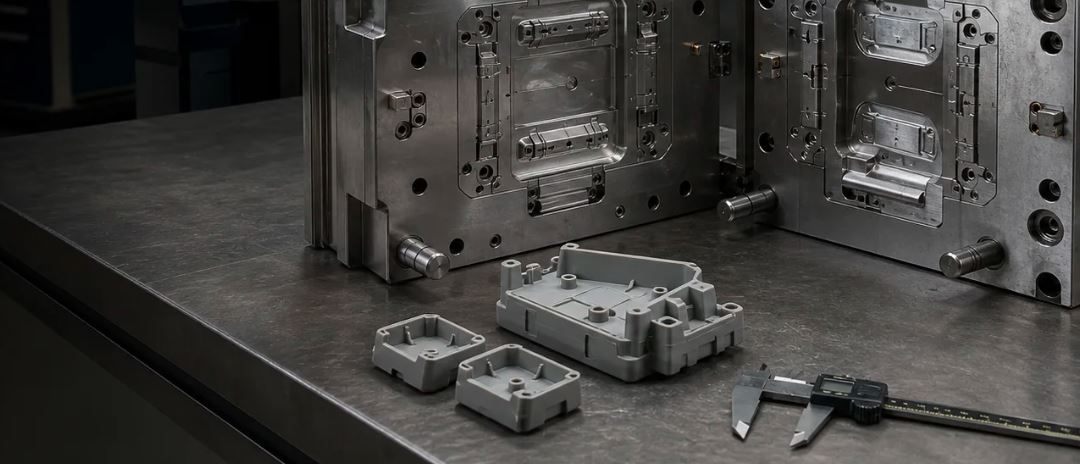
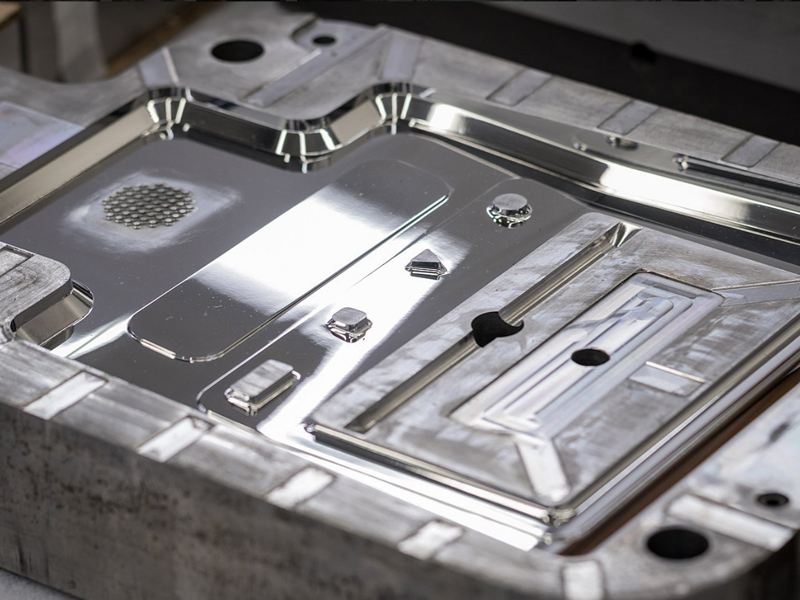
A T1 sample is one of the first plastic parts made in a new injection mold. It comes after T0, when we check the parting line, ejectors, slides, lifters, and water lines. At T1, we run real plastic and check your parts for three things:
Fill: Does plastic reach every corner?
Defects: Are there short shots, flash, sink, or warp?
Size: Do the parts match your print?
T1 parts often have small issues, and that’s normal. Our findings become a list of process changes or mold fixes. We confirm those fixes at T2. There, the mold runs a stable batch to prove it makes good parts every time.
T1 parts are usually the first samples you see. Before this, the mold has only been tested on its own. So T1 is your first real look at how your design comes out of steel.
Don’t expect perfect parts at this stage. A new mold has never run your material under real conditions before. A small dent, a thin edge of flash, or a slightly off feature is common. Finding these issues is the reason T1 exists.
What you get from T1 is a fix list, not a final verdict. Each issue gets a planned next step. Some need a change to machine settings. Others need work on the mold itself.
Your samples should also come with a written report. It shows what we found at T1 and what we changed before the next stage runs.
T0, T1, and T2 at a Glance
Each trial stage answers a different question. T0 checks the mold. T1 checks the parts. T2 checks that the mold makes good parts every time.
Stage
Goal
What Runs
What You Receive
T0
Confirm the mold works
Mold function check; no parts judged
A written report
T1
Find issues with the parts
Short fills, full shots, and packed parts
Sample parts and a report with a fix list
T2
Prove the process repeats
A stable batch, often 30+ consecutive shots
Sample parts and a report confirming the process
Stage names aren’t the same at every shop. Some shops use different labels for the first plastic shots. Before your mold trial starts, agree in writing on what each stage means. That way, “T1 parts” means the same thing to you and your molder.
Some programs also add a T3 or later trial. These extra rounds are used when issues remain after T2.
What Happens at T0? Checking the Mold Before Parts Matter
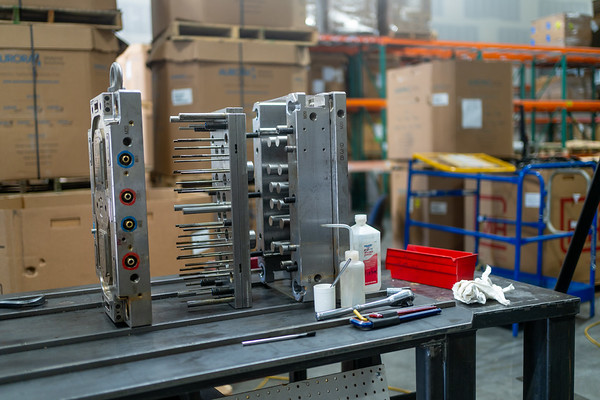
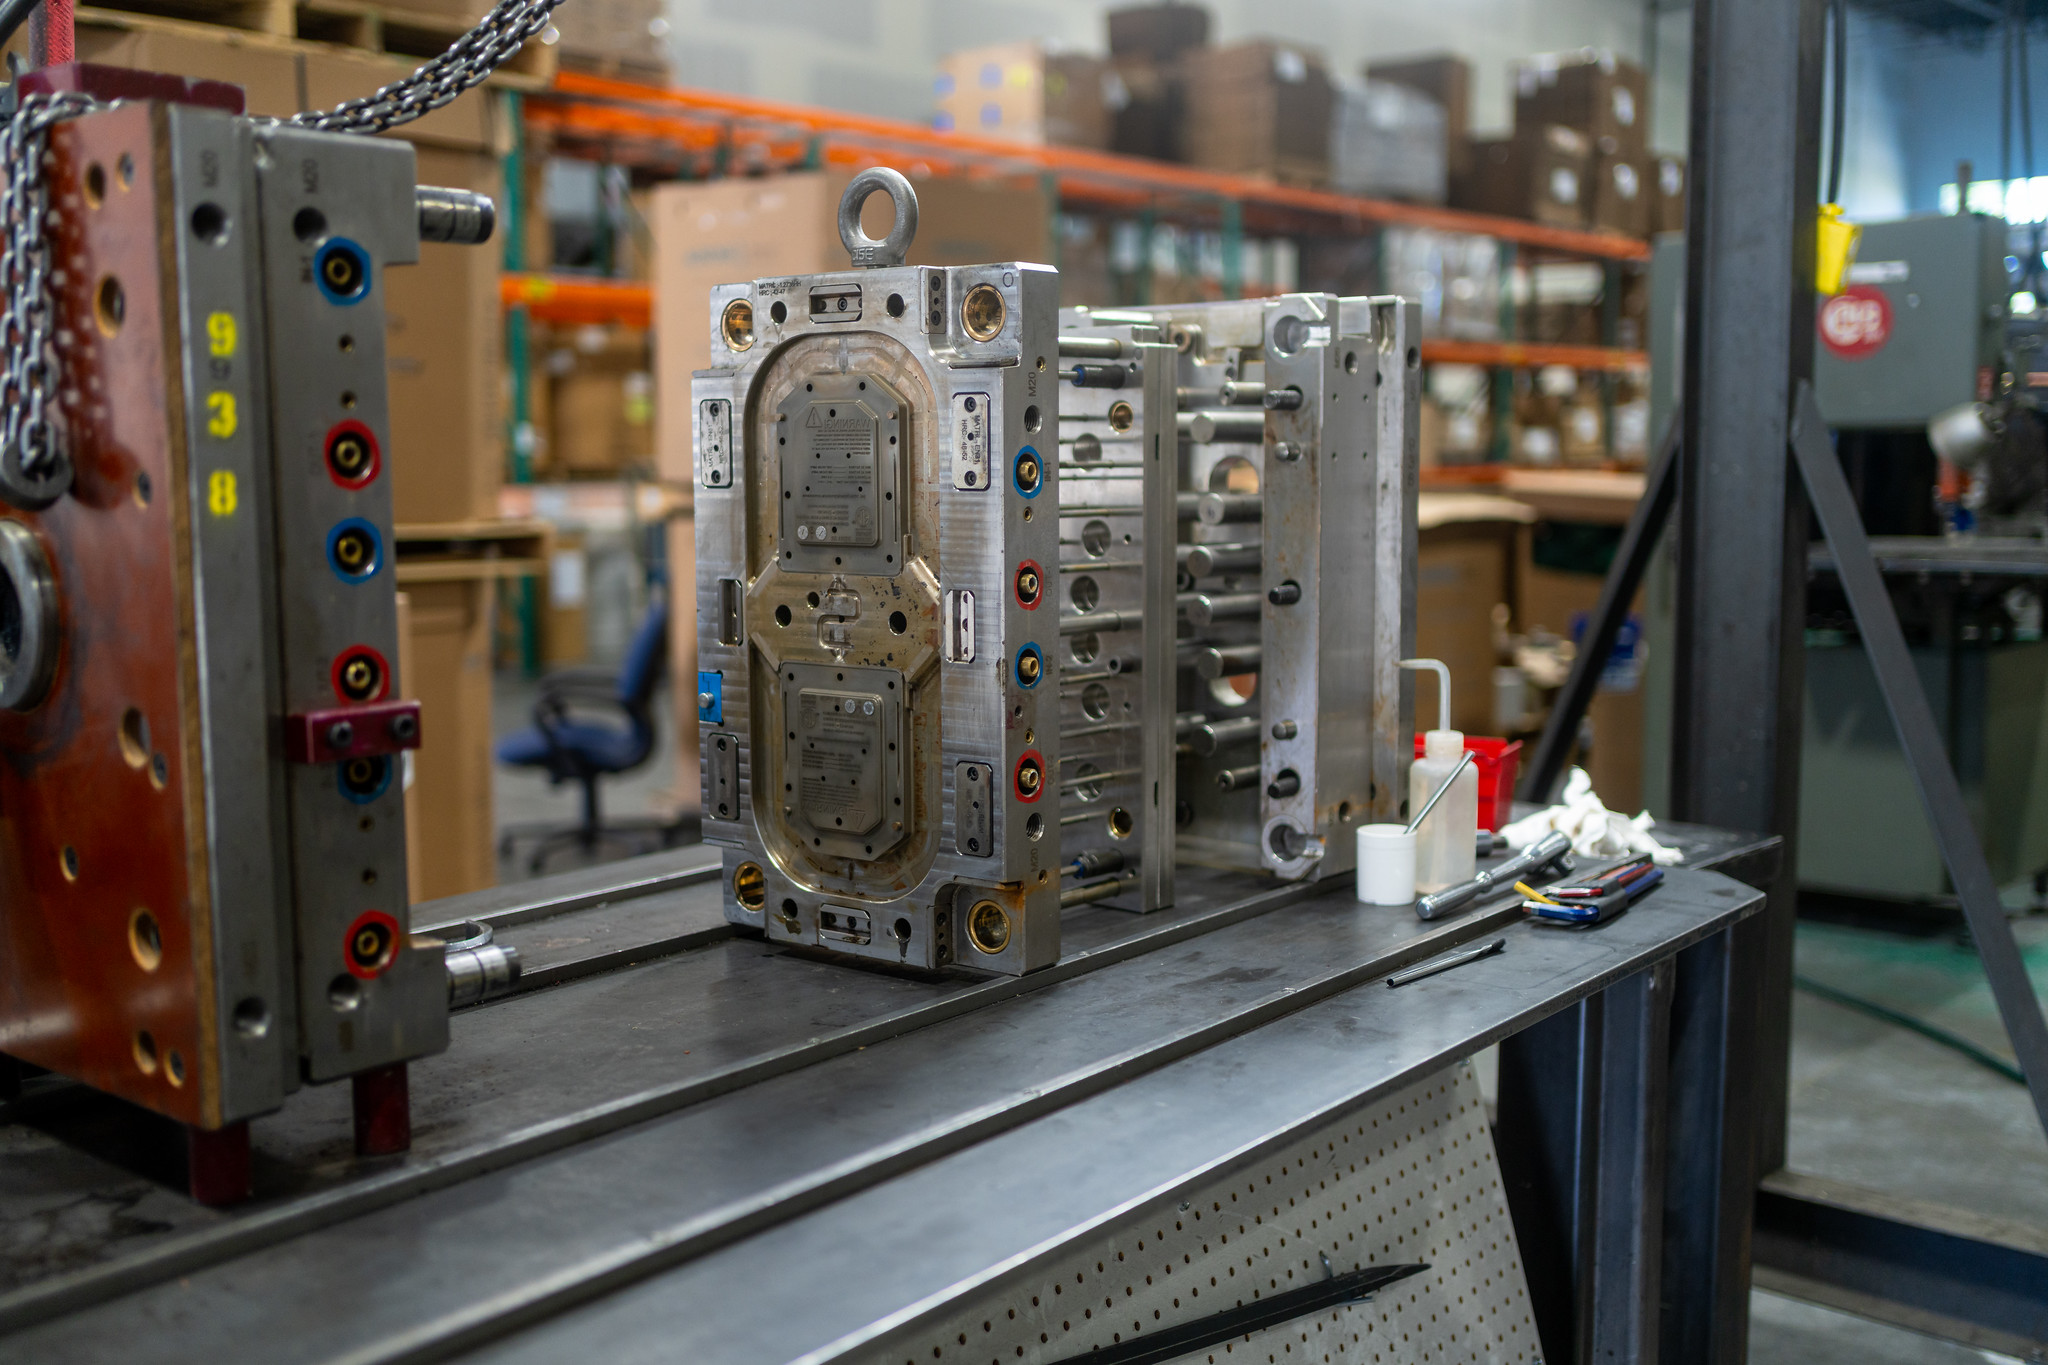
T0 checks mold function, not parts. We cycle the mold and watch how each part of the tool moves. The goal is to catch mold problems before any plastic runs through it.
At T0, we check:
Parting line: The mold halves open and close cleanly.
Ejectors: Ejector movement is even and smooth.
Slides and lifters: Moving parts travel freely without binding.
Water lines: Cooling lines flow with no leaks.
Fixing these issues now saves time later. A slide that sticks or a water line that leaks would throw off every T1 result. With the mold working right, the parts at T1 tell a clear story.
You won’t judge parts at this stage. What you get is our written report on how the mold performed.
Once the mold moves cleanly, it’s time to put real plastic through it.
What Happens During a T1 Mold Trial?
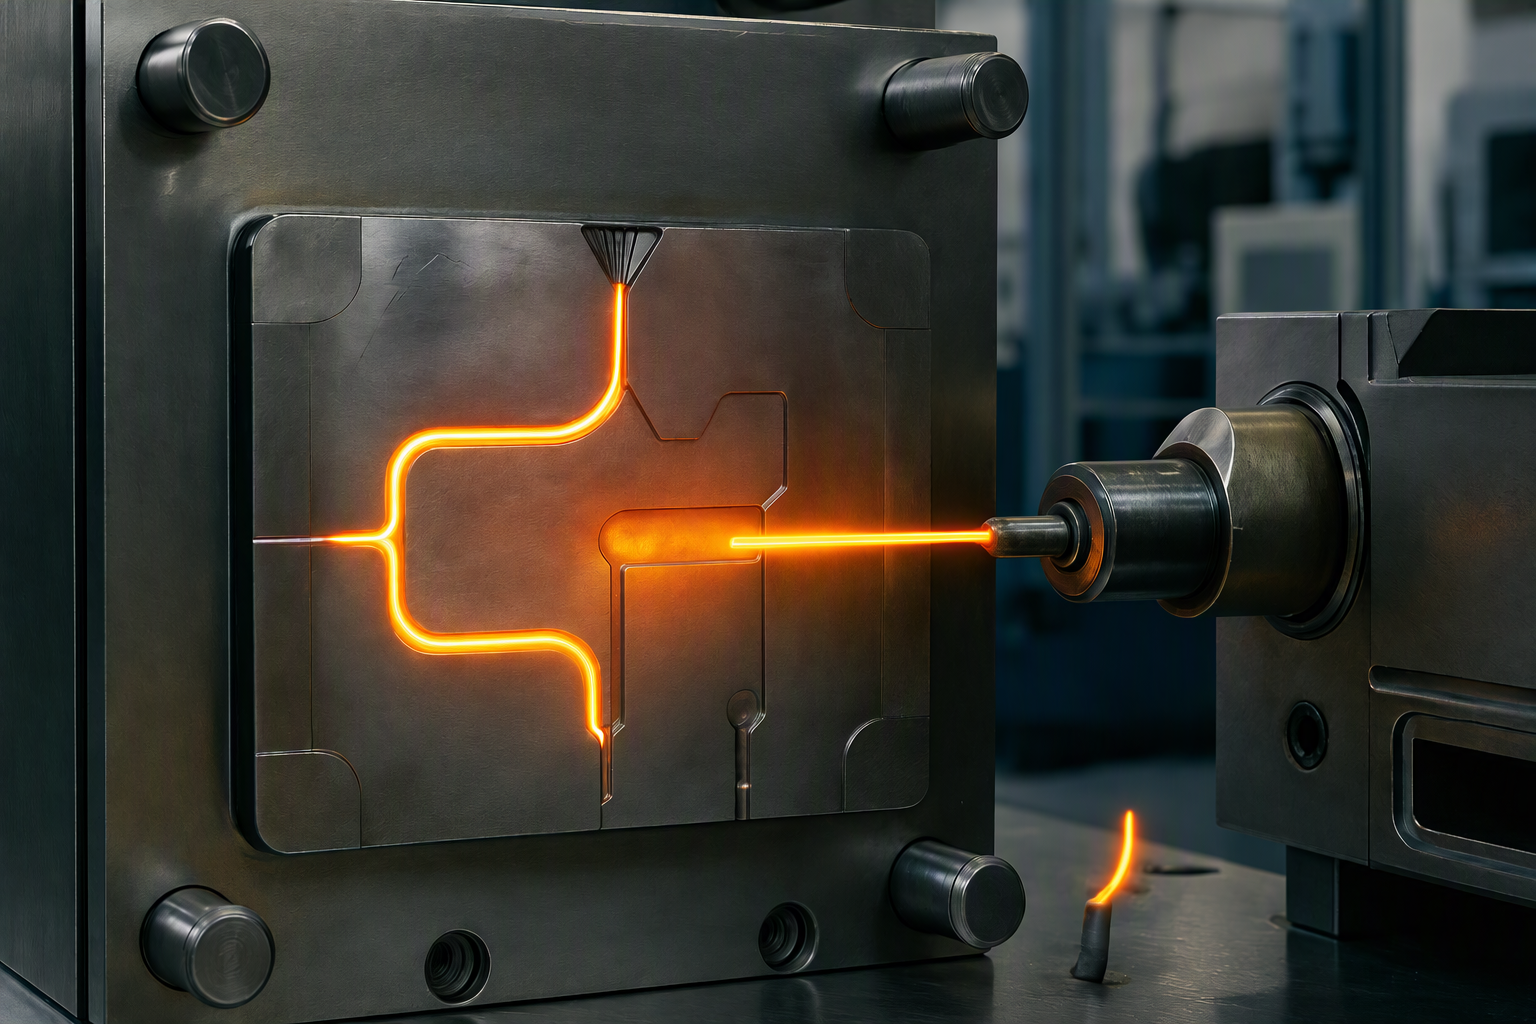
A T1 trial starts small. We begin with short fills, where we inject only part of the shot on purpose. These partial parts show how the tool fills and where it short shots.
Next, we build up to full shots. Then we run packed parts. Pack and hold pressure push more plastic into the mold as the part shrinks. These packed parts are the ones we check closely.
On each T1 part, we look for these defects:
Short shots: Plastic doesn’t reach every corner.
Flash: A thin edge of plastic squeezes out where the mold halves meet.
Sink: Small dents form over thick areas. See our guide to sink marks.
Warp: The part bends or twists as it cools.
Here’s a common T1 finding. A shallow dent shows up over a rib. The first fix is often on the press: more pack pressure or a longer hold time. If the dent stays in the same spot, the cause is likely mold cooling or part design.
We also check your parts against your print. This shows which features are in size and which need work.
All of this goes into a written report. It covers parts, photos, dimensions, and process settings. It gives you a clear record of where your part stands.
What Is a T2 Sample in Injection Molding?
A T2 sample is a part made after the T1 fixes are in place. T1 tells you what’s wrong. T2 proves the fixes worked.
At T2, we run the mold at full process conditions for a stable batch. That batch is often 30 or more consecutive shots.
This run confirms three things:
Process window: The range of settings that still make good parts.
Cycle time: How long each shot takes from start to finish.
Repeatability: Dimensions stay the same, part after part.
When the program calls for it, we also run capability checks on critical features. These show how consistently the batch stays inside your tolerance.
What “stable” means at T2 A stable process makes good parts shot after shot without constant adjustments. Dimensions stay within your tolerance across the whole run. If settings drift or parts change, the process isn’t ready yet.
Process Fix or Steel Fix? What Your Trial Samples Tell You
Not every flaw on a T1 part means the mold needs new steel. Here’s how to tell. Some issues go away with a change to machine settings. Others need work on the mold itself.
Process Fix (Machine Settings)
Steel Fix (Mold Changes)
Raise injection pressure or speed to fill a short-shot area
Improve mold venting when trapped gas causes burn marks
Check clamp force and avoid overfilling to stop flash
Enlarge or move the gate when thick areas won’t pack out
Raise pack pressure or extend hold time to reduce sink
Remove steel to bring a feature into size
Toolmakers often design a new mold “steel safe.” That means they leave a little extra steel on key features. Removing steel is easier than adding it back, so this leaves room to fine-tune part size after T1.
A steel change adds time and cost. The mold goes back to the bench, then needs another trial. That’s why molders often try machine settings first.
Gate changes are one type of steel fix. A bigger gate, or one closer to thick areas, keeps packing pressure on them longer. Learn more about the types of gates in injection molding.
The best time to avoid steel changes is before the mold is built. A design for manufacturability (DFM) review helps you catch problems before steel is cut.
Common Mistakes When Reviewing Trial Samples
A quick look at a few T1 parts can lead to the wrong call. These mistakes can cost you time, money, or another round of fixes. Here’s what to watch for.
Judging cosmetics too early. Final texture is sometimes left off the mold for early trials. That way, it won’t need redoing if the design changes.
Measuring too few parts. One good part doesn’t prove much. In a multi-cavity mold, each cavity can make a slightly different part. Measure parts from every cavity, not just one.
Skipping the trial report. The parts show you what happened. The report shows what was measured and what changed. Without it, you’re approving parts without the full picture.
Changing the design after T1 without a new trial. A design change usually means a mold change. That change needs its own trial before you approve it.
Starting without written approval criteria. If no one agreed on what “good” looks like, sign-off turns into a debate. Set your criteria in writing before the first trial.
What Should Be Approved Before Production?
Before your mold moves to production, each key item should be signed off. Use this checklist to confirm you’re ready.
[ ] Dimensions: Critical features measure within your tolerance on parts from every cavity.
[ ] Cosmetic standard: You and your molder agree on finish, color, and which flaws are acceptable.
[ ] Process sheet: Settings from the T2 run are documented for production.
[ ] Sample parts: Approved parts are kept as the reference for future runs.
[ ] Tool history file: A record of trials and changes to the tool is started.
Some industries need a formal first article inspection (FAI). It verifies that a new or changed process makes parts that meet every spec on the drawing. It’s common in aerospace, automotive, and medical manufacturing.
Whatever your industry, sign off against the criteria you set at the start of the project. If the parts meet those criteria, your mold is ready for production.
Mold Sampling and Testing at Freeform Polymers in Logan, UT
We offer mold sampling and testing in Logan, UT, for three kinds of tools. These include molds we design and build in-house, tools built by offshore partners, and tools transferred from other shops. The same standards apply to all of them. The mold runs the part to print, or it goes back to the bench until it does.
When an offshore mold lands stateside, we sample and validate it on our own presses. That happens before it ever runs production parts for you.
Every trial ends with a written report. You see what we saw and what we changed before the next stage runs. At release, your mold moves into production with a process sheet, sample parts, and a tool history file.
Have a new mold or one moving from another shop? Get your mold tested by calling us at (435) 774-9090, or contact us through our online form to get started!
Your mold is built and ready to run. It goes in the press, and the first shot comes out short. The barrel couldn’t hold enough plastic to fill the mold…
Your mold quote comes back higher than you planned. One line item says “2 side actions.” You never asked for those, so where did they come from? The reason is…
You need 400 parts for a product launch. The first quote comes back with a 10,000-part minimum. Now you face a hard choice. You can buy parts you don’t need,…
Your circuit boards are finished. Your enclosure is molded. Screws, cables, and labels are coming from four different suppliers. Someone still has to turn that pile of parts into one…
You asked for a smooth, nice-looking part. Then the samples came back shiny, and every fingerprint and tiny dent showed. The mold did exactly what it was told. It just…
Your first sample parts look great until you flip one over. There’s a rough nub right on the face your customer sees first. That nub is where the plastic came…