How Long Does an Injection Mold Last? Mold Life by Class, Material, and Care
The mold is often the biggest check you’ll write on a plastic part project. So it’s fair to ask how many parts it will give you. Will it cover your…
Combining metal with plastic takes a different process than adding a soft grip to a hard plastic part. Both are common in insert molding and overmolding, but they solve different problems.
This guide breaks down how each process works. You’ll learn what makes insert molding different from overmolding. You’ll also see when to ask for one over the other.
We’ll cover how each process is built, when one fits your part better than the other, and what that choice means for your tooling and material costs. By the end, you’ll know exactly what to ask for before you request a quote.
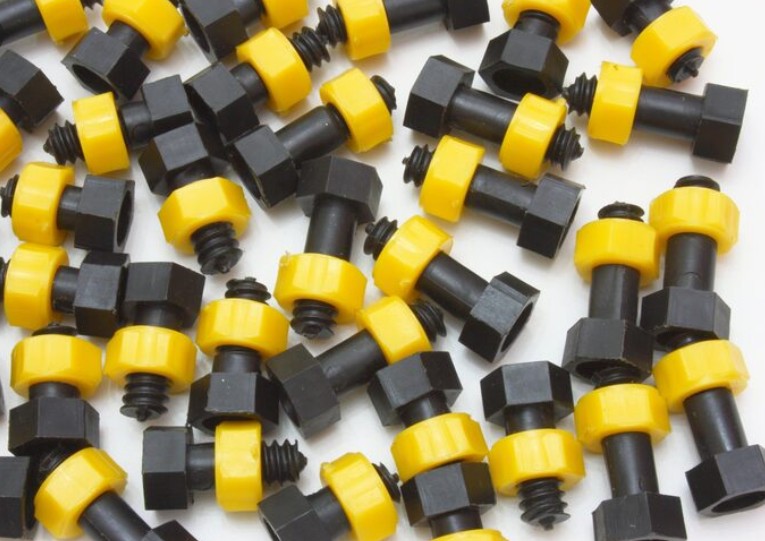
Insert molding places a pre-formed part — like a metal thread, pin, or electronic component — into the mold before plastic is injected around it. This locks the insert permanently in place.
Overmolding works differently. It molds a rigid plastic base first. Then it adds a second material, often a soft rubber or TPE, over that base in a separate step.
Insert molding joins plastic to a non-plastic part. Overmolding joins two plastic materials together.
See how we handle both processes in-house. See our insert molding and overmolding services.
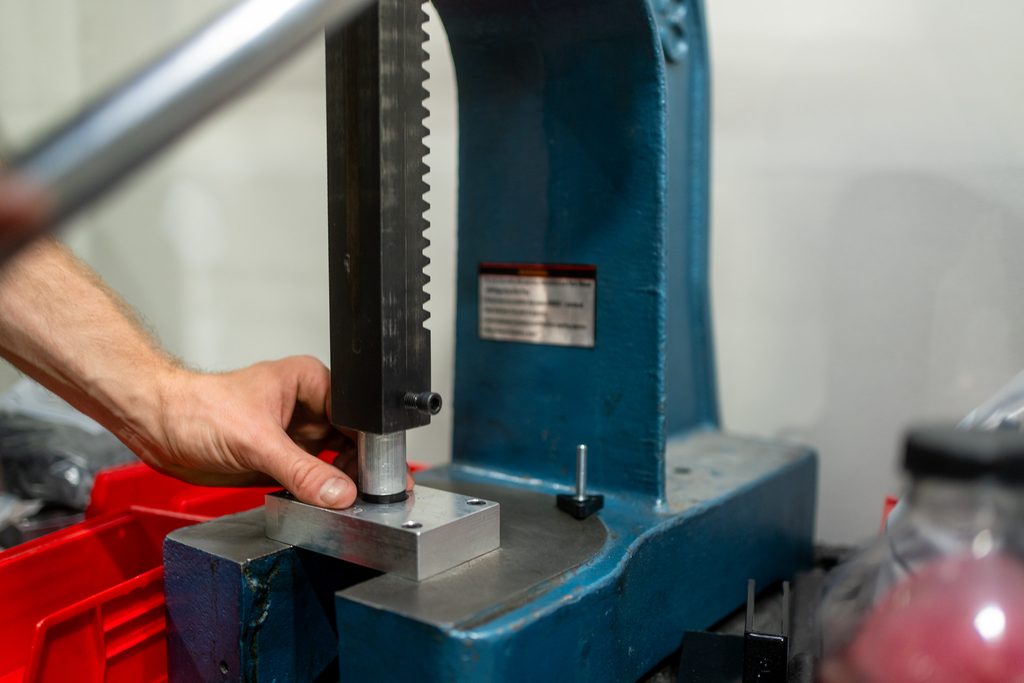
Insert molding starts with a metal or pre-formed part. We load this insert into the mold before plastic is injected.
Low-volume runs often use hand-loading. High-volume programs use robot-loading instead.
Once the insert is in place, plastic flows in and encapsulates it. This locks the insert permanently into the finished part.
Common uses for insert molding include:
The result is one finished part. You skip the secondary assembly step entirely.
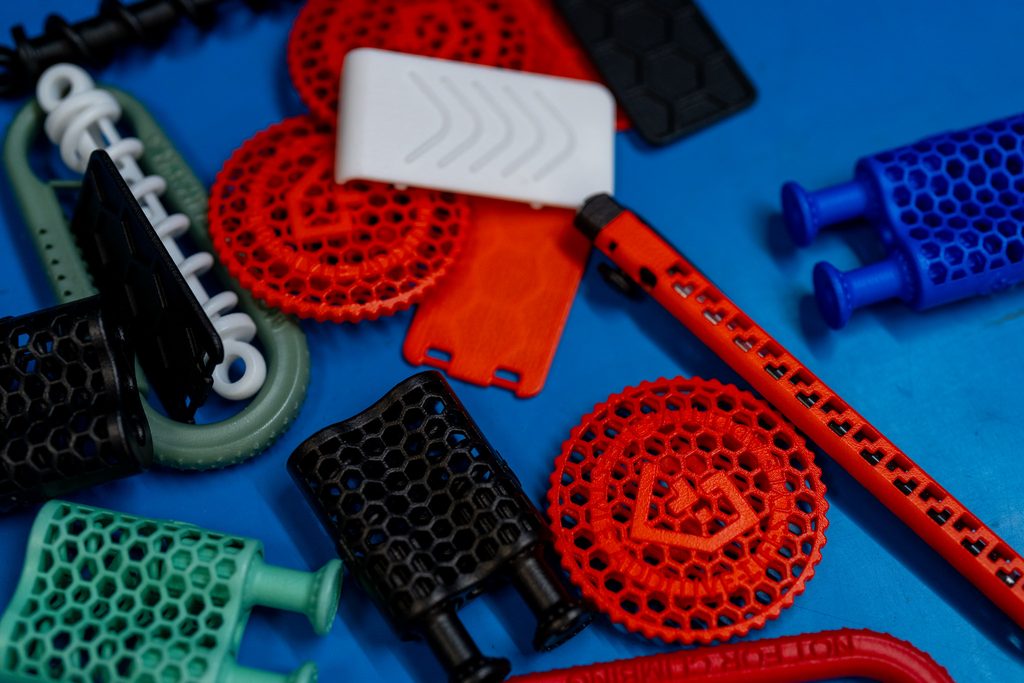
Overmolding starts with a rigid plastic base. We mold this substrate first, in a standard shot.
Next, we mold a second material over that base. This is often TPE or rubber, added in a separate stage. This layered build is a well-documented technique within the wider injection molding process.
Before we cut any tooling, we check that the two materials are chemically compatible. This step matters because not every plastic bonds well to another. Mechanical interlocks are sometimes added to help the two materials grip when a chemical bond alone isn’t enough.
Common uses for overmolding include:
The result is two materials bonded into one functional part.
Now that you know how insert molding works, here’s how overmolding compares.
| Insert Molding | Overmolding | |
| What’s being joined | Plastic to a non-plastic part | Plastic to plastic |
| Process sequence | One shot, with the insert placed first | Two stages, molded separately |
| Typical materials | Metal inserts with a rigid plastic | A rigid plastic base with a soft TPE or rubber |
| Typical parts | Threaded inserts, pins, electronic components | Soft-touch grips, seals, dual-color parts |
With both processes defined, the real question is which one fits your part.
Use this checklist to guide your decision:
Flagging risks this early follows the same thinking behind Design for Manufacturability: catching problems on paper costs far less than fixing them after tooling is cut.
At Freeform Polymers, we run both insert molding and overmolding in-house, at our facility in Logan. Before we cut any tooling, our team checks that your materials pair correctly.
We handle both low-volume programs and high-volume production runs. Either way, the process stays the same: check compatibility first, then build with confidence.
Ready to move forward? Contact Us today to get started!