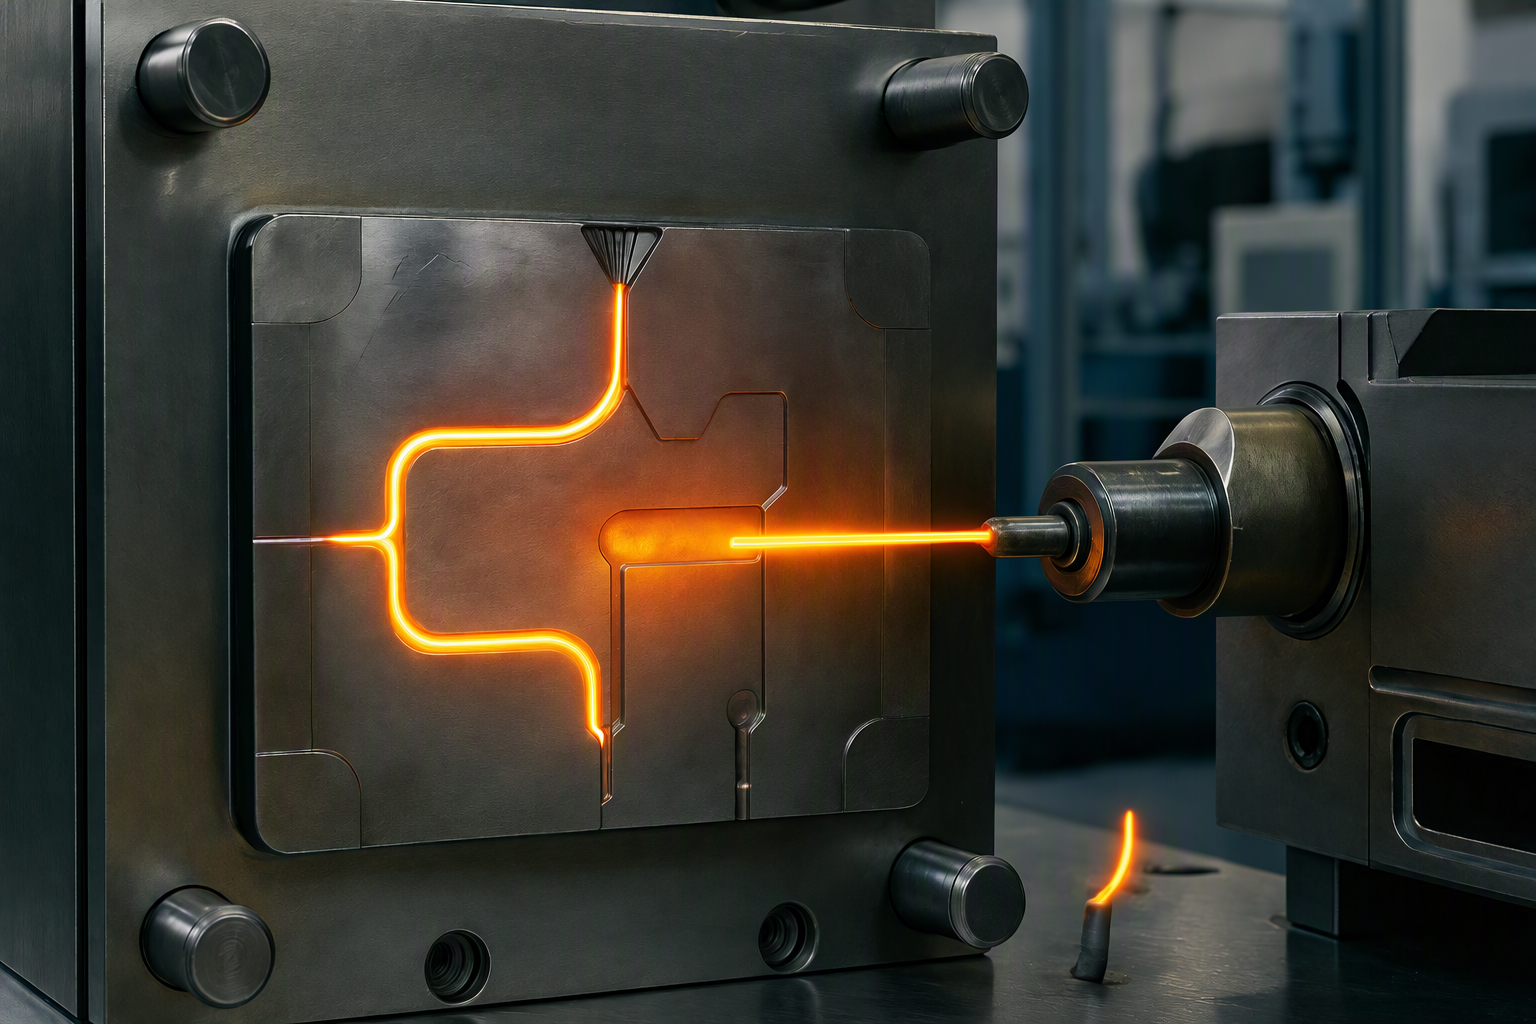
You ask for a quote on a plastic part. The number that jumps out isn’t the part price. It’s the mold.
Why does a chunk of steel cost more than the thousands of parts it will make? If you’re asking why are plastic injection molds so expensive, you’re not alone.
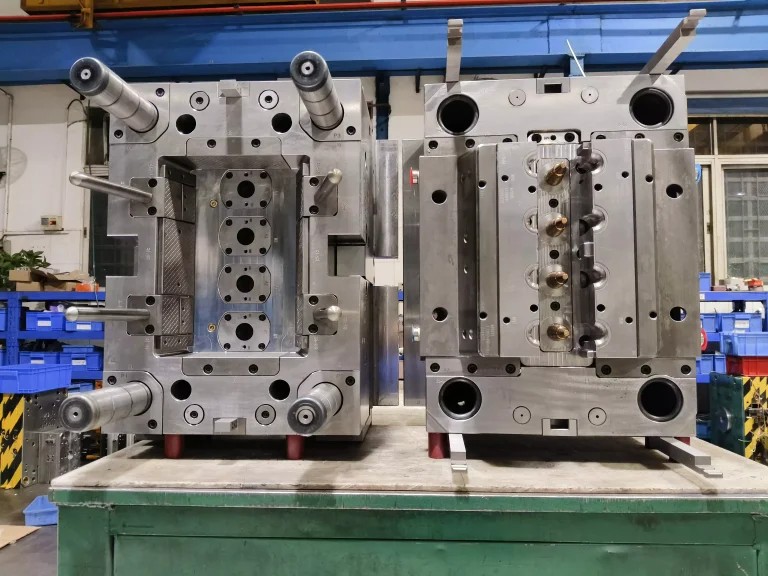
Here’s what’s really going on. At Freeform Polymers, we treat every mold as custom-built tooling made to your exact part design.
In this guide, we’ll walk through the five biggest cost drivers behind mold tooling. We’ll cover design, material, the build process, quality checks, and production volume. By the end, you’ll know exactly what you’re paying for before you commit to tooling.
Why Are Plastic Injection Molds So Expensive?
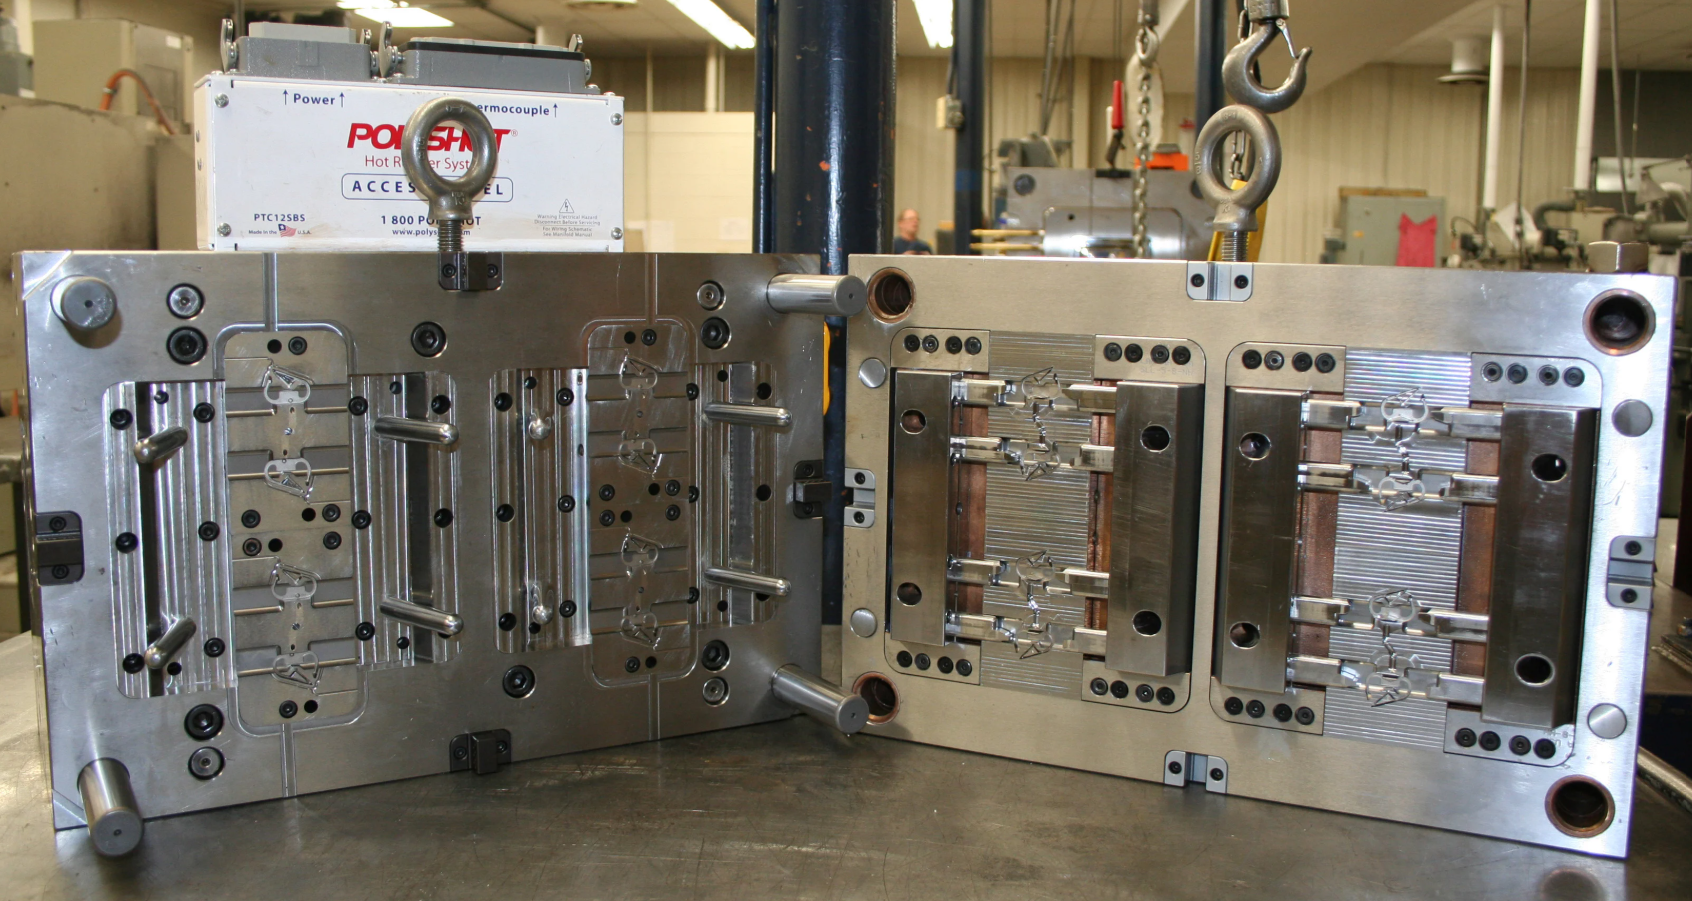
Plastic injection molds are expensive because each one is custom-built precision tooling. It isn’t an off-the-shelf part. Five factors drive the cost up.
- Design complexity. Tight tolerances, undercuts, and multi-cavity layouts take more engineering and machining time.
- Material. Hardened steel costs more than aluminum but lasts far longer.
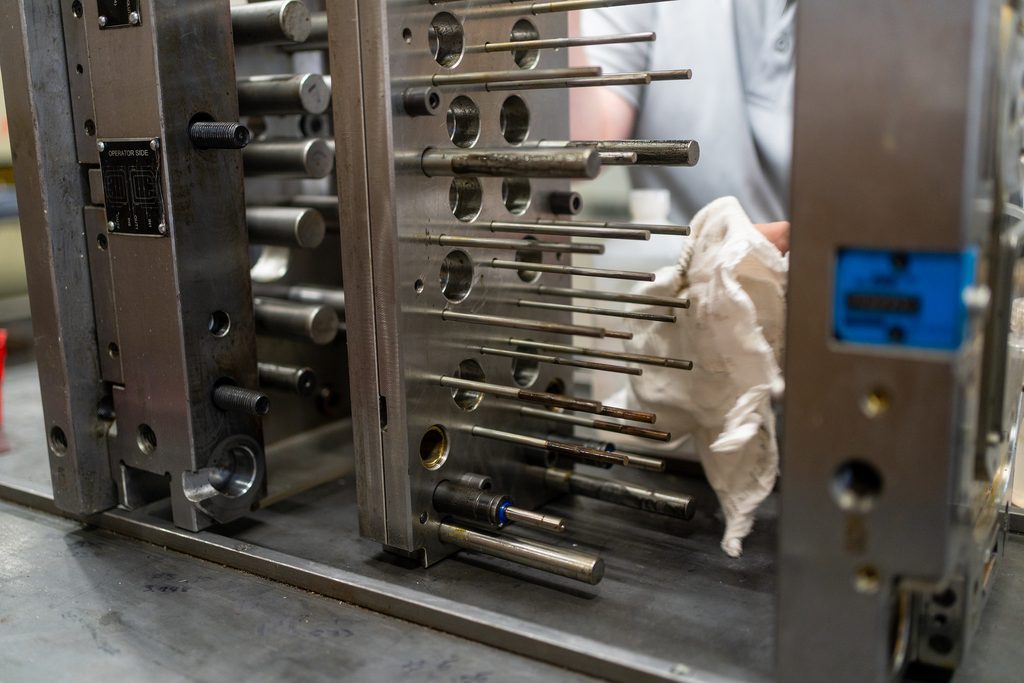
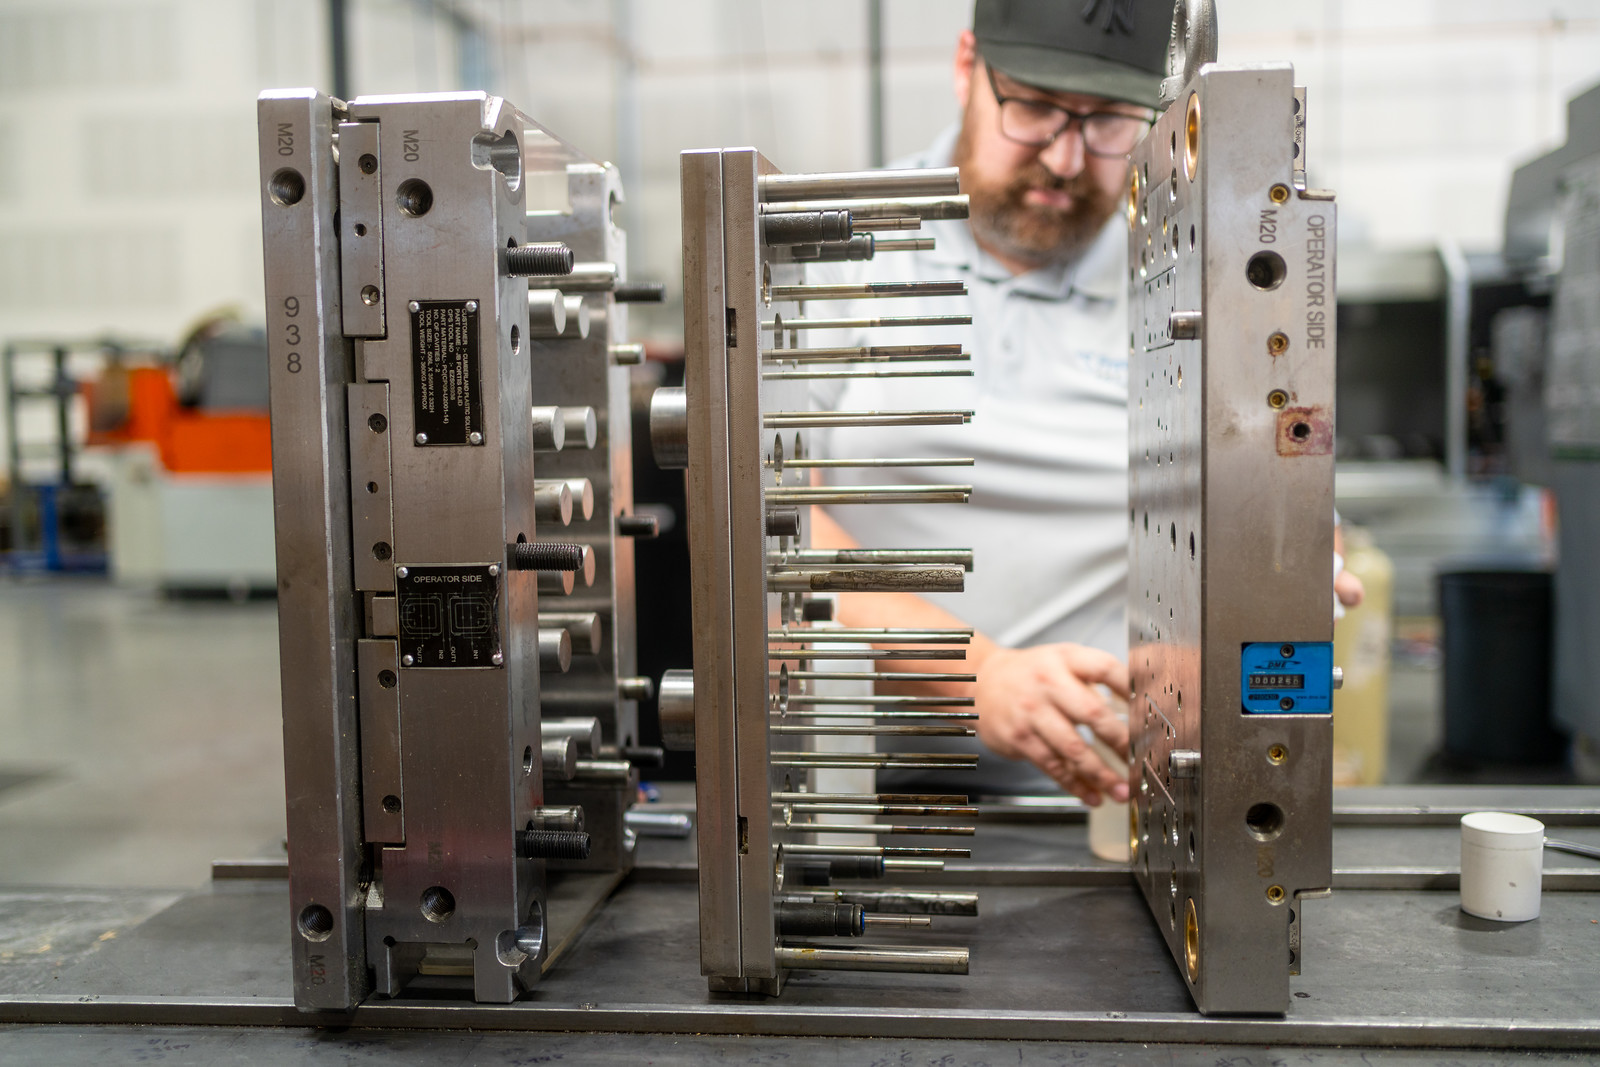
- The build process. We machine, polish, and test every mold by hand before it runs a real part.
- Quality control. We sample and inspect every mold before production starts.
- Production volume. Molds built for millions of cycles need tougher construction than short-run tooling.
The mold is a one-time investment. Each part it produces after that costs only cents.
Mold Design Complexity and Accuracy
Design complexity sets the ceiling on mold cost. The more detail your part needs, the more time it takes to build the mold that shapes it.
Undercuts and side actions are a good example. These features let a part have shapes that don’t release straight out of the mold. They require extra mechanisms, and those mechanisms take more engineering and machining hours to build.
Multi-cavity molds raise the stakes further. Each cavity has to match the others exactly. One small error can throw off every part the mold produces.
Tolerance level plays a direct role too. Tighter tolerances mean slower, more precise machining work. A part with loose tolerances is faster and cheaper to tool than one that must hold to a few thousandths of an inch.
We also spend time reviewing your design before we ever cut steel. Catching a problem on paper is far cheaper than catching it in a finished mold. This attention to detail is central to our custom plastic injection molding services.
- Undercuts and side actions add mechanical complexity
- Multi-cavity layouts multiply precision requirements
- Tighter tolerances mean more machining time
- Design review happens before cutting begins
Design complexity sets the ceiling — but the material you choose decides how long that investment lasts.
Material Selection and Mold Durability
Material choice is one of the biggest factors in mold cost. It also decides how long your tooling will last.
Aluminum molds are cheaper and faster to build. They work well for shorter runs, but they wear down sooner than steel. If your project needs a small batch or a prototype run, aluminum often makes sense.
Hardened steel costs more upfront. It’s harder to machine and takes longer to build. In exchange, it holds up through high-volume production without losing precision.
As a general rule across the industry, aluminum molds are built for shorter runs, often in the tens of thousands of cycles. Steel molds are built to go much further, often past a million cycles. That difference is a big part of why steel costs more upfront.
The right choice depends on your expected cycle count, not just your budget today. A mold priced for a short run won’t hold up if your volume grows. We walk through your production plan with you before recommending a material, so the tooling matches what you actually need it to do.
- Aluminum: lower cost, faster build, shorter lifespan (often tens of thousands of cycles)
- Steel: higher cost, longer build, built for high-volume runs (often past a million cycles)
- Material choice should match your expected cycle count
Once the mold is designed and the material is chosen, the real machining work begins.
The Mold-Making Process Itself
Building a mold takes real time on the shop floor. This is where design turns into steel through the same injection molding techniques moldmakers have refined for decades.
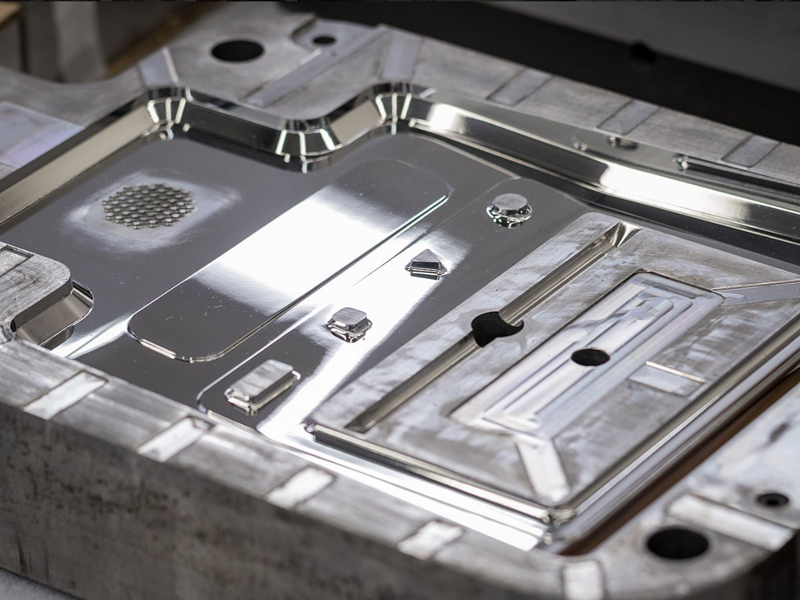
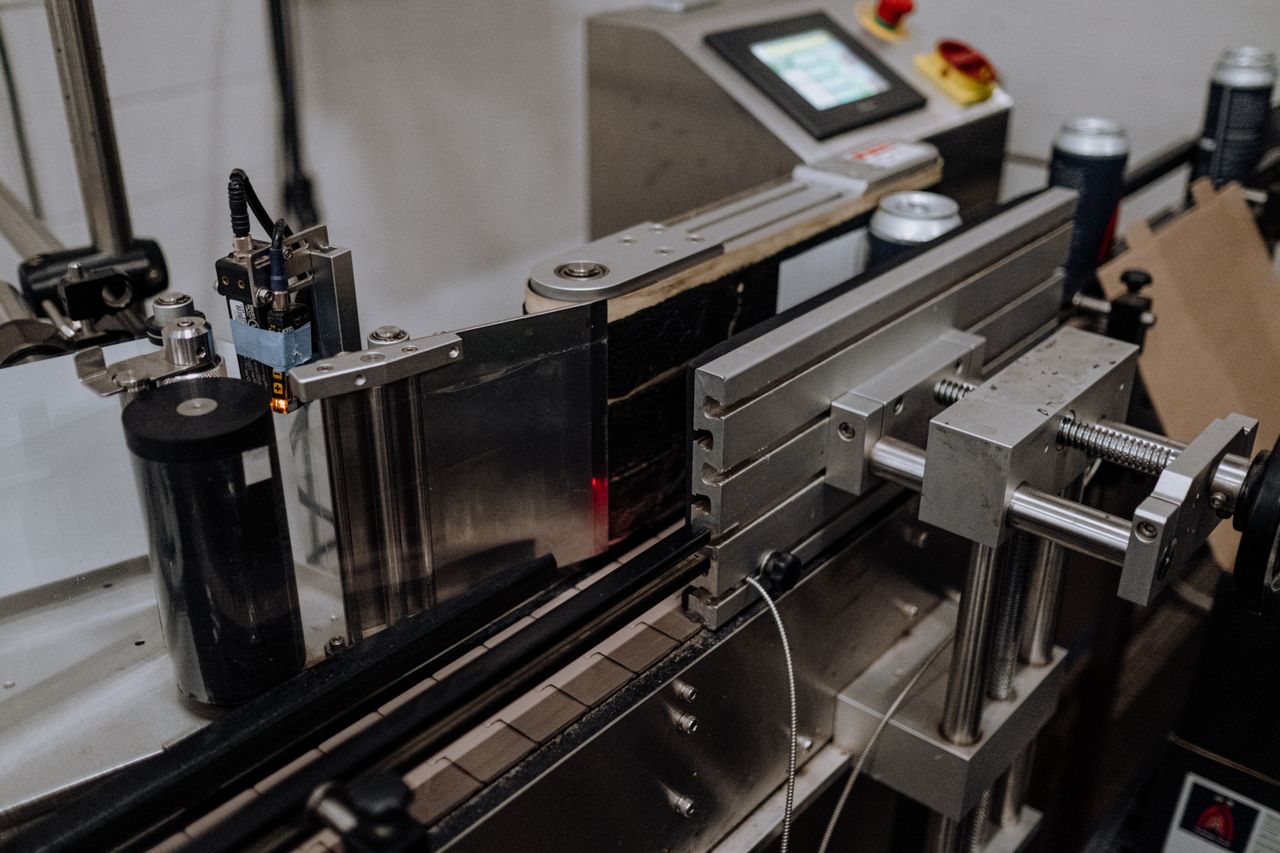
We start by machining the cavity using CNC and EDM equipment. These machines cut the exact shape your part needs, down to fine detail. Across the industry, machining is usually the longest single stage of the whole build. Complex geometry takes longer to cut than simple shapes.
After machining, we polish and vent the mold. Polishing affects surface finish on the final part. Venting lets trapped air escape during injection, so the part fills correctly.
Next comes a T1 sample. This is the first test run using the actual mold. We check the sample against your specs. If it doesn’t match, we adjust the mold and run another sample before moving forward. This step is a common source of added time industry-wide, not a sign of a rushed process.
A standard mold typically takes 4 to 12 weeks to build. Molds with side actions or hot runners can take up to 20 weeks. That timeline reflects the machining, polishing, and testing work, not delays.
- Machine the cavity (CNC/EDM)
- Polish and vent the mold
- Run a T1 sample
- Compare the sample to spec
- Adjust and re-test if needed
- Approve for production
None of this matters if the mold doesn’t hold up under inspection — that’s where quality control comes in.
Quality Control and Testing
Quality control adds a step to the process. It also protects you from costly problems later.
We check every mold against the original CAD design. This dimensional inspection confirms the cavity was machined to the correct measurements. Small deviations can lead to parts that don’t fit or function right.
This checkpoint is often called a First Article Inspection. It’s the industry’s standard first check on a new mold, done before full production begins.
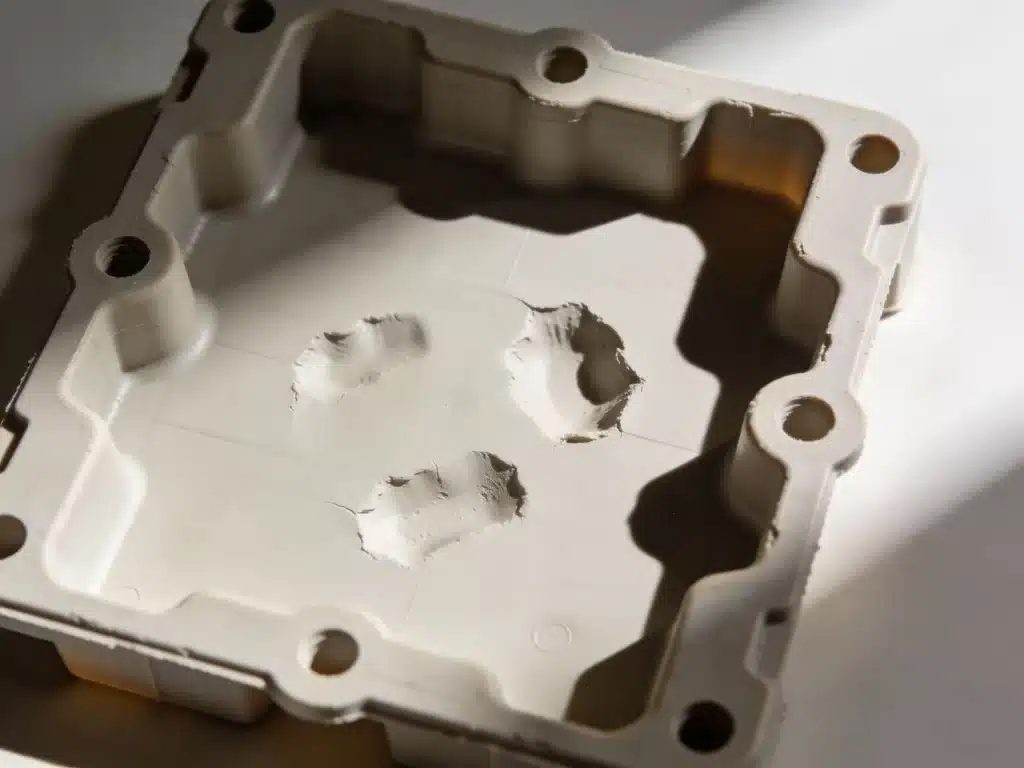
Before full production starts, we run sample parts and inspect them closely. This step catches issues like warping or sink marks while they’re still easy to fix. Finding a defect now costs far less than finding it after thousands of parts are made.
Each checkpoint exists for a reason. Skipping inspection might save a little time upfront. It almost always costs more once bad parts reach full production.
- Dimensional inspection compares the mold to your CAD design
- A First Article Inspection is the standard first check before production
- Sample parts are checked before production begins
- Defects like warping and sink marks get caught early
- Inspection protects you from expensive downstream problems
Quantity and Production Scale
Your expected volume shapes which tooling class makes sense. This is one of the biggest cost decisions in the whole process.
Short-run tooling costs less upfront but wears out faster. Production-grade tooling costs more to build but holds up over many more cycles. Choosing the wrong class for your actual needs can be expensive either way.
Underestimating your volume is a common mistake. If a short-run mold gets pushed past its cycle life, you may need to retool sooner than planned. That means paying for a second mold you didn’t budget for.
The math works in your favor once the mold is paid off. Injection molding tends to become cost-effective around 500 or more units. After that point, each additional part costs only cents to produce.
- Short-run tooling: lower upfront cost, shorter lifespan
- Production tooling: higher upfront cost, built for volume
- Underestimating volume can lead to early retooling
- Cost-effectiveness typically starts around 500+ units
Want the full breakdown of mold costs versus per-part savings? See the full cost and breakeven breakdown
How to Manage Mold Cost Without Cutting Corners
You can manage mold cost without sacrificing quality. It starts with a few decisions made early.
A DFM review is a good first step. This process looks for ways to simplify your part without changing what it does. Small design changes can lower machining time and reduce cost.
Right-sizing your tooling class matters just as much. Match the mold to your real production volume, not just your first order. This keeps you from overpaying now or retooling later.
Talk to a manufacturer before you finalize your CAD file. We can flag costly features early, while changes are still simple to make. This conversation often saves more than it costs.
- Run a DFM review to simplify your design
- Choose a tooling class that matches your real volume
- Talk to us before finalizing your CAD file
Ready to talk through your part? Contact us and request a free quote today!