What Are the SPI Surface Finish Specifications for Injection Molding? A Guide to All 12 Grades
Justin Brown
October 15th, 2026
You asked for a smooth, nice-looking part. Then the samples came back shiny, and every fingerprint and tiny dent showed. The mold did exactly what it was told. It just wasn’t told the right finish.
That finish has a name and a code. It’s called an SPI surface finish. It tells your molder how smooth or textured the mold steel should be.
Every part that comes out of the mold copies that surface. So the code you pick shapes how every part looks and feels. In this guide, we explain every SPI grade in plain terms. You’ll see what each one looks like and how to choose the right one for your part.
We’ll start with what SPI finishes are and walk through all 12 grades. Then we’ll cover how finish ties to your material, draft, and defects. Finally, we’ll show you how to pick a finish and put it on your drawing.
What Are the SPI Surface Finish Specifications for Injection Molding?
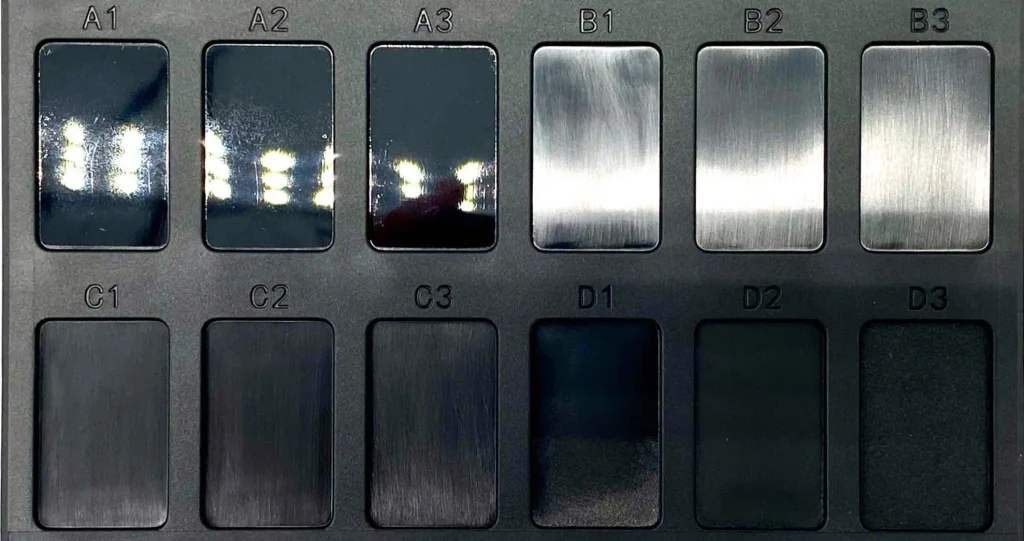
SPI surface finish specifications are 12 standard grades that describe how smooth or textured a mold’s surface is. The Society of the Plastics Industry created them. That group is now the Plastics Industry Association. The 12 grades fall into four groups:
A-1, A-2, A-3 (glossy): buffed with diamond paste for mirror-like and clear parts.
B-1, B-2, B-3 (semi-gloss): finished with 600, 400, or 320 grit paper.
C-1, C-2, C-3 (matte): finished with 600, 400, or 320 grit stone.
D-1, D-2, D-3 (textured): dry blasted with glass bead or aluminum oxide.
In each group, 1 is the smoothest and 3 is the roughest. More polish takes more toolroom time, which raises mold cost.
What Is an SPI Surface Finish?
An SPI surface finish is a grade that sets how smooth or rough the inside of a mold is. The finish lives on the mold steel, not on the plastic. Hot plastic presses against that steel as it fills the mold and takes on its surface. So every part from that mold carries the same look.
SPI is a U.S. standard created by the Society of the Plastics Industry. In 2016, the group changed its name to the Plastics Industry Association. The standard gives designers and molders one shared set of codes. When you write “SPI A-2” on a drawing, your molder knows exactly what you mean.
Words like “glossy” or “smooth” can mean different things to different people. A grade code doesn’t. That’s why it belongs on your drawing instead of a loose description.
A mold finish is not the same as finishing parts after they’re molded:
Mold finish: built into the mold steel, so every part comes out with it.
Part finishing: done to each part after molding, such as deburring or tumbling and finishing.
We set your mold finish while we design and polish the mold. So it pays to choose your grade early, before the steel is polished.
The 12 SPI Finish Grades at a Glance
Each SPI grade has a letter and a number. The letter tells you the group, from A (glossiest) to D (textured). The number tells you how fine the finish is within that group. A 1 is the smoothest, and a 3 is the roughest.
Grade
Finishing Method
Look
Typical Use
Ra (microinches)
A-1
#3 diamond buff
Mirror gloss
Optically clear parts
0–1
A-2
#6 diamond buff
High gloss
Highly polished or clear parts
1–2
A-3
#15 diamond buff
Gloss
Non-optical lenses
2–3
B-1
600 grit paper
Fine semi-gloss
Medium-polish parts
2–3
B-2
400 grit paper
Medium semi-gloss
Medium-polish parts
4–5
B-3
320 grit paper
Low semi-gloss
Medium- to low-polish parts
9–10
C-1
600 grit stone
Fine matte
Low-polish parts
10–12
C-2
400 grit stone
Medium matte
Low-polish parts
25–28
C-3
320 grit stone
Coarse matte
Low-polish parts
38–42
D-1
Dry blast, glass bead
Satin texture
Handheld parts
10–12
D-2
Dry blast, #240 aluminum oxide
Dull texture
Grip surfaces
26–32
D-3
Dry blast, #24 aluminum oxide
Rough texture
Grip surfaces
190–230
The grades run from a mirror polish at A-1 to a rough blasted texture at D-3. Ra is a roughness number, and lower means smoother. Ra values vary from source to source, so use them as a guide, not a guarantee.
Now that you can read a grade, let’s look at what each group is for.
SPI A Finishes: High Gloss and Clear Parts
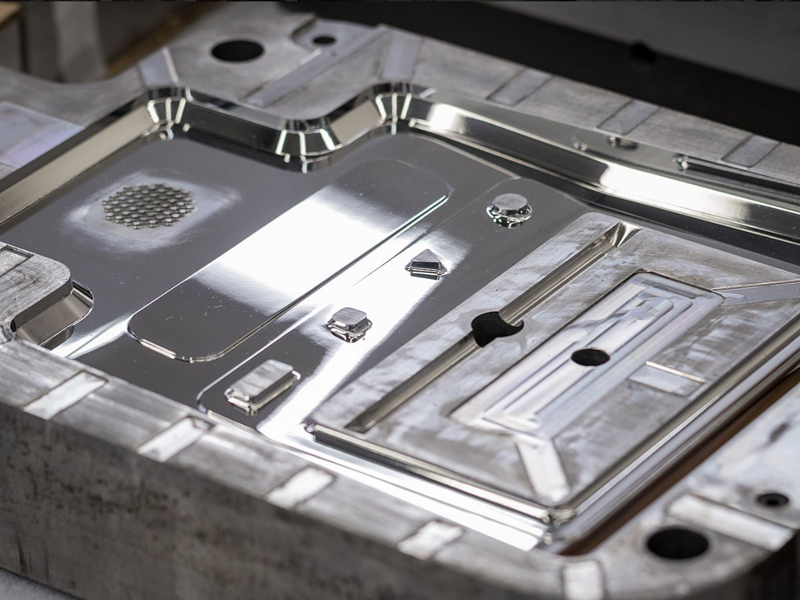
A finishes are the shiniest grades in the SPI standard. Toolmakers buff the mold steel with diamond paste. A-1 uses grade #3 diamond, A-2 uses #6, and A-3 uses #15. The finer the diamond, the brighter the part.
SPI A finishes are best for:
Lenses and light covers
Clear windows and covers
Show surfaces on high-end products
Not every mold steel can take this kind of polish. High-gloss and clear parts call for hardened steel graded for polishability. These steels take a mirror polish and hold it through a long mold life.
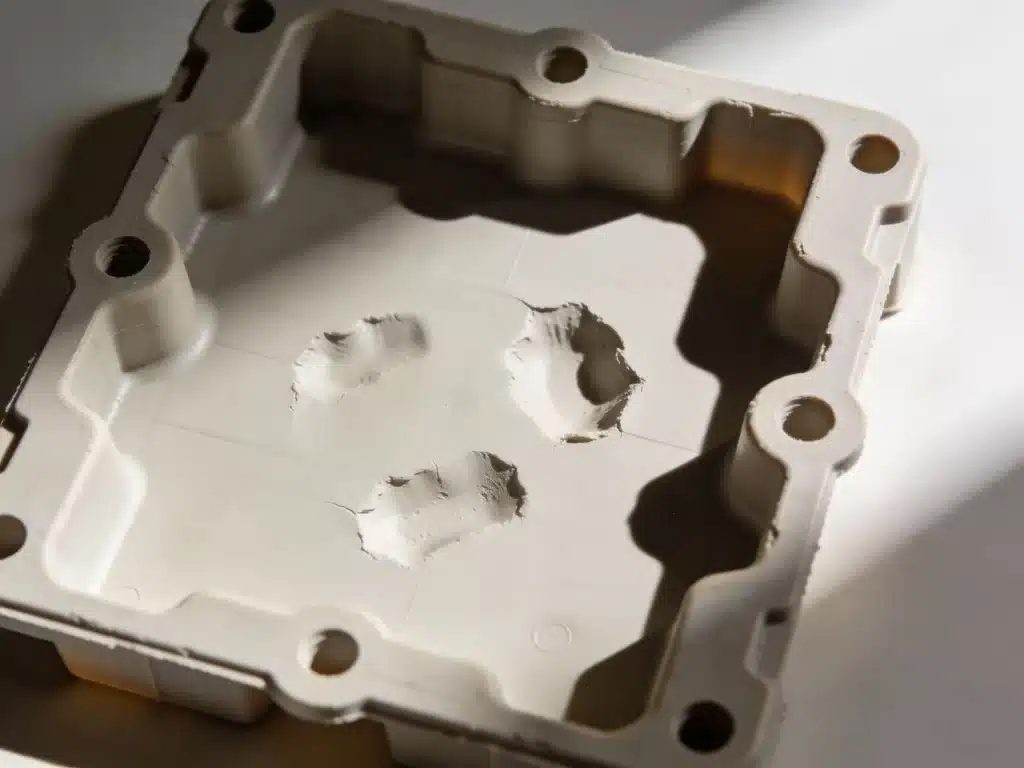
Gloss also shows every flaw. A mirror surface makes sink marks, flow lines, and scratches easy to see. If your part has thick spots that tend to sink, an A finish will put them on display.
A grades take the most polish time in the toolroom. That makes them the most costly finish to put on a mold, and it’s one of the things that drives mold cost. Use them only on surfaces where people will see and judge the shine.
SPI B and C Finishes: Semi-Gloss and Matte
Most molded parts don’t need a mirror. B and C grades give you a clean, even surface with less polish time than an A finish. They’re the working grades behind many everyday products.
B finishes are sanded with grit paper: 600 for B-1, 400 for B-2, and 320 for B-3. The result is a medium shine. Some molders use B-2 as a default when a drawing gives no finish. It removes tool marks and helps parts release from the mold.
C finishes are worked with grit stone in the same 600, 400, and 320 steps. Stone leaves a flat, matte surface. Matte reflects less light, so fingerprints are harder to see.
SPI B
SPI C
Look
Medium shine
Flat matte, low shine
Polish cost
Lower than A grades
Lower than A grades
Typical use
Medium-polish parts, such as clips
Low-polish parts, such as keyboards and laptop frames
Both cost less to polish than A grades. That makes them a common default when looks matter some, but not a lot. In many parts, a B or C grade gives you a good-looking surface without paying for polish no one will notice.
Gloss looks great, but it doesn’t hide much. That’s where texture comes in.
SPI D Finishes and Textured Molds (Plus VDI and Mold-Tech)
D finishes are the textured end of the SPI chart. Instead of being polished, the mold steel is dry blasted. D-1 uses glass bead. D-2 and D-3 use aluminum oxide, and D-3 is the roughest.
Texture does real work on a part. It hides fingerprints, scratches, and small surface flaws. It also gives you a better grip on handheld products like shop vacs and steering wheels.
SPI isn’t the only texture standard you’ll see on drawings and quotes. VDI 3400 is a German standard, and its textures are made mostly by EDM machining, which shapes steel with electric sparks. Mold-Tech textures are named patterns with set depths. For example, MT-11010 is a light texture about 0.001″ deep.
Standard
How It’s Made
Common Use
SPI D
Dry blast with glass bead or aluminum oxide
Satin to rough blasted textures
VDI 3400
Mostly EDM
Matte to dull textures in numbered grades
Mold-Tech
Hand finishing, laser, or chemical etching
Commercial products and patterned textures
How Surface Finish Affects Material, Draft, and Defects
Picking a finish isn’t only about looks. It changes your resin, your draft, and which flaws show. Here’s how each one connects:
Material: Not every resin holds a high gloss. Glass-filled resins tend to have a rougher surface, and fibers can show through. If you need strength and shine, get material selection help early.
Draft: Texture needs extra draft. Each tiny valley in a textured wall grips the part as it ejects. A common rule is about 1.5° of added draft for every 0.001″ of texture depth.
Defects: Gloss shows sink marks and flow lines. Texture helps hide flow lines and small blemishes. Deep sink can still show through texture as a dark shadow.
Paint and print: Paint holds better on a textured surface. Pad printing can also print on textured parts.
Process: The mold matters while it runs, too. A hotter mold or hotter melt usually gives a glossier part.
How to Choose and Specify an SPI Finish for Your Part
A chart only helps once it becomes a clear choice. Start with these five questions for each surface of your part:
Will people see this surface? If not, a C or D grade is often enough.
Does it need to be clear? Lenses and clear covers usually need an A grade.
What resin will you use? Some resins can’t hold a high gloss.
How much draft does the wall have? Texture needs more draft than a smooth finish.
What’s your budget? More polish means more toolroom time and a higher mold cost.
You don’t need one finish for the whole part. A single part can mix finishes, such as a glossy front face and a matte inside. Pay for high polish only where people will see it.
Once you choose, put the grade on your drawing. Name the surface along with the grade, so your molder knows exactly where each finish goes.
Sample drawing note: “SPI B-2 on Face A. SPI C-1 on all other surfaces.”
Not sure which grade fits? A DFM review is a good time to check your finish against your resin, draft, and part design before the mold is built.
Get Mold Finish Help from a Local Mold Maker in Logan
Your finish is only as good as the shop that builds and polishes the mold. We’re an ISO 9001:2015 certified molder based in Logan. Since 2011, we’ve worked with businesses across Northern Utah and Southern Idaho.
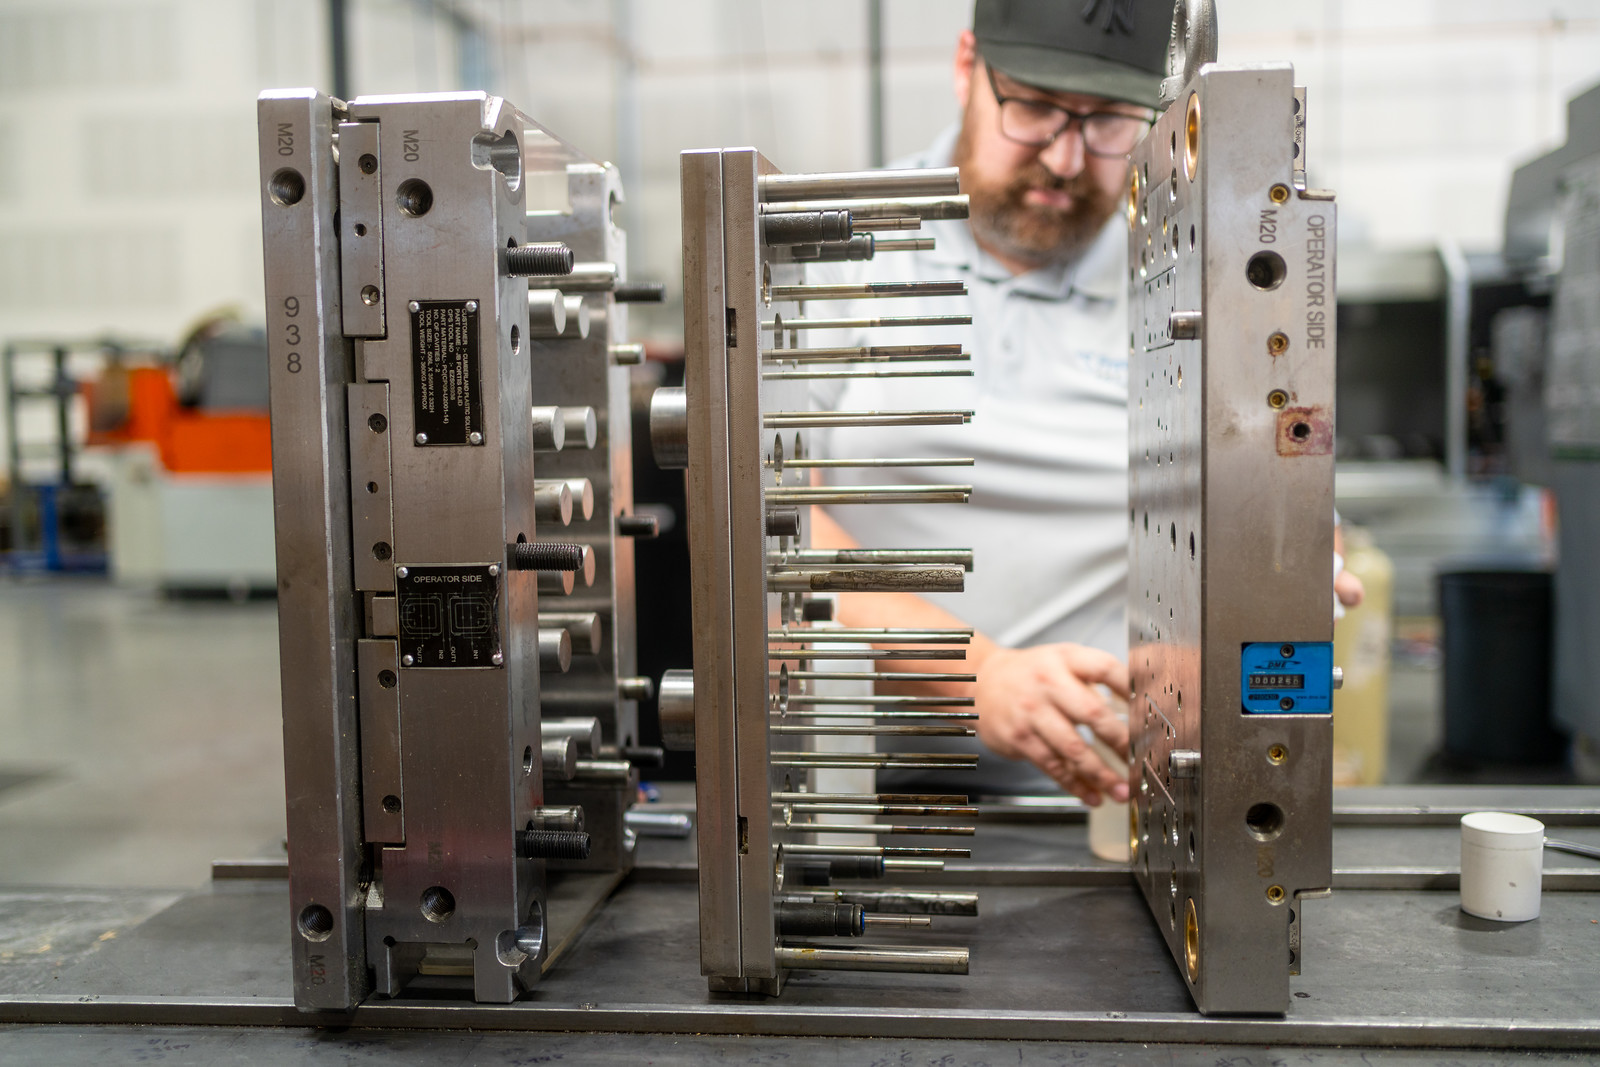
We design, machine, and hand polish molds under one roof. Mold components are fit, polished, and assembled by hand, and we dial in the surface finish for cosmetic parts. Before production starts, we run staged trials during mold sampling and testing. The first parts get checked against your print and for flaws like sink, flash, and warp.
Have a part that needs the right finish? Contact us and request a free quote, or call us at (435) 774-9090 to get things started!
You asked for a smooth, nice-looking part. Then the samples came back shiny, and every fingerprint and tiny dent showed. The mold did exactly what it was told. It just…
Your first sample parts look great until you flip one over. There’s a rough nub right on the face your customer sees first. That nub is where the plastic came…
Your first sample parts just came back. They look right until you tilt one toward the light. Then you see it: a shallow dent sitting right over a rib. Nothing…
Your CAD model says 25.00 mm. Your first molded parts come back at 24.93 mm. Is that a problem, or is it normal? The answer depends on the tolerance you…
A part passes inspection and ships out on time. Weeks later, it cracks after a solvent wipe or a tightened bolt. Nothing was wrong with the design. The stress was…
You design a part to be exactly 100 mm long. The first samples come back at 98.5 mm. Nothing went wrong on the press, and the mold wasn’t built wrong.…