What Is an Insert in Injection Molding? Types, Installation Methods, and Design Tips
Justin Brown
October 29th, 2026
The screw went in fine the first time. Over time, the plastic threads stripped and the screw just spun. If a part has failed on you this way, a metal insert is the fix.
An insert in injection molding is a separate part, often brass, that becomes a permanent piece of a plastic part. It adds strength where plastic alone would wear out, like threads that take a screw again and again. An insert gets into a part one of two ways: molded in, or installed after molding. That choice changes your cost, your cycle time, and how strong the joint ends up.
In this guide, we explain what an insert is and the common types you’ll see on a drawing. Then we compare molded-in inserts with heat staking, ultrasonic insertion, and press-fit. We’ll help you choose the right method for your part. We finish with design tips that help keep inserts from cracking the plastic or pulling out.
What Is an Insert in Injection Molding?
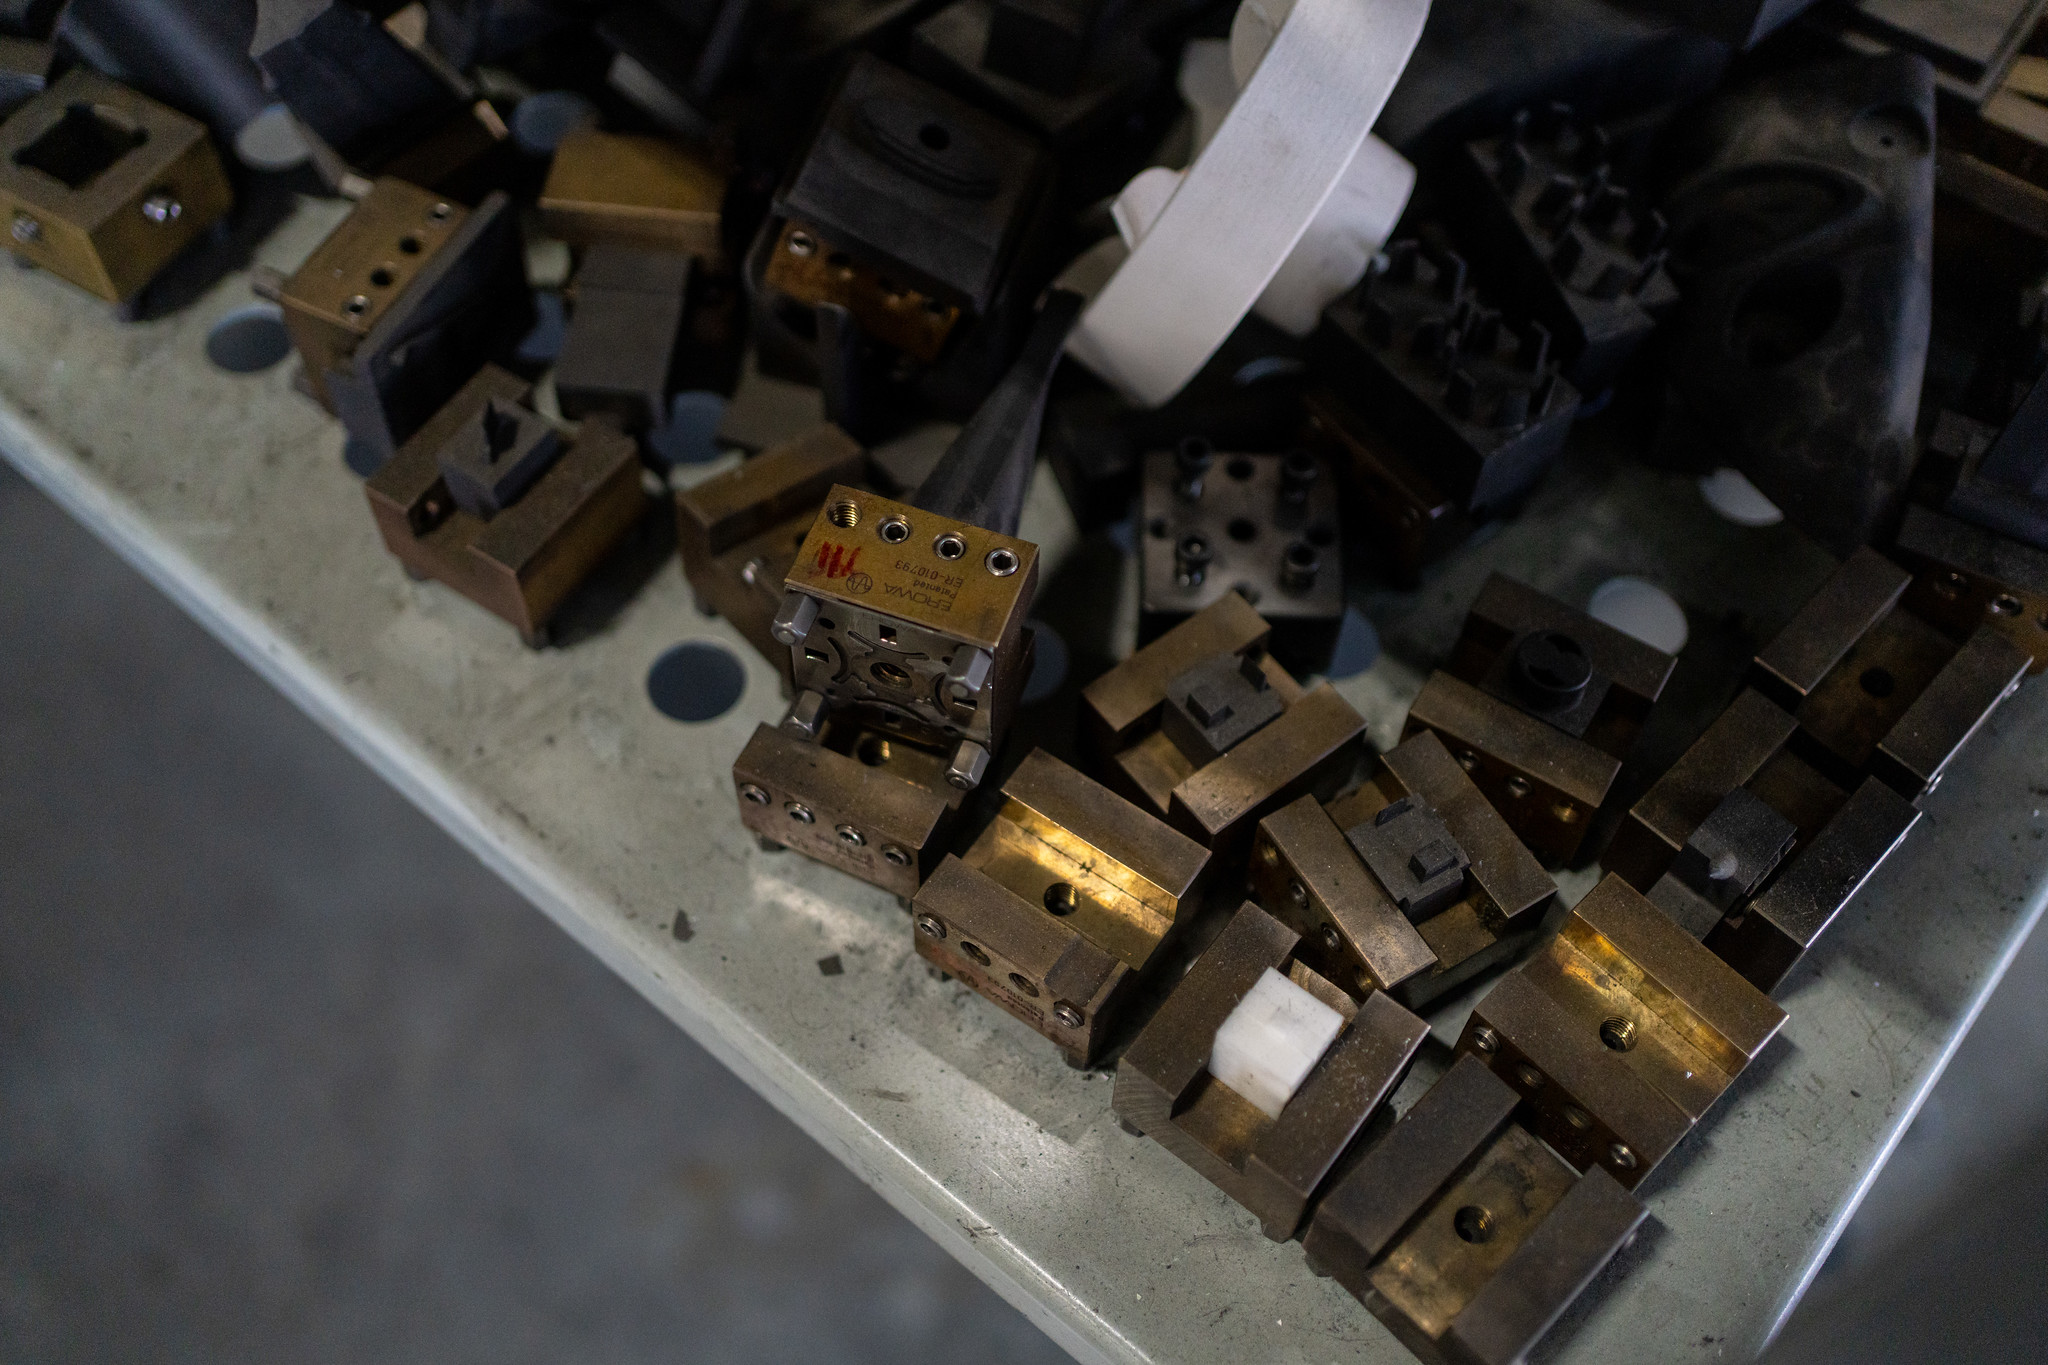
An insert in injection molding is a separate part, usually metal, that becomes a permanent part of a plastic component. The most common is a brass threaded insert. It gives a plastic part strong threads that hold up to repeated use. Other inserts include pins, bushings, and electrical contacts.
An insert gets into a part one of two ways:
Molded in: The insert is loaded into the mold, and plastic forms around it. This is called insert molding.
Installed after molding: The insert is added by heat staking, ultrasonic insertion, or press-fit.
Molded-in inserts give the strongest joints, but they add mold complexity and cycle time. Installing after molding keeps the mold simpler and the cycle faster.
An insert is a part that isn’t plastic but stays in the finished part for good. Most inserts are metal, and threaded inserts are the most common. Once it’s in, the insert becomes part of the finished piece.
You’d use an insert when plastic alone can’t do the job. There are three main reasons:
Threads that last. Metal threads hold up when a screw goes in and out many times.
Tighter thread tolerances. Metal threads hold a closer fit than threads formed in plastic.
More strength and wear resistance. Metal handles load and rubbing where plastic would wear down.
Here’s a simple example. Say your housing has a boss, which is a raised post that takes a screw. If you drive a screw straight into the plastic, the threads can wear out with repeated use. If you put a brass insert in that boss, the screw threads into metal instead.
“Insert” and “insert molding” are not the same thing. Insert molding is one method of getting an insert into a part. We cover it below, along with the other methods.
Common Types of Inserts
Knowing the insert types helps you name what your part needs. Threaded inserts for plastic are the most common.
Brass inserts for plastic are the usual choice, and they meet most needs at a lower price. Steel and stainless steel inserts are used when a joint needs more strength. Stainless steel also holds up in harsh, corrosive settings.
Other inserts you may see on a drawing include:
Pins and shafts
Bushings and bearing sleeves
Electrical contacts and terminals
The outside of an insert matters too. Many inserts have knurls, which are rows of small ridges on the surface. Some inserts use barbs or grooves for the same job. Plastic fills these shapes and helps keep the insert from pulling out or spinning.
Insert type
What it does
Typical use
Brass threaded insert
Gives a plastic part metal threads
Housings and covers that get opened often, like battery doors
Steel or stainless threaded insert
Adds strength or corrosion resistance to threads
High-vibration joints or harsh, corrosive settings
Pin or shaft
Adds a strong metal post or axle
Hinges and locating points
Bushing or bearing sleeve
Adds a wear-resistant surface for moving parts
Gears, pulleys, and sliding parts
Electrical contact or terminal
Carries current through the plastic part
Connectors, switches, and sensor housings
Two Ways to Get an Insert Into a Plastic Part
Picking the insert is half the job. The other half is how it gets into the plastic. You can mold it in, or you can install it after the part is molded.
Molded In (Insert Molding)
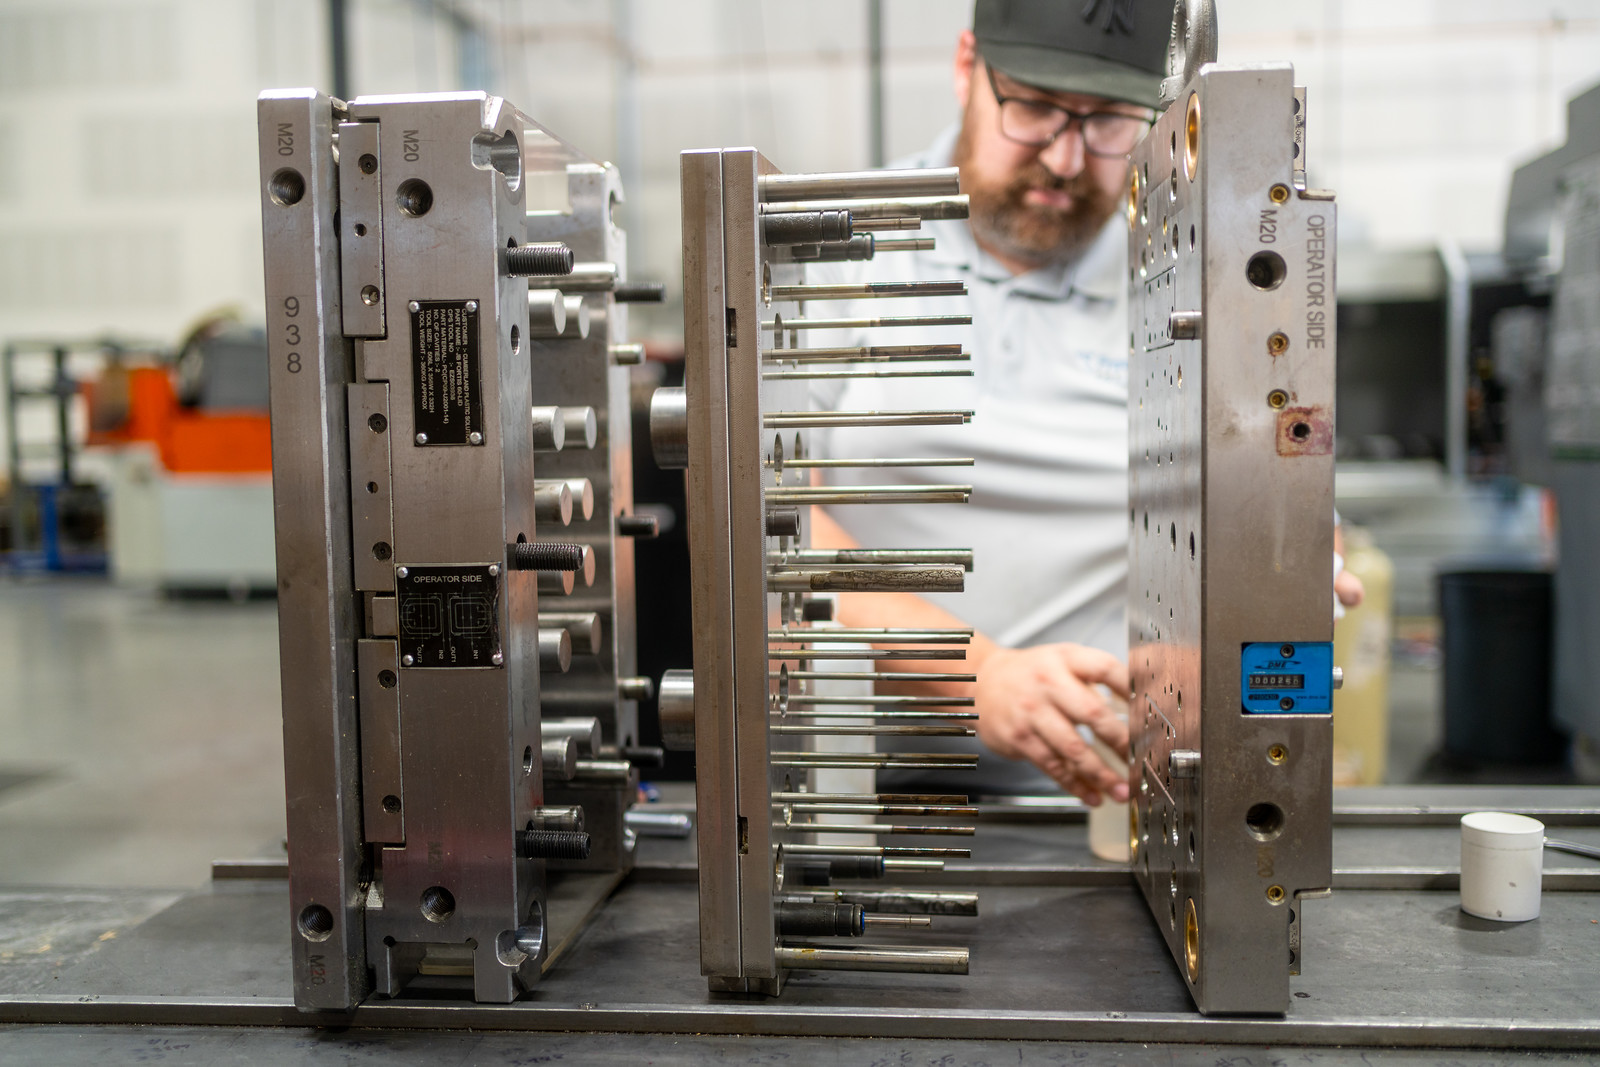
With a molded-in insert, the insert goes into the mold before the plastic does. For low volumes, a worker loads each insert by hand. For high volumes, a robot often does the loading. Then the plastic flows in and forms around the insert.
Heat staking installs the insert after the part is molded. A heated tool warms the insert and presses it into a molded or drilled hole. The plastic around the hole softens and flows into the insert’s knurls. As it cools, it locks the insert in place.
Ultrasonic Insertion
Ultrasonic insertion uses fast vibration instead of a heated tool. The vibration creates heat right where the insert touches the plastic. The plastic softens, and the insert seats in the hole. It’s fast and repeatable, and it works with most thermoplastics, which are plastics that soften with heat.
Press-Fit (Cold Press)
A press-fit insert goes in with pressure and no heat. A press pushes the insert into the hole, and the plastic grips its outer surface. You don’t need heat or ultrasonic equipment. The trade-off is that holding strength is usually lower than with the heat-based methods.
Molded-In vs. Installed After: How to Choose
The right method depends on your part, your plastic, and how many parts you need. Here’s how the four methods compare.
Method
Mold complexity
Cycle time impact
Joint strength
Best volume fit
Material notes
Molded in
Higher; the mold must hold the insert
Longer; each insert is loaded every cycle
Strongest
Low (hand-loaded) to high (robot-loaded)
Works with thermoplastics and thermosets
Heat staking
Simpler; the mold forms a plain hole
No added molding time; separate step after
Strong
Low to high
Thermoplastics only
Ultrasonic insertion
Simpler; the mold forms a plain hole
No added molding time; fast insertion step
Strong
Low to high
Most thermoplastics; harder with filled resins
Press-fit
Simpler; the mold forms a plain hole
No added molding time; no heat needed
Lowest
Low to high
Thermoplastics and thermosets; cracking risk with filled resins
Your plastic can narrow the choice. Glass- or mineral-filled resins make ultrasonic insertion less effective. They also raise the risk of cracking with press-fit.
Thermosets are plastics that don’t soften again once they cure. With a thermoset, your options are molding the insert in or pressing it in cold later.
At our shop, we install inserts after molding with heat staking and ultrasonic insertion. Low volumes run on manual presses, and higher volumes run on semi-automated equipment. Before we pick a method, we review your part and your insert together.
Design Tips That Keep Inserts From Failing
Whichever method you choose, the boss around the insert plays a big part in whether the joint lasts. These three tips cover common insert failures and how to prevent them.
Knurls Stop Pull-Out and Spin-Out
Many heat-set inserts have knurls that run in opposite directions. Together, they help the insert resist both twisting and pulling. With heat staking and ultrasonic insertion, the plastic melts around the insert. It fills the knurls better than it does with press-fit.
Problem: The insert spins when you tighten the screw.
Fix: Choose an insert with opposing knurls.
Problem: The insert pulls out under load.
Fix: Use a heat-based method so the plastic fills the knurls.
Boss Thickness Stops Cracking
Plastic shrinks as it cools. Around a molded-in insert, that shrinking squeezes the insert and stretches the boss wall. This built-in stress is called hoop stress. Cracking from hoop stress can show up long after the part is made.
Problem: A thin boss wall cracks around the insert.
Fix: Add enough wall to carry the hoop stress.
Problem: A thick boss wall causes sink marks, which are small dents in the surface.
Fix: Keep the wall only as thick as the joint needs.
Published rules of thumb for boss size don’t agree, so we don’t rely on one number. We confirm boss size for your plastic and insert during a DFM review. For more on boss layout, see our guide to ribs and bosses.
Hole Size and Alignment
The hole needs to be the right size, and the insert needs to go in straight. A hole that’s too big weakens the insert’s grip. A hole that’s too small can stop the insert from seating all the way.
Problem: The insert pulls out too easily.
Fix: Check that the hole isn’t oversized.
Problem: The insert stops short of full depth.
Fix: Check the hole size, and line up the fixture so the insert goes in straight.
After installation, we can run pull-out and torque checks on a sample basis. These checks test how well your inserts hold against pulling and twisting.
Molding and Insert Work Under One Roof in Logan
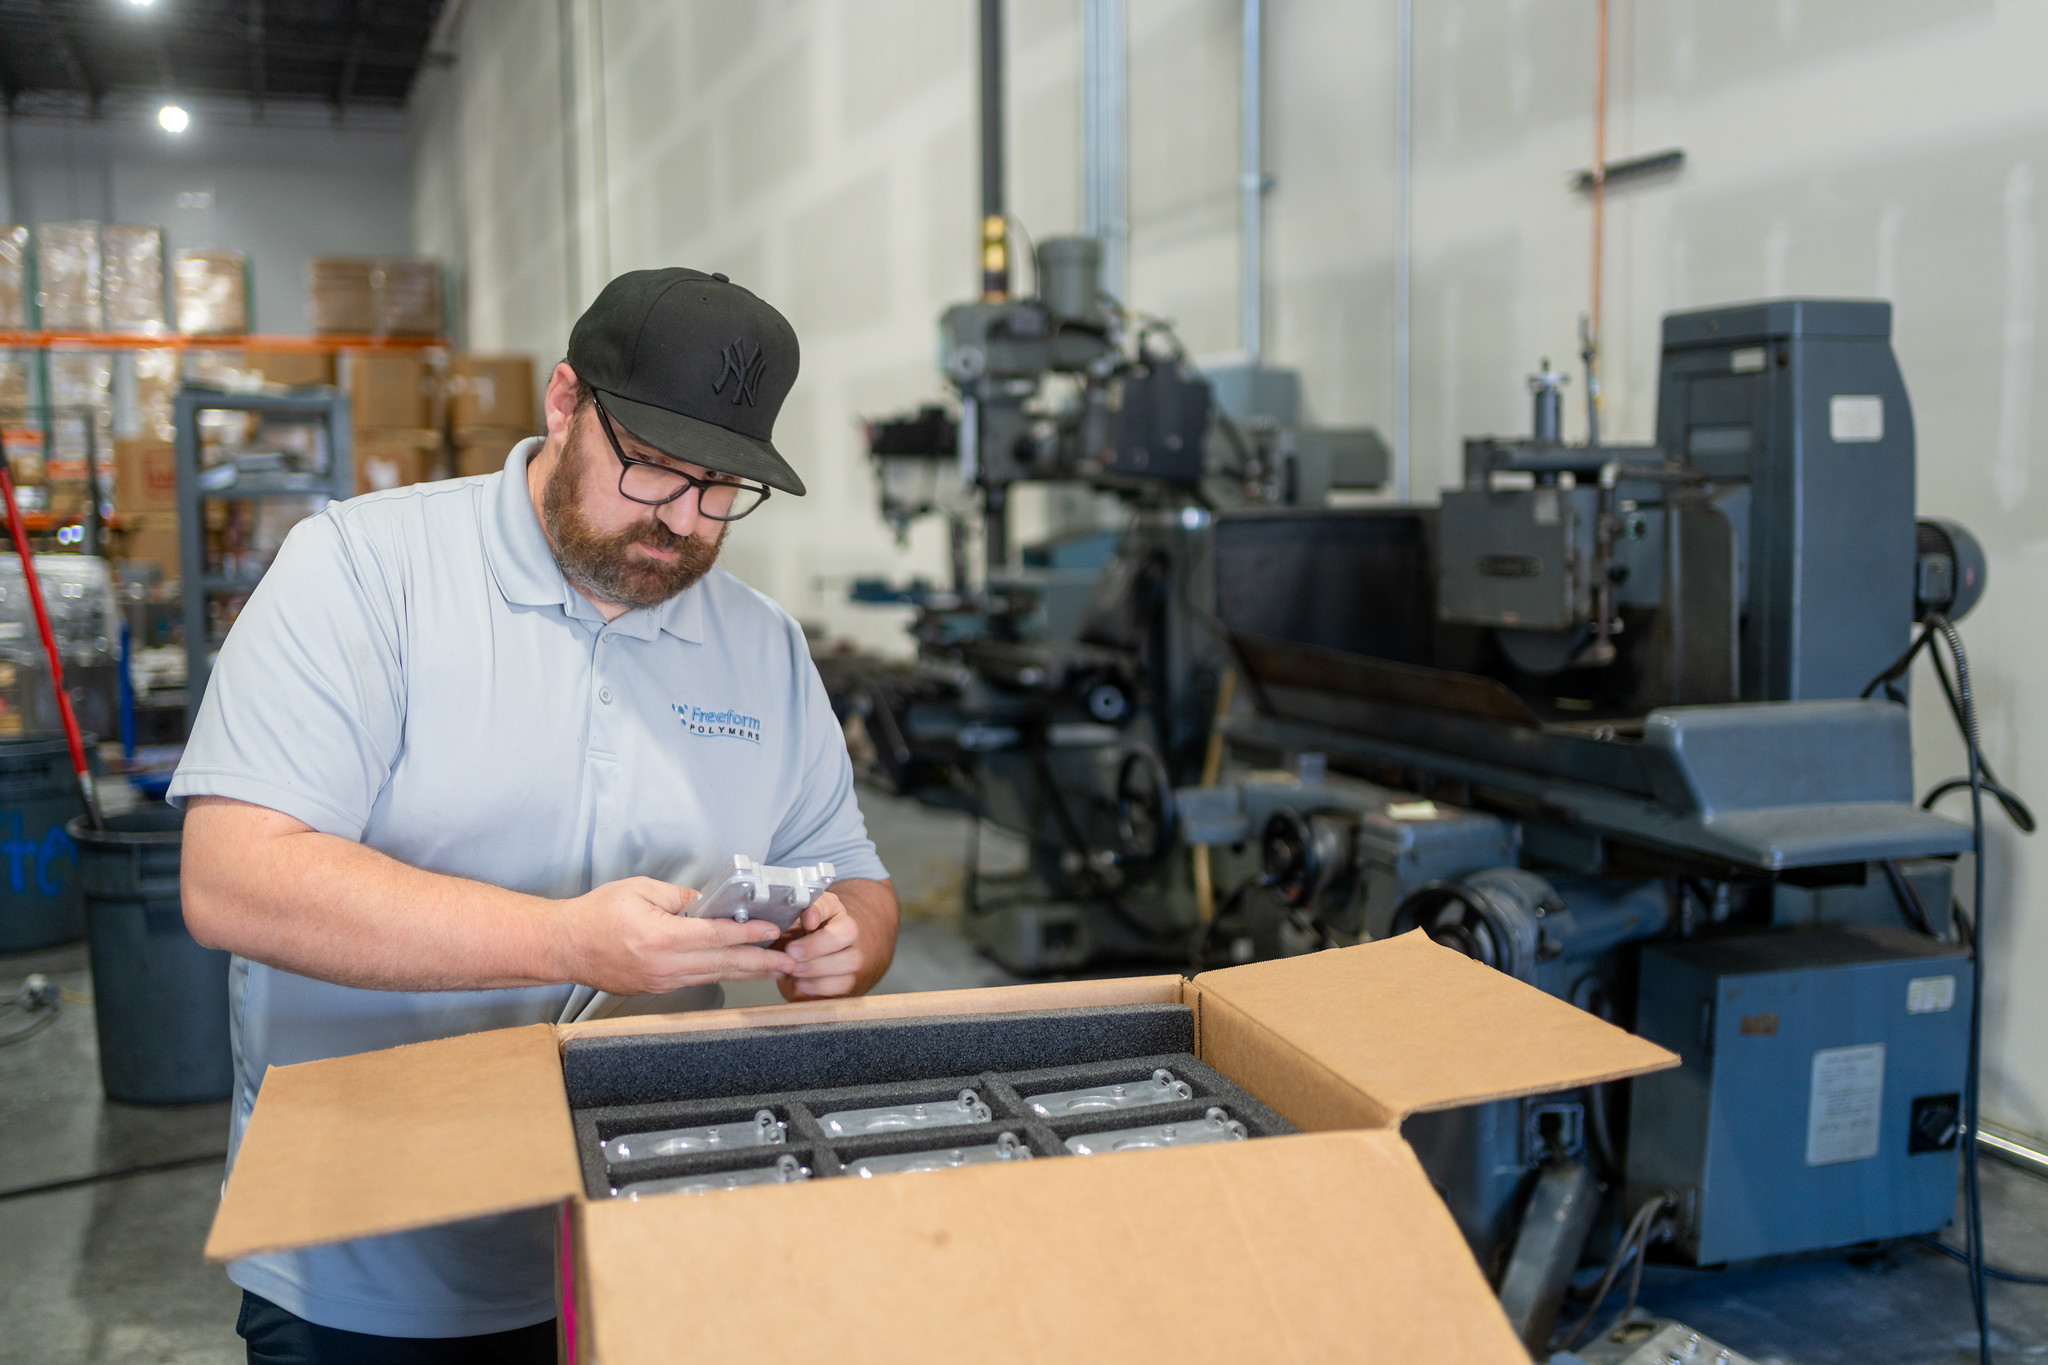
When one shop molds your part and installs the inserts, your parts don’t travel between vendors. At Freeform Polymers in Logan, we mold the part and install the inserts. From there, your parts can move on to box build assembly, printing, or packaging.
Our inspection checks insert depth, alignment, and bond. We are ISO 9001:2015 certified. We work with businesses across Northern Utah and Southern Idaho.
Ready to add inserts to your next part? Request a quote or call us at (435) 774-9090 to get started on your parts today!
Your mold quote comes back higher than you planned. One line item says “2 side actions.” You never asked for those, so where did they come from? The reason is…
You need 400 parts for a product launch. The first quote comes back with a 10,000-part minimum. Now you face a hard choice. You can buy parts you don’t need,…
Your circuit boards are finished. Your enclosure is molded. Screws, cables, and labels are coming from four different suppliers. Someone still has to turn that pile of parts into one…
You asked for a smooth, nice-looking part. Then the samples came back shiny, and every fingerprint and tiny dent showed. The mold did exactly what it was told. It just…
Your first sample parts look great until you flip one over. There’s a rough nub right on the face your customer sees first. That nub is where the plastic came…
Your first sample parts just came back. They look right until you tilt one toward the light. Then you see it: a shallow dent sitting right over a rib. Nothing…